Fascia Board Replacement: 7 Step DIY Guide for Homeowners
Damaged fascia boards can quickly turn from a minor cosmetic issue into a major structural problem for your home. These essential components protect your roof’s edge and support your gutters, but when they fail, water damage and pest infestations often follow.
Fascia board replacement might seem daunting, but many homeowners can tackle this project with the right tools and guidance. Before diving in, consider checking out Palladium Roofing’s professional services if the damage is extensive or you’re uncomfortable working at heights.
This comprehensive guide will walk you through:
- Why fascia boards are crucial to your home’s protection
- How to identify when replacement is necessary
- A complete step-by-step DIY replacement process
- Essential safety considerations and best practices
- When to call professionals instead
🏠 Why Fascia Board Replacement Is Important

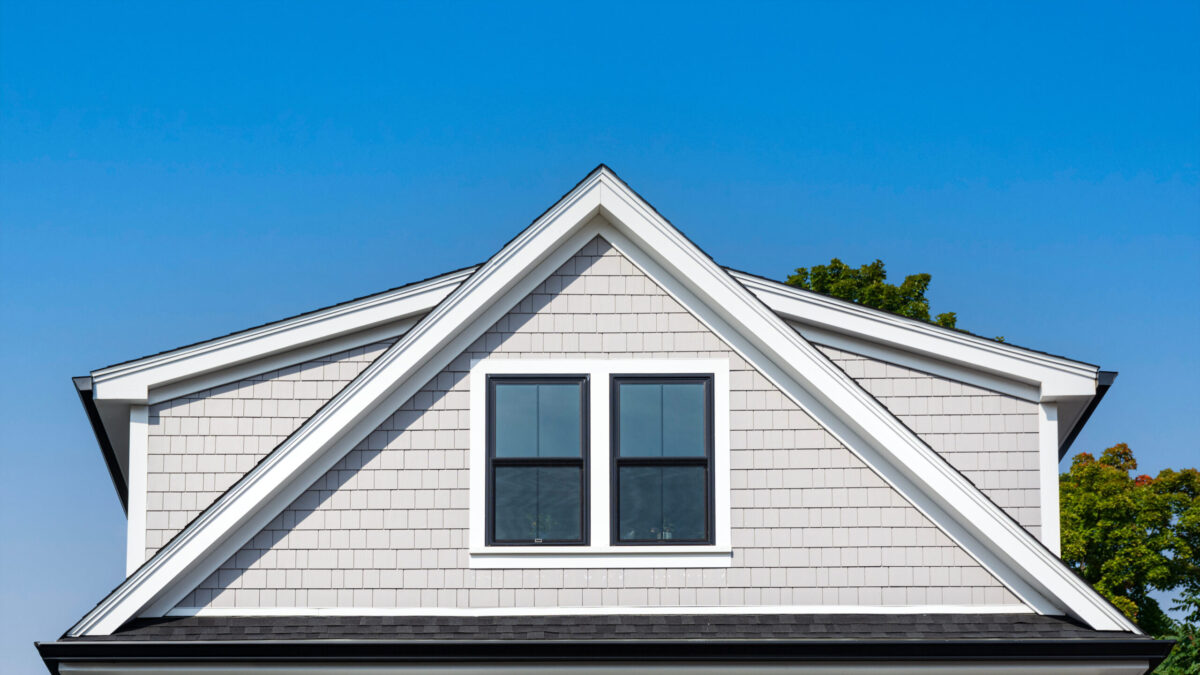
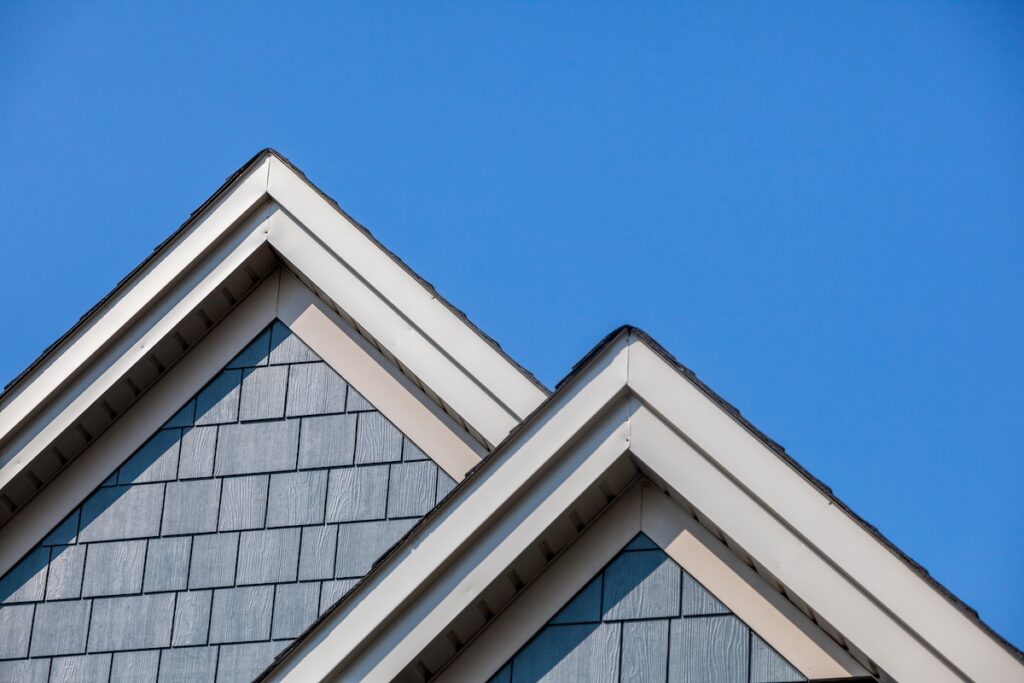
Fascia boards serve as your roof’s first line of defense against the elements. These horizontal boards run along the roofline where your roof meets the outer walls, providing crucial structural support and weather protection.
When fascia boards deteriorate, the consequences extend far beyond aesthetics. Water can penetrate behind the boards, leading to rot in your roof decking and potentially causing thousands of dollars in structural damage.
Key benefits of maintaining healthy fascia boards include:
- Water protection: Prevents moisture infiltration that can damage roof structures
- Pest prevention: Eliminates entry points for insects, birds, and small animals
- Gutter support: Provides stable mounting for gutters and downspouts
- Curb appeal: Maintains your home’s exterior appearance and property value
- Energy efficiency: Helps seal gaps that can affect your home’s insulation
🔧 7 Steps for Fascia Board Replacement: Complete DIY Process

Replacing fascia boards requires careful planning and execution. This process typically takes a full weekend for most homeowners, depending on the extent of damage and your experience level.
1. Assess the Damage and Plan Your Project
Start by thoroughly examining all fascia boards around your home’s perimeter. Look for signs of rot, warping, or pest damage that indicate replacement is necessary.
- Use a screwdriver to probe suspected soft spots in the wood
- Take measurements of all damaged sections to calculate material needs
2. Gather Essential Tools and Materials
Having the right equipment makes this project safer and more efficient. You’ll need both basic carpentry tools and safety equipment for working at height.
- Tools: Circular saw, drill, hammer, pry bar, measuring tape, level
- Materials: Pressure-treated lumber, galvanized screws, wood filler, primer, paint
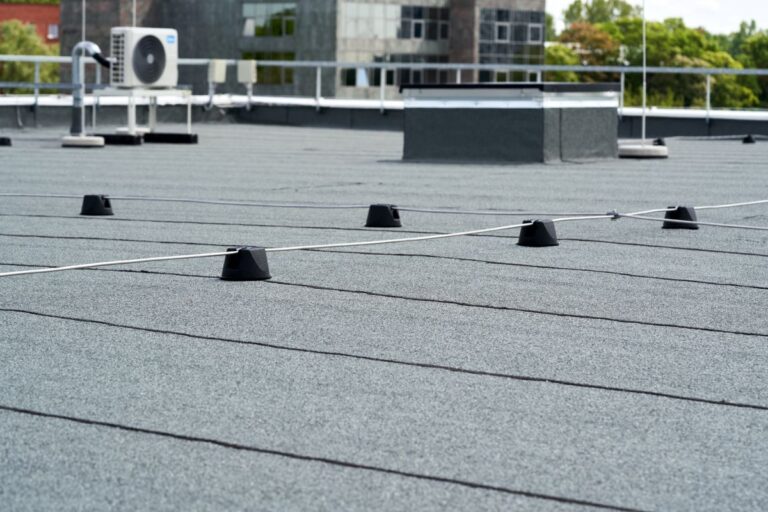
3. Remove Gutters and Downspouts Safely
Gutters must come down before you can access the fascia boards. Work systematically to avoid damaging the gutter system during removal.
- Disconnect downspouts first, then work from one end to the other
- Have a helper support long gutter sections to prevent bending
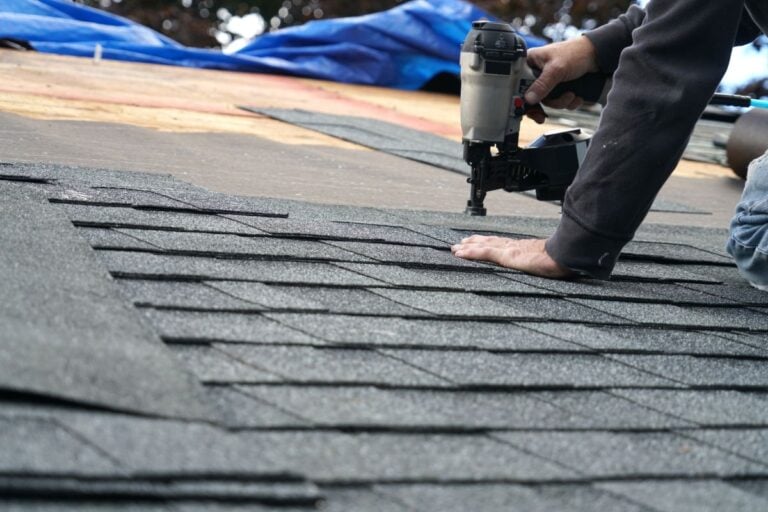
4. Cut Out Damaged Fascia Sections
Use your circular saw to make clean, straight cuts through the damaged fascia. Plan your cuts to end at rafter locations for better support of new boards.
- Wear safety glasses and ensure your ladder is stable before cutting
- Make relief cuts in severely warped boards to ease removal
5. Install New Fascia Boards
Position your new pressure-treated boards carefully, ensuring they’re level and properly aligned. Secure them with galvanized screws driven into the roof rafters.
- Pre-drill holes to prevent splitting the new lumber
- Leave small gaps between board joints to allow for wood expansion
6. Apply Primer and Paint Protection
Raw lumber needs immediate protection from moisture. Apply a high-quality exterior primer followed by two coats of paint designed for exterior trim.
- Sand any rough edges smooth before priming
- Choose paint colors that complement your home’s existing trim
7. Reinstall Gutters and Perform Final Inspection
Once your paint has cured, carefully reinstall your gutters using the existing mounting points. Check that everything is level and properly secured.
- Test gutter alignment by running water through the system
- Make any necessary adjustments to ensure proper drainage
⚠️ Safety Considerations and When to Call Professionals
Working at roof height presents serious risks that shouldn’t be taken lightly. Many homeowners underestimate the dangers involved in fascia board replacement projects.
Safety Equipment You Must Use:
- Stable ladder: Use a ladder that extends at least 3 feet above the roof edge
- Safety harness: Essential for work above single-story height
- Non-slip shoes: Proper footwear prevents dangerous falls
- Spotter: Always have someone nearby when working on ladders
Signs You Should Call Professionals:
- Extensive structural damage: Rotted rafters or roof decking require expert repair
- Multi-story homes: Heights above 10 feet dramatically increase fall risks
- Electrical concerns: Nearby power lines create electrocution hazards
- Complex rooflines: Steep pitches or multiple angles complicate the work
Professional contractors like those at Palladium Roofing have the experience, insurance, and specialized equipment to handle challenging fascia replacement projects safely. They can also identify hidden damage that might not be obvious to homeowners.
🎯 Protect Your Investment with Proper Maintenance
Fascia board replacement is a significant project that protects one of your home’s most critical systems. While many homeowners can successfully complete this work, recognizing your limits is crucial for both safety and quality results.
Regular inspection and prompt repair of fascia boards can prevent costly water damage and maintain your home’s structural integrity. Consider scheduling annual roof inspections to catch problems before they require major repairs.
Ready to get started on your fascia board replacement project? If you discover damage beyond your comfort level or want professional peace of mind, contact Palladium Roofing for a complimentary inspection and estimate. Our experienced team can assess your situation and provide expert guidance on the best approach for your specific needs.
Related Articles