Flat Roof Leak Repair (6-Step Guide)
A flat roof is a popular choice for commercial properties thanks to its sleek design, ease of installation, and cost-effectiveness. However, flat roofs are not immune to wear and tear and can be more prone to leaks compared to sloped roofs. If left unaddressed, these leaks can lead to structural damage, increased repair costs, and possible interruptions to your business operations.
This guide will help you understand the process of flat roof leak repair, from identifying the problem to fixing it effectively. Here’s what you’ll learn in this blog:
- Signs of a flat roof leak (and why it matters)
- 6 steps to repair flat roof leaks
- How to prevent future leaks
⚠️ Signs of a Flat Roof Leak (and Why It Matters)
Recognizing the early warning signs of a flat roof leak is crucial to protecting your commercial property from costly damage. Flat roofs are a popular choice for many businesses due to their affordability and ease of installation, but they can be vulnerable to leaks if not properly maintained. Catching these issues early can prevent significant repairs, extend the life of your roof, and avoid disruptions to your operations. Here are some common indicators to monitor:
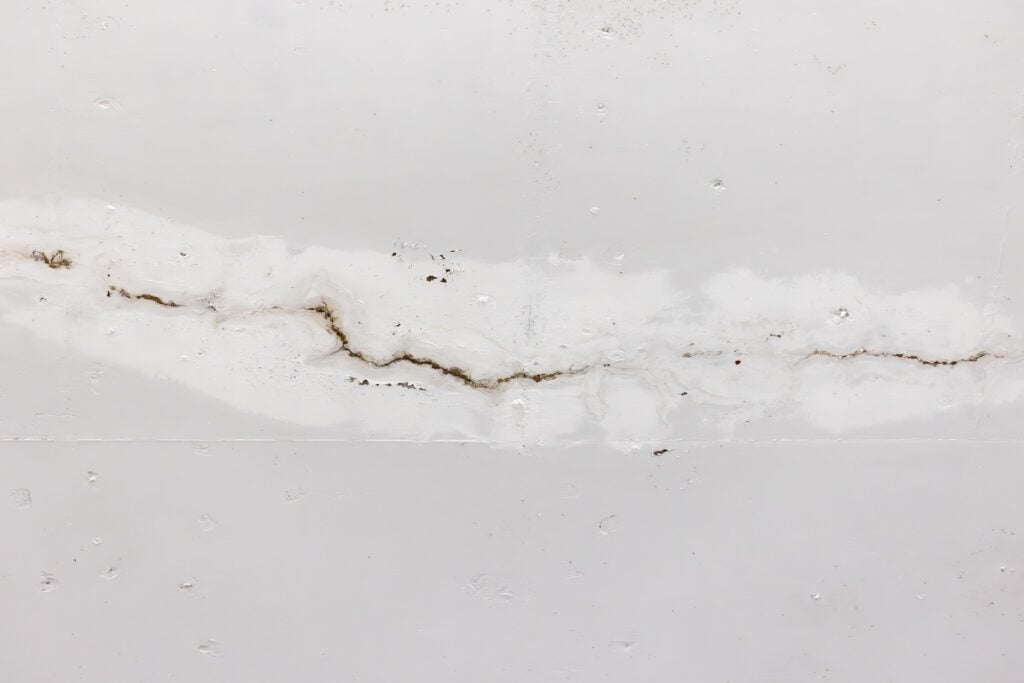
- Visible water stains on ceilings: Brown or yellow stains often signal water seeping through the roof into your building.
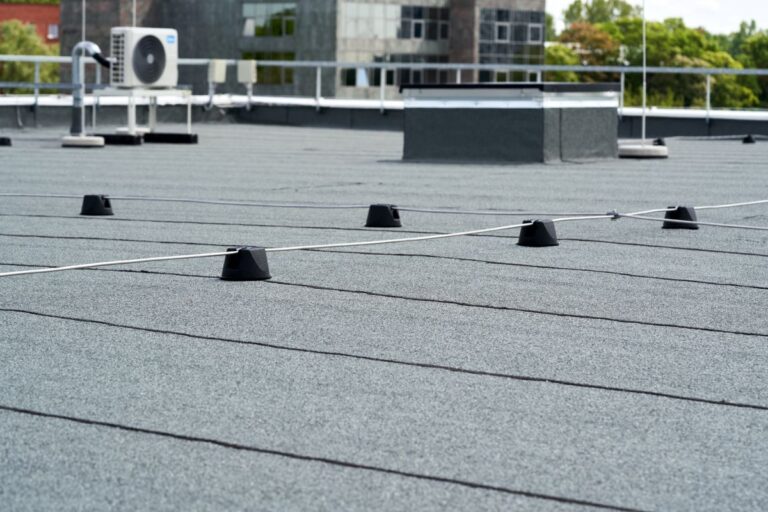
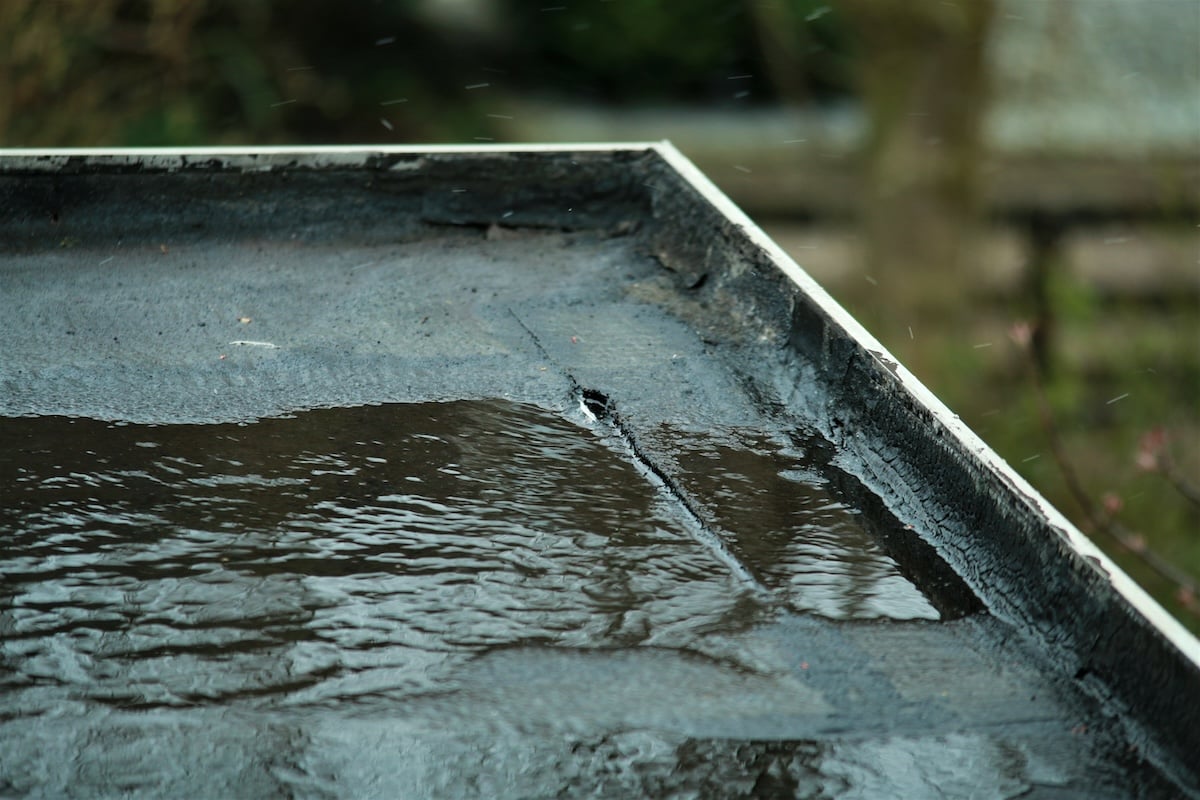
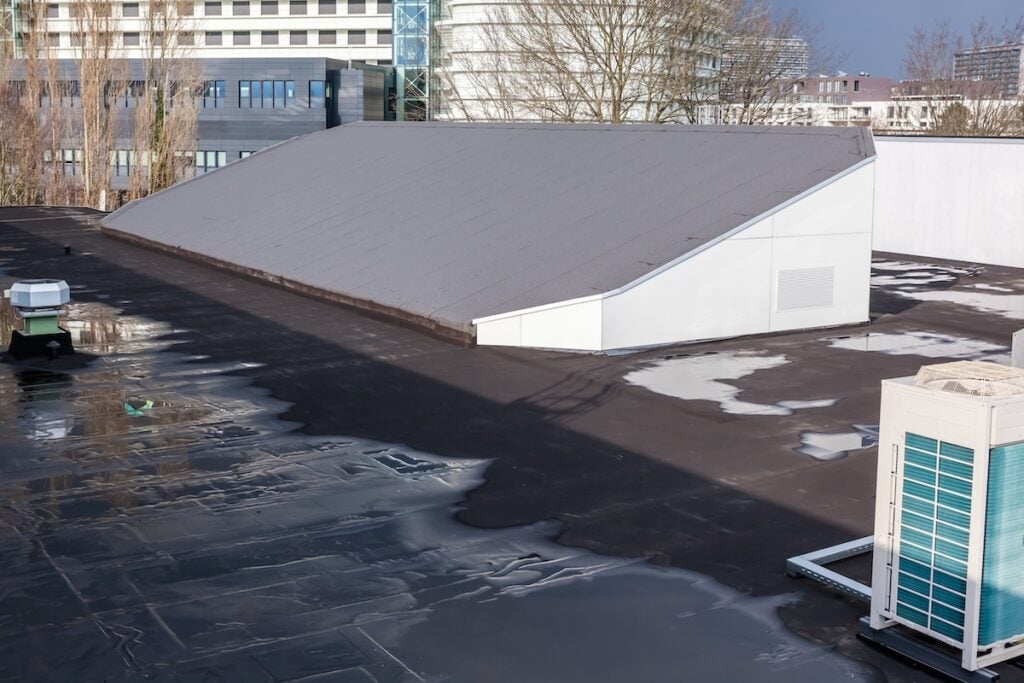
- Pooled water on the roof: Standing water that doesn’t drain within 48 hours can indicate poor drainage and lead to leaks.
- Cracks or blisters on the roof surface: Moisture trapped under the roofing material may create cracks, bubbles, or blisters, weakening the roof over time.
- Interior drips or dampness: Dripping water or damp walls indoors can cause mold growth and serious long-term damage.
Addressing these leaks quickly can save thousands in repair costs and keep your property safe and operational.
✅ 6 Steps to Repair Flat Roof Leaks
Repairing a flat roof leak doesn’t have to be overwhelming when you break it down into manageable steps. Here’s a clear 6-step guide to help you tackle the issue effectively:
1: Find the Source of the Leak
Start by thoroughly inspecting both the interior and exterior of your roof. Inside, look for signs such as water stains, discoloration, or dampness on ceilings and walls, as these can provide clues to where the leak originates. Pay close attention to corners, joints, and areas around fixtures like light fittings. On the exterior, carefully examine the roof surface, focusing on areas with flashing, vents, or seams. If the leak source isn’t immediately obvious, try a water test: have someone pour water on the suspected area of the roof while you’re inside monitoring for seepage. Take note of the location and the path of the water to pinpoint the trouble spot.
2: Clear Debris and Water
Once you’ve identified the problem area, the next step is to clear any debris, standing water, or dirt from the roof. Use a brush or a broom to carefully remove leaves, branches, or other materials that might obstruct your repair process. If there’s standing water, mop it up or use a wet/dry vacuum to ensure the surface is completely dry. A clean and dry roof is crucial for effective repairs, as adhesive materials won’t stick properly to wet or dirty surfaces. Take your time during this step to prepare the area thoroughly—proper preparation is the foundation of a successful fix.
3: Inspect for Damage
Carefully examine the cleaned area for visible signs of damage. Look for cracks, blisters, tears, or punctures in the roofing material. If you have a shingled roof, check for missing, warped, or broken shingles. For flat roofs, focus on small blisters or bubbles, as these can indicate trapped moisture beneath the surface. Document the extent of the damage by taking photos or making detailed notes. This will help you decide whether a simple patch is sufficient or if a more comprehensive repair is required. Don’t forget to inspect nearby areas as well—sometimes damage can extend beyond what’s immediately visible.
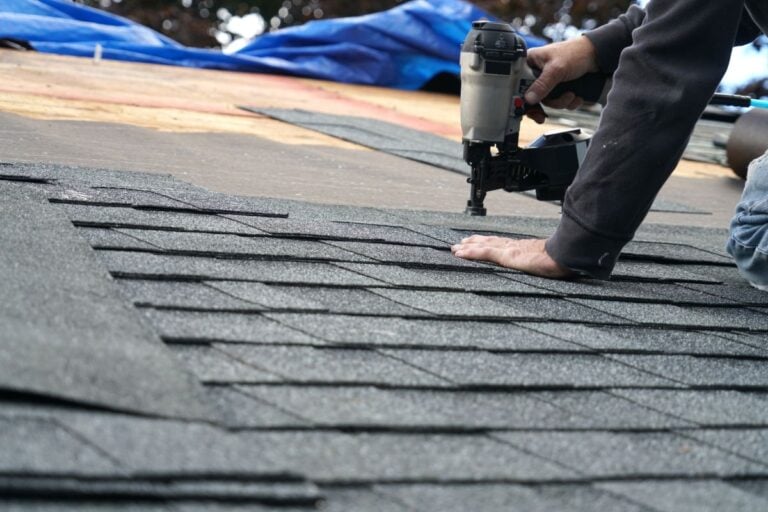
4: Apply a Roofing Patch
For minor leaks, a roofing patch can be a quick and effective solution. Start by cutting a piece of roofing material slightly larger than the damaged area. This ensures full coverage and prevents the leak from spreading. Apply a generous layer of roofing adhesive to the back of the patch and position it carefully over the affected area. Press it firmly into place, making sure there are no air bubbles or gaps. Use a roller or similar tool to ensure the patch adheres evenly. Pay special attention to the edges, as these are the most vulnerable points. Seal the edges tightly with more adhesive to create a watertight seal.
5: Seal the Repairs
Once the patch is in place, reinforce the repair by applying a waterproof sealant over the entire patched area. Use a brush or a caulking gun to spread the sealant evenly, ensuring it covers all edges and overlaps slightly with the surrounding roofing material. This extra layer of protection helps prevent water from seeping in again and adds durability to the repair. Allow the sealant to dry completely as per the product’s instructions, which may take several hours or more, depending on the brand and weather conditions. Don’t rush this step—proper sealing is key to a long-lasting fix.
6: Inspect and Monitor
After the repair is complete, take the time to carefully inspect the roof again to ensure no damaged areas were overlooked. Check the patched section to confirm it’s secure and fully sealed. Over the next few days, monitor the repair site, especially during rain or wet conditions, to ensure the leak has been resolved. If you notice any continued seepage or new problem areas, reassess the damage and consider whether additional repairs are needed. Remember, while DIY fixes can be effective for small issues, recurring leaks or extensive damage should always be addressed by a professional roofer to ensure the integrity of your roof over time.
🛠️ How to Prevent Future Leaks
Prevention is always better than cure, especially when it comes to roofing. Here are some tips to avoid future flat roof leaks:
1. Schedule Regular Roof Inspections
Flat roofs are prone to wear and tear, even when they appear fine on the surface. To ensure your roof remains in good condition, hire experienced roofing professionals to conduct thorough inspections at least twice a year—ideally in the spring and fall. They can identify potential issues such as cracks, weak spots, or pooling water before they escalate into costly repairs or replacements. Regular inspections can save you money in the long run by catching problems early and ensuring your roof remains structurally sound.
2. Clean Gutters and Drains
Debris such as leaves, dirt, and branches can quickly clog your flat roof’s drainage system, leading to standing water and unnecessary stress on the roof. Standing water is one of the most common causes of leaks and roof failure. Make it a habit to clear your gutters and drains regularly, especially after storms or during the fall when debris tends to accumulate. If cleaning isn’t something you want to tackle yourself, consider hiring professionals to ensure the job is done thoroughly. A clean drainage system is essential to prevent water damage and extend the life of your roof.
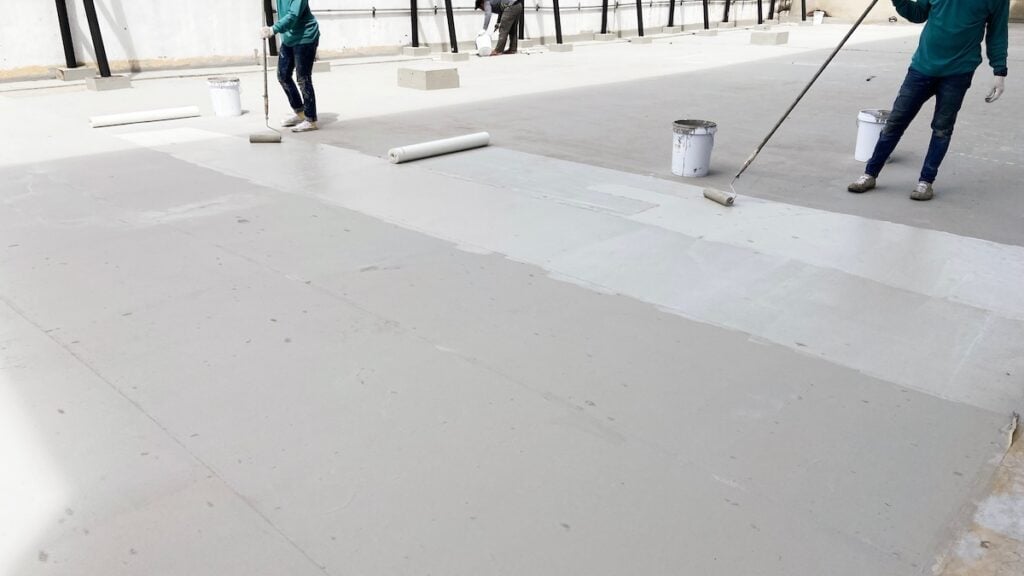
3. Install a Waterproof Membrane
If your flat roof’s material is nearing the end of its lifespan or showing signs of damage, it’s time to consider installing a high-quality waterproof roofing membrane. These membranes provide an extra layer of protection against leaks, UV damage, and weather-related wear and tear. Materials such as EPDM, TPO, or PVC membranes are durable and can significantly enhance your roof’s ability to withstand harsh conditions. This upgrade not only reduces the chances of leaks but also improves energy efficiency by reflecting heat, which can help lower cooling costs in warm climates.
4. Conduct Seasonal Maintenance
Seasonal changes can take a toll on flat roofs. Heavy rain, snow, high winds, and extreme heat can all contribute to the deterioration of roofing materials. To stay ahead of potential damage, perform seasonal maintenance to prepare your roof for the challenges of each season. For example, before winter, make sure the roof is clear of debris and check for cracks or weak spots that could worsen under the weight of snow. In the summer, inspect for UV damage or blistering caused by prolonged heat exposure. Proactive maintenance helps your roof endure the changing seasons and reduces the risk of sudden, costly damage.
🏢 Flat Roof Repair
When it comes to flat roof leak repair, Palladium Roofing is the team you can trust to deliver reliable, high-quality results. With our certified expertise, transparent communication, use of premium materials, and proven customer satisfaction, we ensure your roof is repaired quickly and effectively to protect your business.
Don’t let a leaking roof disrupt your operations—reach out to Palladium Roofing today. Call us or schedule your free inspection online, and let us provide you with the roofing solutions you deserve.
Related Articles