How To Install Architectural Shingles (Homeowner’s Guide)
Thinking about upgrading your roof? Architectural shingles might just be the perfect choice. Known for their durability and aesthetic appeal, these shingles offer a stylish look while providing long-lasting protection for your home. If you’re ready to tackle this project, or just curious about the process, you’ve come to the right place. This guide will walk you through everything you need to know about installing architectural shingles., including:
- What are architectural shingles?
- Preparing for installation
- How to install architectural shingles in 7 steps
- Maintaining your new roof
🤔 What Are Architectural Shingles?
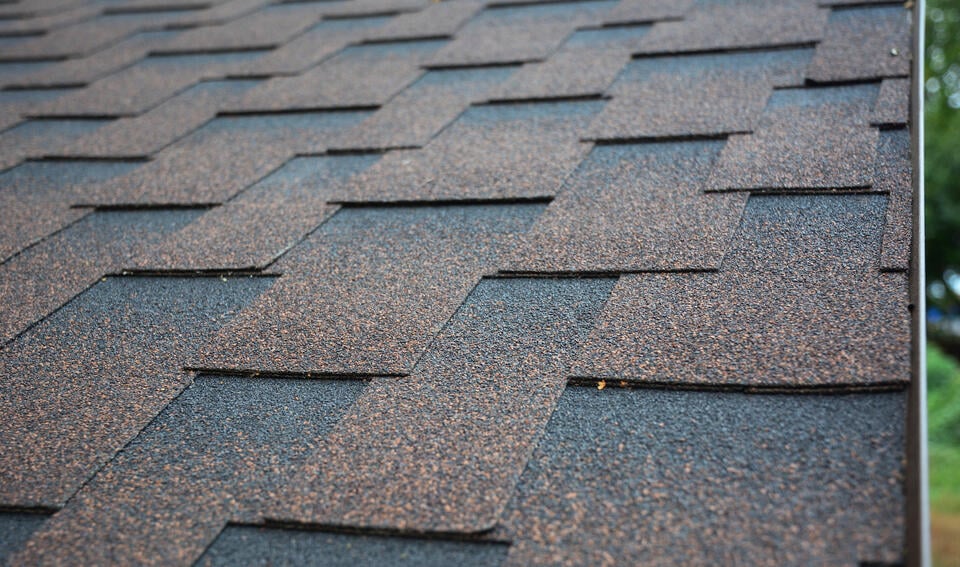
Architectural shingles, also known as dimensional or laminated shingles, offer several benefits over traditional three-tab shingles. They are thicker and have a more layered and textured appearance, mimicking the look of wood shake or slate. This not only enhances the curb appeal of your home but also adds value.
Their durability is another standout feature. Thanks to their multiple layers and high-quality materials, architectural shingles are more resistant to wind and weather damage. Many manufacturers offer warranties ranging from 30 to 50 years, proving they are a solid long-term investment in your home.
Why Choose Architectural Shingles?
Architectural shingles are an excellent choice for homeowners looking to combine aesthetics with durability. They are available in a wide range of colors and styles, allowing you to find the perfect match for your home’s exterior. Additionally, their durability means fewer repairs and replacements over time, saving you money in the long run.
Key Benefits:
- Wide variety of colors and styles to suit your home’s design
- Enhanced durability for fewer repairs and replacements
- Energy efficiency with reflective granules to reduce heat absorption
- Eco-friendly choice that helps keep your home cooler in summer
Cost Considerations
While architectural shingles are more expensive than three-tab shingles, their benefits can justify the cost. The initial investment is higher, but the longevity and reduced maintenance costs often lead to a lower overall expense over the life of the roof. Plus, they can increase your home’s resale value, making them a smart investment for the future.
If budget is a concern, consult with a roofing professional to explore your options. They can help you find a balance between quality and affordability, ensuring you get the best value for your money.
👉 Preparing for Installation
Ensure that your roof surface is clean, dry, and structurally sound prior to shingle installation. Proper preparation helps prevent issues such as water infiltration and extends the lifespan of the shingles, resulting in a more durable and effective roofing system.
Assessing Your Existing Roof
Before installing architectural shingles, it’s essential to assess your current roof’s condition. Check for any signs of damage, such as missing or broken shingles, leaks, or sagging areas. Addressing these issues before beginning installation ensures a smooth process and a secure new roof.
If you’re unsure how to perform an inspection, consider hiring a professional. They can provide a comprehensive assessment and recommend any necessary repairs before installation begins. This step is crucial for ensuring the longevity and performance of your new shingles.
Gathering Necessary Tools and Materials
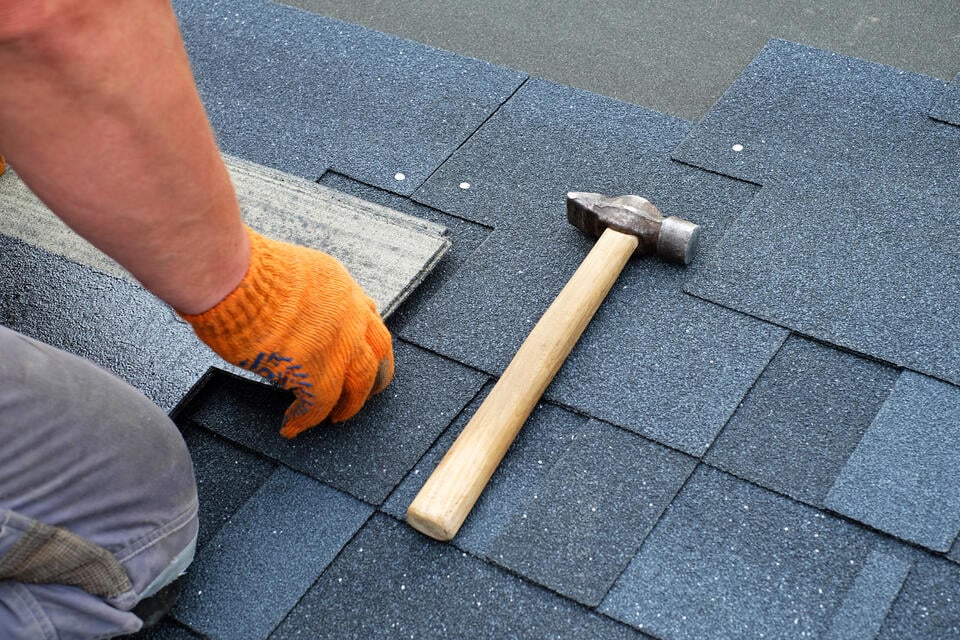
Having the right tools and materials is critical for a successful roofing project. You’ll need a roofing nailer, nails, a utility knife, a hammer, a ladder, and safety gear. Additionally, you’ll need underlayment, flashing, and starter shingles to complete the installation.
Consider sourcing high-quality materials to ensure your new roof stands the test of time. Purchasing from reputable suppliers or manufacturers can provide peace of mind and potentially better warranties. If you’re unsure about sourcing materials, consult your roofing professional for guidance.
Planning for Safety
Safety should be your top priority when working on a roof. Ensure you have the necessary safety equipment, such as a harness, hard hat, and non-slip shoes. Always work with a partner, especially if you’re inexperienced in roofing tasks.
It’s also important to keep the work area clean and organized. Remove any debris or hazards from the roof before beginning, and be mindful of weather conditions. Avoid working on the roof during rain or high winds to prevent accidents.
Preparing the Roof Surface
Preparing the roof surface is a crucial step in the installation process. Start by removing the old shingles, being careful to check for any underlying damage. Once removed, inspect the roof deck for any rotting or damaged wood and make necessary repairs.
Next, apply an underlayment to create a protective barrier between the roof deck and the new shingles. This layer helps prevent leaks and adds an extra level of protection against the elements. Ensure the underlayment is installed smoothly and securely before moving on to the next step.
Installing Starter Shingles
Starter shingles are essential for protecting the eaves and rakes of your roof from water damage. Begin by installing these along the edges of the roof, ensuring they overhang slightly. This overhang will help channel water away from the roof and into the gutters.
Secure the starter shingles with roofing nails, making sure they’re evenly spaced and aligned. Proper installation of starter shingles provides a solid foundation for the rest of the shingles and helps prevent wind uplift at the edges of your roof.
🛠️ How to Install Architectural Shingles in 7 Steps
Installing architectural shingles properly is crucial for ensuring the longevity and effectiveness of your roofing system. This process not only enhances the aesthetic appeal of your home but also protects it from the elements, preventing potential leaks and damage.
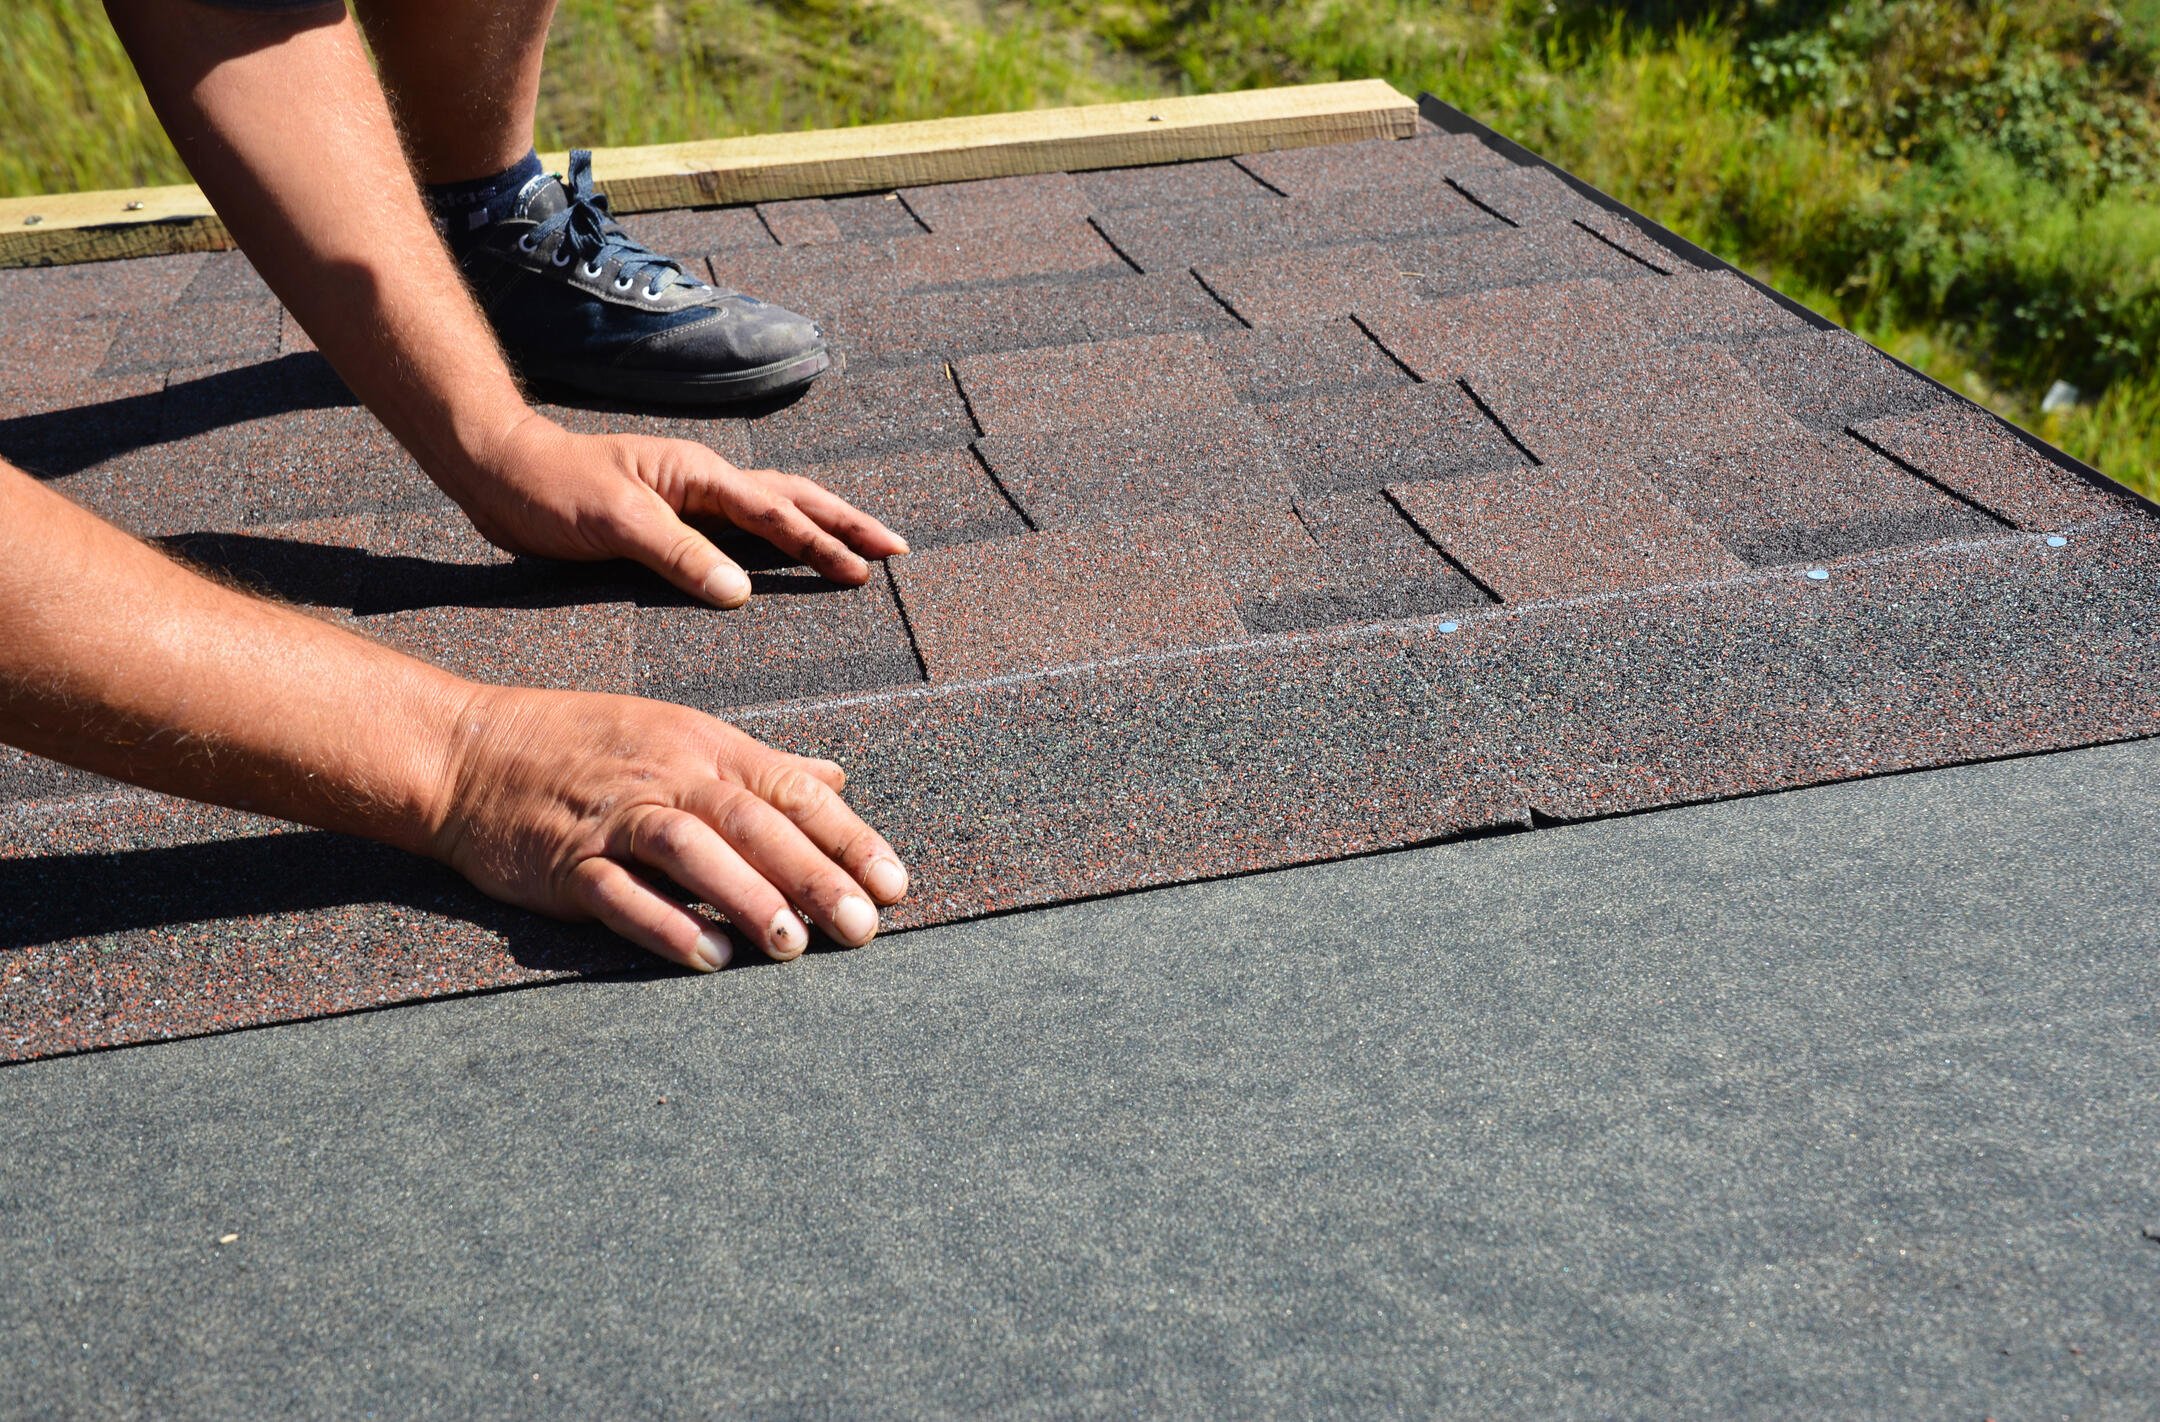
1. Align the First Row
Begin your installation at the bottom edge of the roof, working your way up. It’s crucial to align the first row of shingles with the starter row properly. This alignment not only ensures a neat appearance but also allows for optimal water runoff. Make sure the shingles overhang the eaves by about half an inch; this overhang prevents water from seeping into the roof’s structure and directs it effectively off the roof.
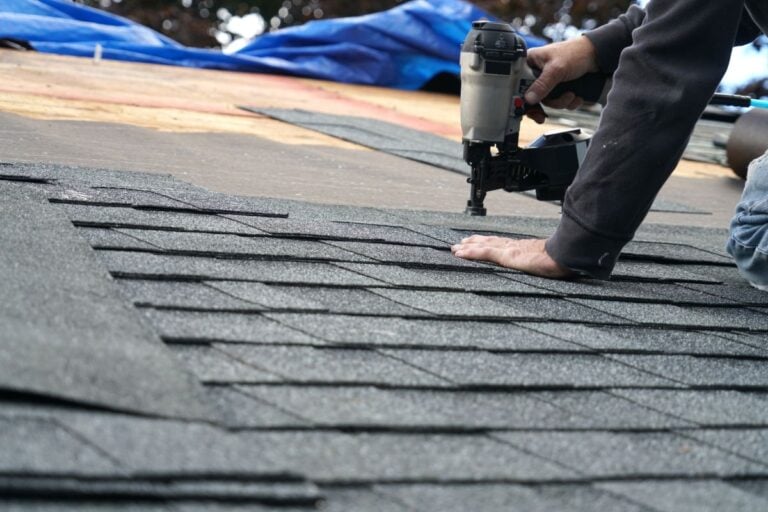
2. Nail the Shingles
Securing each shingle is a vital step in the installation process. Use four to six nails per shingle based on the manufacturer’s recommendations. The number of nails can vary depending on wind zones and local building codes. Ensure that the nails are placed about an inch above the cutouts of the shingles and driven straight to avoid damaging them. Incorrect nailing can lead to leaks and premature shingle failure, so take your time and ensure each nail is correctly positioned and driven flush with the shingle surface.
3. Stagger the Rows
When installing subsequent rows, it’s important to stagger the shingles to create a layered, dimensional effect. Staggering not only enhances the aesthetic appeal of the roof but also significantly improves its resistance to wind and water. By offsetting the shingles, you create a more robust barrier against the elements. This technique helps prevent water from flowing directly down the seams, which could lead to leaks. Aim for a staggered pattern that shifts each row by at least a few inches from the row below it.
4. Install the Next Rows
Continue the installation by adding shingles row by row, ensuring that each new row overlaps the previous one by the recommended amount, typically around 5 to 6 inches. This overlap is essential for ensuring that water does not penetrate beneath the shingles. Pay attention to the alignment as you progress; maintaining a straight line will contribute to a professional-looking roof. Use a chalk line if necessary to keep your rows even and aligned throughout the installation.
5. Cut Shingles for Edges
When you reach the roof’s edges and any chimneys, you’ll need to cut shingles to fit snugly. Use a straight edge and a utility knife for clean cuts, which will ensure a tight fit and a polished finish. Cutting shingles accurately is crucial as improperly fitted shingles can allow water to seep underneath, leading to leaks and damage over time. Take your time with this step to ensure that each cut piece matches perfectly with the surrounding shingles.
6. Install Ridge Cap Shingles
To finish off your roofing project, install ridge cap shingles at the peak of the roof. These specialized shingles are designed to cover the ridge, providing a finished look while also protecting against leaks. Make sure to install them in a way that allows water to flow off the roof seamlessly. The ridge cap should be installed with the same nailing pattern as the other shingles, ensuring they remain secure against wind uplift.
7. Inspect Your Work
After completing the installation, conduct a thorough inspection of your work. Look for any loose shingles, exposed nails, or areas that might need additional sealing to prevent leaks. A careful inspection allows you to catch any potential issues before they become significant problems. Check for proper alignment and overlap, and ensure that all shingles are securely attached. It’s also a good idea to review the manufacturer’s guidelines one last time to confirm that your installation adheres to their specifications and best practices.
Tip: Always refer to the manufacturer’s guidelines for specific recommendations and best practices for installation. Following these steps will help ensure a long-lasting and durable roof that enhances your home’s appearance and protects it from the elements.
💡 Maintaining Your New Roof
Maintaining your new roof is crucial to ensure its longevity and prevent costly repairs down the line. Regular inspections and upkeep can help identify potential issues early, safeguarding your home and investment.
- Regular Inspections: Regular inspections are key to maintaining your new roof’s integrity. Check for any signs of damage, such as cracked or missing shingles, after severe weather. Early detection of issues allows for timely repairs, extending the life of your roof.
- Cleaning and Debris Removal: Keeping your roof clean and free of debris is essential for its longevity. Leaves, branches, and dirt can accumulate and cause water to pool, leading to damage over time. Regularly remove debris and clean your gutters to prevent clogs and water buildup.
- Addressing Repairs Promptly: Promptly addressing any repairs is crucial for preventing minor issues from becoming major problems. If you notice damaged shingles or leaks, take action immediately to avoid further damage. Small repairs are often manageable, but extensive damage may require professional intervention.
🙌 Enhancing Your Home’s Roofing with Expert Architectural Shingle Installation
Installing architectural shingles can significantly enhance the durability and visual appeal of your home’s roofing system. However, the complexity of the installation process requires precision and expertise to ensure optimal performance and longevity. At Palladium Roofing, our dedicated team of professionals is committed to delivering quality workmanship and exceptional service, ensuring each project meets the highest standards. With years of experience and a focus on customer satisfaction, we are the team you can trust for all your roofing needs. To learn more about our services or to schedule a consultation, contact us today and allow us to provide the reliable and proficient roofing solutions your home deserves.
Related Articles