How to Install Ridge Cap Shingles (In 5 Steps)

Installing ridge cap shingles is a vital step in completing any roofing project, ensuring both functionality and aesthetic appeal. Ridge cap shingles are specially designed to protect the peak of the roof from weather elements while providing a polished, finished look. This article will guide you through the process of installing ridge cap shingles, detailing the tools and materials needed, offering tips for choosing the right shingles, and providing a step-by-step installation guide. This guide will cover everything you need to know about how to install ridge cap shingles, including:
- Understanding ridge cap shingles
- How to choose the right ridge cap shingles
- Tools and materials needed for installation
- A step-by-step installation guide and additional tips
- FAQs
🤔 Understanding Ridge Cap Shingles
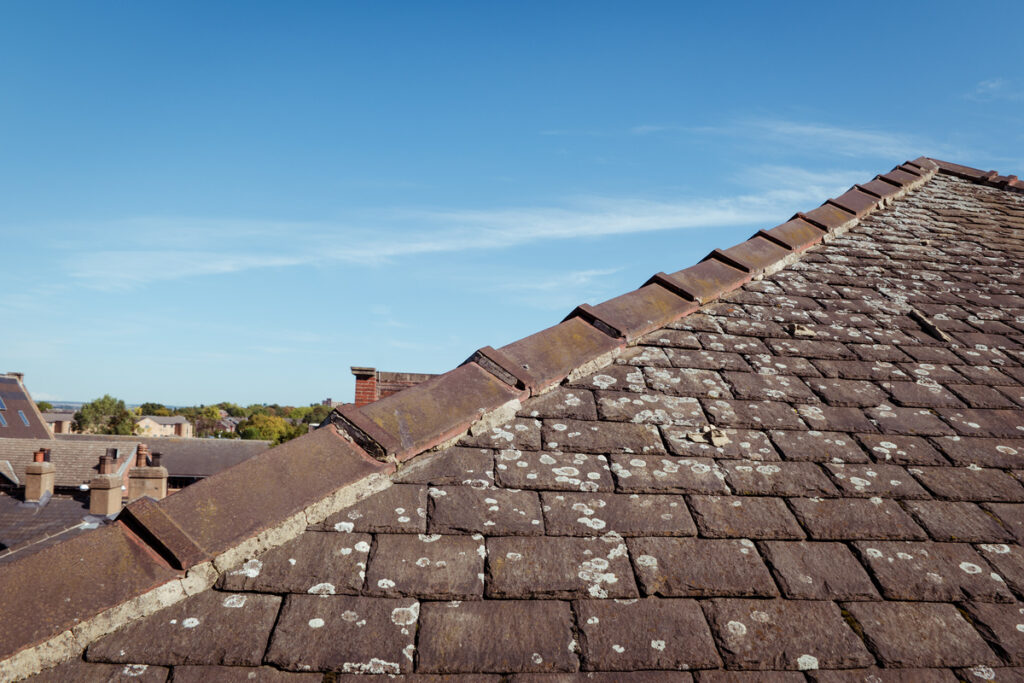
Ridge cap shingles are specifically designed shingles that are installed along the ridges and hips of a roof. Unlike regular shingles, ridge cap shingles are pre-cut to fit the contours of the roof’s peak. They provide a neat, finished look while ensuring the roof is watertight and protected against wind and weather. For guidance tailored to Oklahoma homes, our roofing experts in Edmond can help you select the perfect ridge cap solution for your roof’s design and structure.
Purpose of Ridge Cap Shingles
- Protection: Ridge cap shingles seal the roof’s peak, preventing water, snow, and debris from entering the roof structure. They also protect the ridge vent, which allows for proper ventilation.
- Aesthetic Appeal: These shingles give the roof a clean, finished look, enhancing the overall appearance of the home.
- Wind Resistance: Ridge cap shingles help to secure the roof against high winds by providing an additional layer of protection at the most vulnerable part of the roof.
👉 How to Choose the Right Ridge Cap Shingle
Choosing the right ridge cap shingle is crucial for ensuring the longevity and aesthetic harmony of your roof. Here are some key factors to consider when selecting ridge cap shingles that will complement and protect your roofing system effectively:
- Material Compatibility: Ensure the ridge cap shingles are compatible with the material of your main roofing shingles.
- Color and Style: Choose shingles that match the color and style of your roof for a cohesive look.
- Durability: Select shingles that are durable and can withstand the weather conditions in your area.
- Manufacturer Recommendations: Follow the recommendations of your main shingle manufacturer for the best results.
🧰 Tools and Materials Needed for Installation
Using the right tools and materials is essential for a successful ridge cap shingle installation. Here is a list of the necessary tools and materials to ensure a durable and professional finish:
Essential Tools
- Hammer or Roofing Nailer: Used to fasten the shingles.
- Utility Knife: For cutting shingles to size.
- Measuring Tape: To ensure accurate measurements.
- Chalk Line: For marking straight lines on the roof.
- Pry Bar: For removing old shingles or nails.
- Caulk Gun: For applying roofing sealant.
Materials
- Ridge Cap Shingles: Pre-cut shingles designed for ridge installation.
- Roofing Nails: Corrosion-resistant nails suitable for roofing.
- Roofing Sealant: To seal the edges and ensure watertightness.
- Underlayment: Additional protective layer beneath the shingles.
🛠️ Step-by-Step Installation Guide in 5 Steps

1: Preparation
- Safety First: Ensure you have proper safety gear, including gloves, safety glasses, and a harness if working on a steep roof.
- Clean the Ridge: Remove any debris, old shingles, or nails from the ridge area.
- Measure and Mark: Use a measuring tape and chalk line to mark the centerline of the ridge.
2: Laying the Underlayment
- Cut the Underlayment: Cut the underlayment to fit the length of the ridge.
- Install the Underlayment: Lay the underlayment along the ridge and secure it with roofing nails.
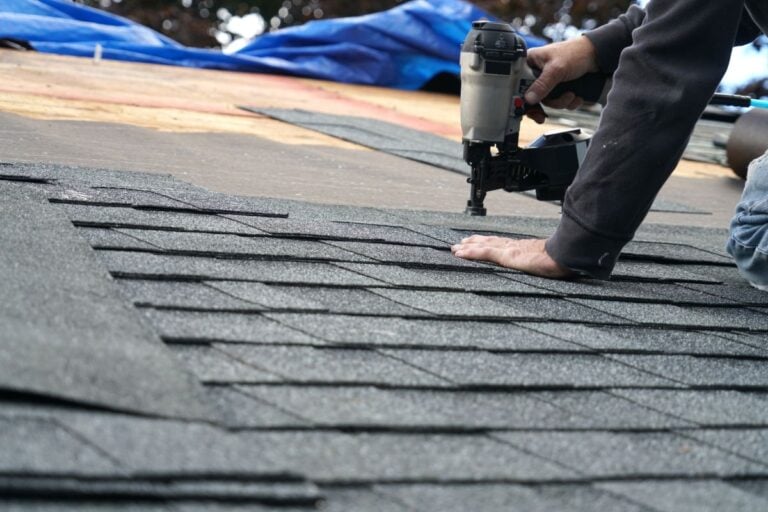
3: Installing the Ridge Cap Shingles
- Start at One End: Begin at one end of the ridge, usually the end opposite the prevailing wind direction.
- Place the First Shingle: Position the first ridge cap shingle so that it overhangs the edge of the roof slightly.
- Nail the Shingle: Secure the shingle with roofing nails, placing them about 1 inch from each edge and 1 inch up from the shingle’s bottom edge.
- Overlap Shingles: Lay the next shingle so it overlaps the first one by about half its length. Continue this process along the ridge, ensuring each shingle is securely nailed.
4: Sealing the Edges
- Apply Roofing Sealant: Use a caulk gun to apply roofing sealant along the edges of the ridge cap shingles for added protection against water infiltration.
5: Final Inspection
- Check for Proper Installation: Ensure all shingles are securely fastened and properly aligned.
- Clean Up: Remove any leftover materials and tools from the roof.
💡 Tips for a Successful Installation
- Work in Ideal Weather Conditions: Avoid installing ridge cap shingles in extreme temperatures or during rain. Ideal conditions are dry and mild weather.
- Follow Manufacturer Instructions: Always follow the specific instructions provided by the shingle manufacturer for the best results.
- Use Quality Materials: Invest in high-quality shingles and roofing nails to ensure a durable and long-lasting installation.
- Take Your Time: Carefully measure and align each shingle to ensure a neat and professional finish.
- Safety First: Always prioritize safety by using proper equipment and taking necessary precautions when working on the roof.
❓ FAQs About Ridge Cap Shingles
What is the Difference Between Regular Shingles and Ridge Cap Shingles?
Regular shingles are designed for the main body of the roof, while ridge cap shingles are specifically shaped and cut to fit the ridges and hips of the roof. Ridge cap shingles provide a finished look and added protection at the roof’s peak.
Can I Make Ridge Cap Shingles from Regular Shingles?
Yes, you can cut regular shingles to make ridge cap shingles, but it is often easier and more efficient to use pre-cut ridge cap shingles. Pre-cut shingles ensure a uniform fit and save time.
How Long Do Ridge Cap Shingles Last?
The lifespan of ridge cap shingles depends on the material and quality, but they generally last as long as the main roofing shingles, typically 20-30 years or more.
Do I Need Special Nails for Ridge Cap Shingles?
Yes, it is recommended to use corrosion-resistant roofing nails for installing ridge cap shingles. These nails are designed to withstand the elements and provide a secure hold.
How Much Do Ridge Cap Shingles Cost?
The cost of ridge cap shingles varies based on the material, brand, and quantity needed. On average, expect to pay between $50 and $100 per bundle, with each bundle covering about 20 linear feet.
❌ Common Mistakes to Avoid
- Improper Overlapping: Ensure each shingle overlaps the previous one adequately to prevent water infiltration.
- Using Incorrect Nails: Using the wrong type of nails can lead to shingle failure. Always use roofing nails specified for ridge cap shingles.
- Skipping Sealant: Failing to apply roofing sealant can result in leaks and water damage. Always seal the edges of the shingles.
- Ignoring Manufacturer Guidelines: Each type of shingle may have specific installation requirements. Always follow the manufacturer’s instructions.
We’ve Got You Covered
Installing ridge cap shingles is a crucial step in completing a roofing project, providing essential protection and a polished look to the roof’s peak. By understanding the purpose of ridge cap shingles, choosing the right materials, and following a step-by-step installation guide, you can ensure a successful and durable installation. Always prioritize safety, use quality materials, and take your time to achieve a professional finish. Our team at Palladium Roofing is eager to learn more about your situation so we can provide you with the best service.
Reach out to get in touch with our team.
Related Articles