How to Install Roof Shingles – Tools, Placement, & More
Installing roof shingles can seem daunting, but it’s manageable for the handy homeowner, if you have:
- A bit of planning
- The right tools
- This detailed guide
Whether you’re repairing a small section or replacing your entire roof, this step-by-step guide is designed to teach you how to install roof shingles.
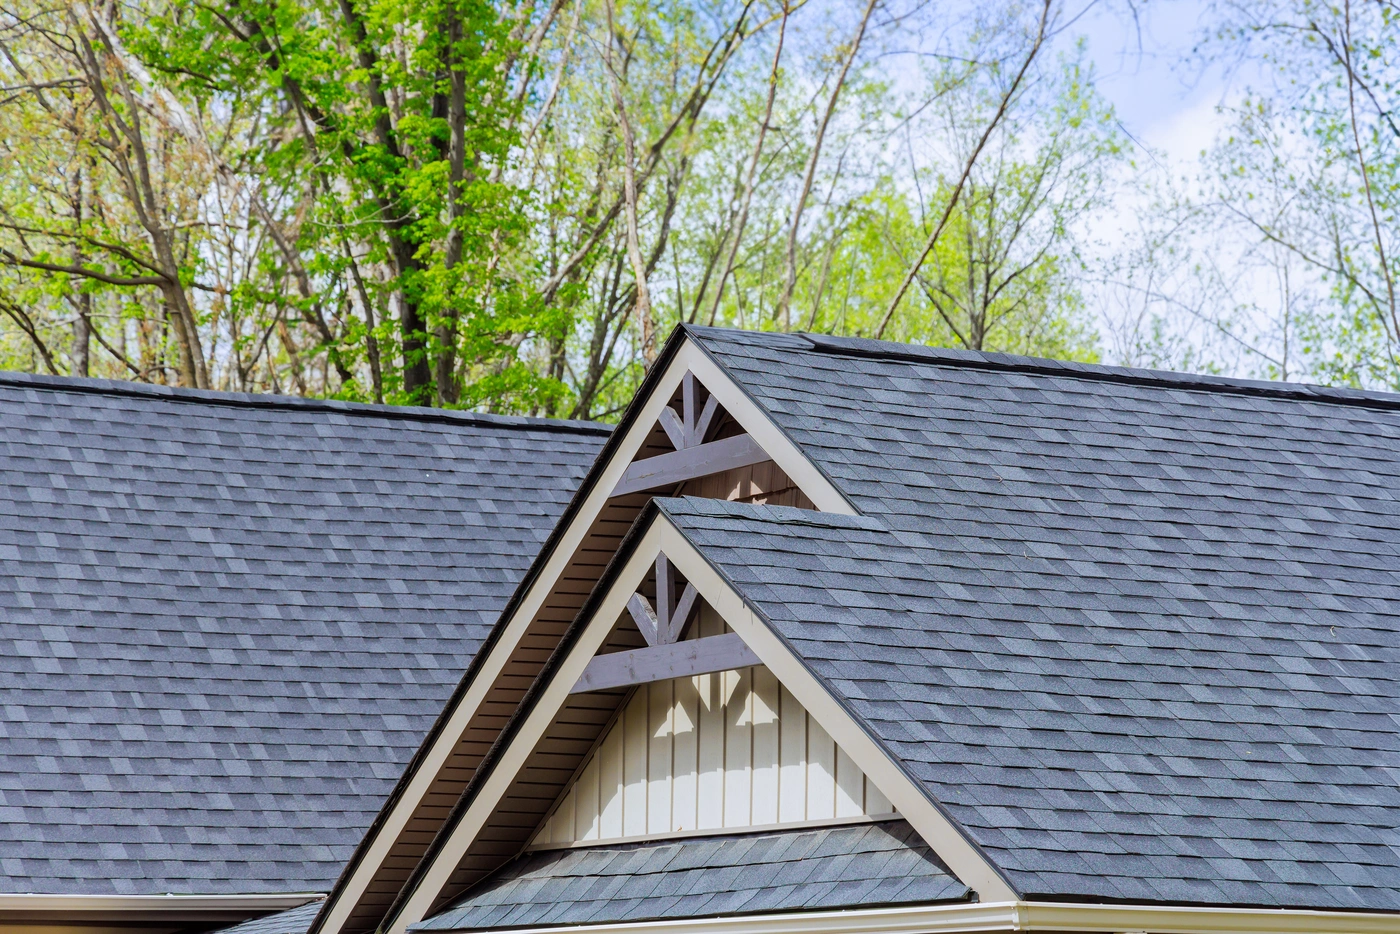
Why Choose Roof Shingles

Roof shingles are by far the most popular roofing material on the market. They’re known for being affordable, durable, and versatile. They work well for almost any style of home, or commercial property.
If you are leaning towards installing a shingle roof, you’re in luck. After all, asphalt shingles also happen to be one of the easiest roofing materials to install without much experience!
Materials and Tools You’ll Need
Before you start, gather all the necessary materials and tools. Having everything on hand will make the installation process smoother and more efficient.
Materials:
- Asphalt shingles
- Roofing nails
- Roofing underlayment (felt paper or synthetic)
- Drip edge
- Flashing
- Ridge cap shingles
- Adhesive or roofing cement
Tools:
- Hammer or roofing nail gun
- Utility knife or shingle cutter
- Tape measure
- Chalk line
- Ladder
- Safety harness
- Roofing shovel or pry bar (for removing old shingles)
- Roofing hatchet (optional)
- Work gloves
- Safety glasses
Installing Your Shingle Roof: 16 Steps
Preparation is key to a successful shingle installation. Follow these steps to get your roof ready:
1) Safety First
Always use a sturdy ladder and wear a safety harness when working on the roof. Wear work gloves and safety glasses to protect your hands and eyes.
2) Remove Old Shingles

Use a roofing shovel or pry bar to remove the old shingles and nails. Start at the peak and work your way down.
Be sure to inspect the roof deck for any damage. Replace any rotten or damaged wood.
3) Install the Drip Edge
The drip edge prevents water from getting under the shingles and causing damage to the roof deck. Nail the drip edge along the eaves first, then along the rakes.
4) Installing the Underlayment
The underlayment is a protective layer between the roof deck and the shingles. It helps prevent water infiltration and adds an extra layer of protection against the elements.
5) Roll Out the Underlayment
Start at the bottom of the roof and roll out the underlayment horizontally. Overlap each row by about 2 inches. Secure the underlayment with roofing nails, placed about 12 inches apart.
6) Install Flashing
Flashing is used to seal joints and valleys where different parts of the roof meet. Place flashing around chimneys, vents, and any other roof protrusions. Secure it with roofing nails and seal the edges with roofing cement.
7) Laying the Starter Shingles
Starter shingles are the first row of shingles installed at the eaves. They provide a solid base for the rest of the shingles.
8) Cut the Starter Shingles
Cut the tabs off a row of shingles to create starter shingles. This creates a flat, straight edge.
9) Install the Starter Shingles
Lay the starter shingles with the adhesive strip facing up and towards the roof edge. Nail the starter shingles in place, using four nails per shingle. Place the nails about 1 inch from the edges and 6 inches apart.
10) Installing the Shingles
Now that the starter course is in place, you can begin installing the main shingles.
11) Align the Shingles
Start at the bottom corner of the roof and work your way across and up. Use a chalk line to create a straight line as a guide for the first row of shingles.
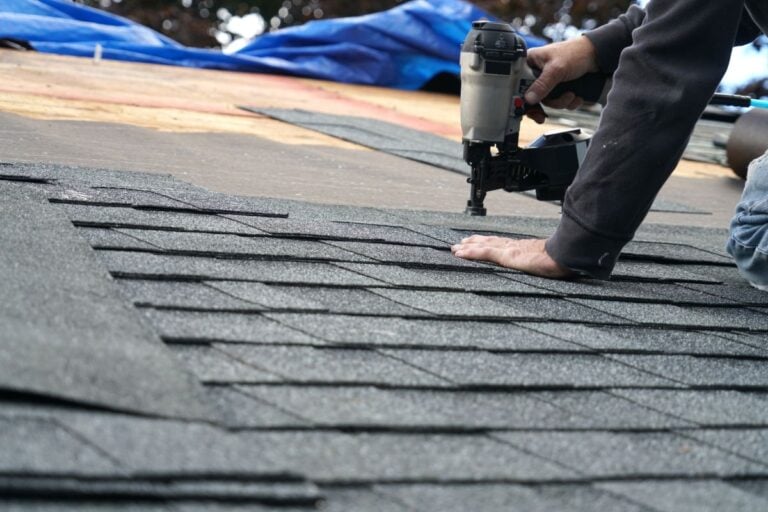
12) Place the Shingles
Lay the first shingle so that it overhangs the edge of the roof slightly. Use four nails per shingle, placed about 1 inch from the edges and 12 inches apart.
Stagger the shingles in each row to prevent the seams from lining up. This provides better waterproofing and a more aesthetically pleasing look.
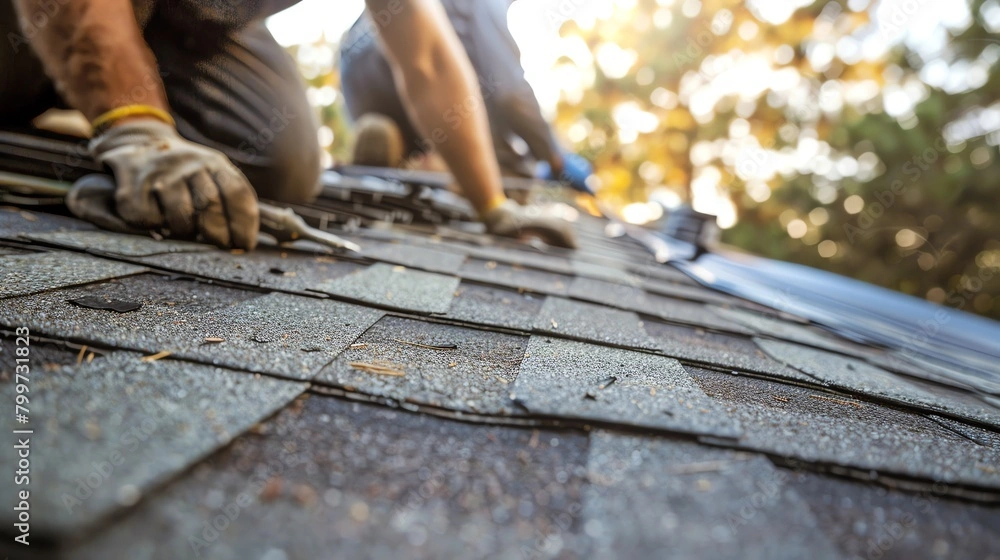
13) Continue Installing Shingles
Continue laying shingles row by row, overlapping each row by half a tab width.
Trim the shingles to fit around roof penetrations such as chimneys and vents. Use flashing and roofing cement to seal around these areas.
14) Installing Ridge Cap Shingles
Ridge cap shingles are installed along the peak of the roof to provide a finished look and additional protection.
15) Prepare the Ridge Cap Shingles
Cut standard shingles into individual ridge cap shingles. Each piece should be about 12 inches wide.
16) Install the Ridge Cap Shingles
Start at one end of the roof and work your way to the other end. Lay each ridge cap shingle so that it overlaps the one below it. Nail each shingle in place, using two nails per shingle, placed about 6 inches apart.
Final Inspection and Maintenance Tips
Once all the shingles are installed, take the time to inspect your work.
Final Inspection
- Check for any loose or missing shingles and secure them with nails.
- Ensure that all flashing and seals are properly in place.
Maintenance Tips
- Regularly inspect your roof for damage, especially after storms.
- Keep gutters and downspouts clean to prevent water backup.
- Trim overhanging branches to prevent them from damaging the shingles.
Professional Installation for Asphalt Roofing Shingles
Installing roof shingles is a task that requires attention to detail and patience. By following this step-by-step guide, DIY homeowners can achieve professional results and enjoy the satisfaction of a job well done. Remember, safety is paramount, so always take the necessary precautions when working on your roof.
Sometimes, though, it’s just easier to leave your roof replacement to the pros! Contact Palladium Roofing today for a newly shingled roof that you’ll love!
Related Articles