How To Shingle A Roof (In 10 Steps)

Shingling a roof may seem like a daunting task, but with the right tools, materials, and instructions, it’s a project that any determined DIY enthusiast can tackle. This expert guide will take you through every step of the process, including:
- The materials you need
- The benefits of DIY roofing
- When to call in a professional
Why Shingle Your Roof?
Before we get into the how-to, let’s talk about why you might choose to shingle your own roof. For many homeowners, it’s a combination of cost savings and personal satisfaction. Roofing contractors can be expensive, and while their expertise is invaluable for some jobs, many roofing tasks can be done by handy homeowners with the right guidance.
Shingling your own roof also allows you to have full control over the materials and quality of work. Plus, it’s a great way to gain a deeper understanding of your home’s structure and maintenance needs.
Materials and Tools You’ll Need
Before you get started, it’s important to make sure you are prepared with all of the materials you ened for a successful installation.
Materials
- Asphalt shingles (the most common type for residential homes)
- Underlayment (roofing felt or synthetic underlayment)
- Starter strip shingles
- Ridge cap shingles
- Roofing nails
- Roofing cement
Tools
- Hammer or pneumatic nailer
- Utility knife
- Tape measure
- Chalk line
- Roofing shovel or pry bar (for removing old shingles)
- Ladder
- Safety harness
- Gloves
- Safety goggles
🚨 Safety First 🚨
Before you start, prioritize safety. Roofing can be dangerous, especially if you’re not used to working at heights.
- Use a sturdy ladder and make sure it’s on solid, level ground.
- Wear a safety harness attached to a secure anchor point.
- Work gloves and safety goggles are essential to protect your hands and eyes.
Also, be mindful of weather conditions. Avoid working on the roof during wet, windy, or excessively hot weather.
10 Step Guide to Shingling Your Roof

Ready to get started? Follow these steps to install your asphalt roofing shingles properly!
1. Remove Old Shingles
If you’re re-roofing, the first step is to remove the old shingles. Use a roofing shovel or pry bar to lift the shingles and pull out the nails. Work from the top down to prevent debris from falling onto already cleaned areas.
Dispose of the old shingles properly, following local regulations.
2. Inspect the Roof Deck
Once the old shingles are removed, inspect the roof deck for any damage. Look for:
- Rotten wood that needs to be replaced
- Loose sheathing that should be re-nailed
- Any other structural issues that need addressing before you proceed
3. Install the Underlayment
Underlayment provides a waterproof barrier between the shingles and the roof deck. Roll out the underlayment starting from the bottom edge of the roof (eave) and work your way up. Overlap each row by about 4 inches.
Secure the underlayment with roofing nails, ensuring it lies flat without wrinkles.
4. Apply the Starter Strip
Starter strip shingles are essential for preventing water infiltration. Place the starter strip along the eave (bottom edge) of the roof. Make sure the adhesive strip is facing up to help seal the first row of shingles.
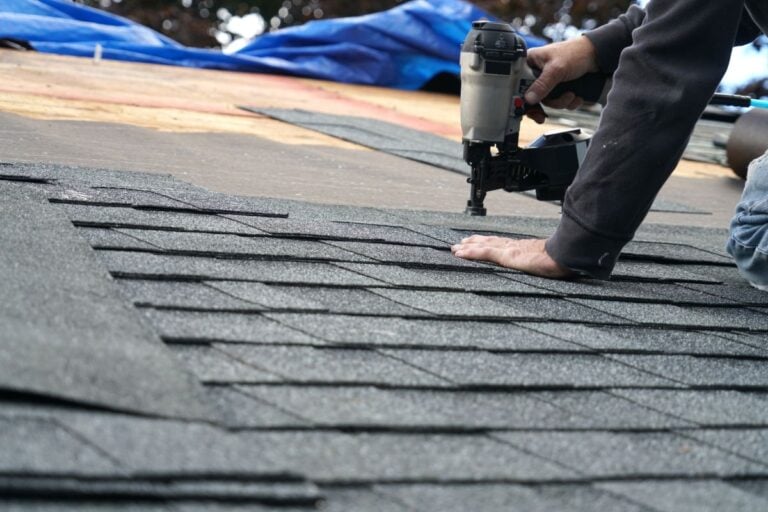
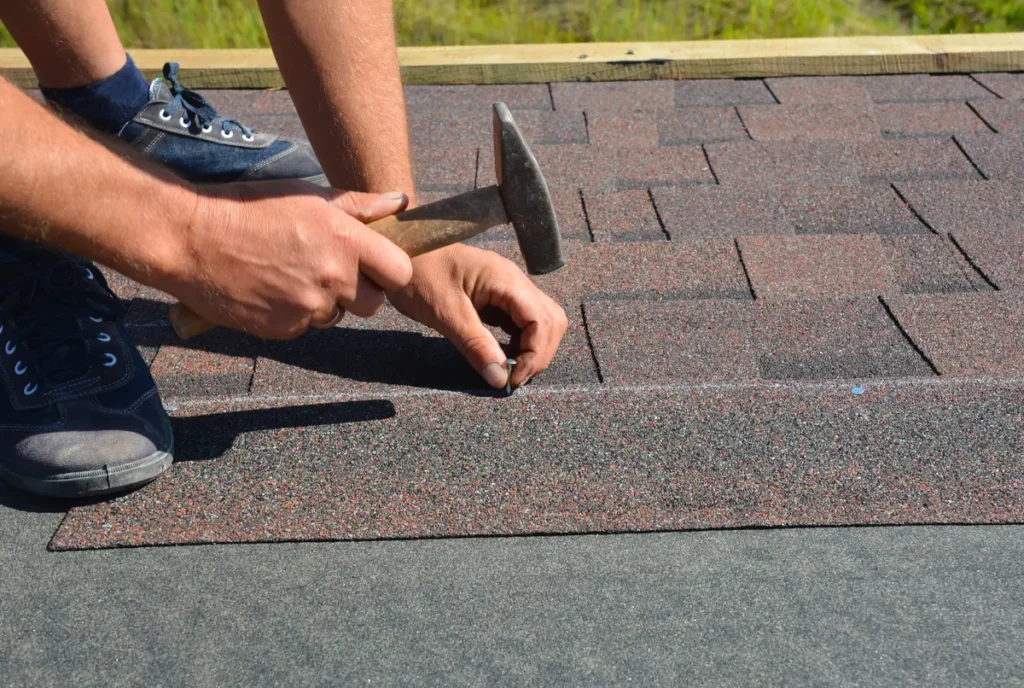
5. Begin Laying Shingles
Start with the first row of shingles at the bottom of the roof, make sure you have the right amount of shingles needed. Align the shingles with the starter strip, with the tabs facing down. Use a chalk line to ensure they’re straight.
Nail each shingle in place with four nails, about ¾ inch above the cutout and 1 inch from each end. The nails should be placed just below the adhesive strip.
6. Stagger the Shingles
To create a natural, staggered look and to prevent water infiltration, offset each row of shingles. Cut 6 inches off the first shingle of the second row, then continue laying the full-length shingles. For the third row, cut 12 inches off the first shingle, and so on.
7. Continue Up the Roof
Continue laying shingles, working your way up the roof. Remember to overlap each row with the one below. Use a chalk line every few rows to ensure shingles are aligned properly.
8. Install Flashing
Flashing is essential around roof features like chimneys, vents, and skylights to prevent water from seeping in. Install metal flashing around these features according to the manufacturer’s instructions.
9. Cap the Ridge
Once you reach the ridge (the peak of the roof), install ridge cap shingles. These are specially designed to fit over the ridge and provide a finished look. Secure them with roofing nails, ensuring they overlap correctly to seal out water.
10. Inspect Your Work
After you’ve installed all the shingles, take some time to inspect your work. Look for:
- Loose shingles or nails that need securing
- Gaps or exposed areas that need sealing with roofing cement
- Debris or leftover materials that need cleaning up
Tips for a Professional Finish
- Use consistent pressure when nailing shingles to avoid damaging them.
- Take your time to align shingles properly; small mistakes can lead to big problems.
- Keep the roof clean as you work to avoid tripping hazards and ensure proper sealing.
Common Mistakes to Avoid
Want to make sure your newly shingled roof lasts? Avoid these mistakes often made by beginners.
Poor Alignment
Misaligned shingles not only look bad, but they can also lead to water infiltration. Use a chalk line frequently to ensure rows are straight.
Under or Over-Nailing
Using too few nails can cause shingles to blow off in strong winds, while over-nailing can damage the shingles. Follow the manufacturer’s guidelines for the correct number of nails and placement.
Ignoring Manufacturer Instructions
Different shingles and underlayments have specific installation requirements. Always read and follow the manufacturer’s instructions for the best results.
When to Call in a Professional Roofing Contractor
While many homeowners can handle basic roofing tasks, there are certain situations where it’s wise to enlist the expertise of a professional roofing contractor. Here are some scenarios where professional help is advisable:
- Extensive Damage: If your roof has suffered significant damage due to a storm or hail, such as missing shingles or structural compromise, a professional contractor is equipped to assess and repair the issues thoroughly.
- Complex Roof Designs: Roofs with complex designs, steep pitches, or multiple levels can present additional challenges that require specialized skills and tools.
- Lack of Experience: If you are inexperienced or unsure about completing roofing tasks safely and effectively, it is safer to rely on trained professionals who are accustomed to working at heights and understand the intricacies of roofing systems.
- Time Constraints: Roofing projects can be time-consuming. If you are unable to dedicate the requisite time or need the project completed quickly, hiring a contractor can ensure timely completion.
- Building Compliance: Professional contractors are well-versed in local building codes and regulations, ensuring that all work is up to standard and legally compliant.
In these cases, hiring a professional not only ensures safety and quality but may also save you time and potential costs in the long run due to improper installation or missed issues.
Palladium Roofing Is The Roofing Contractor For You
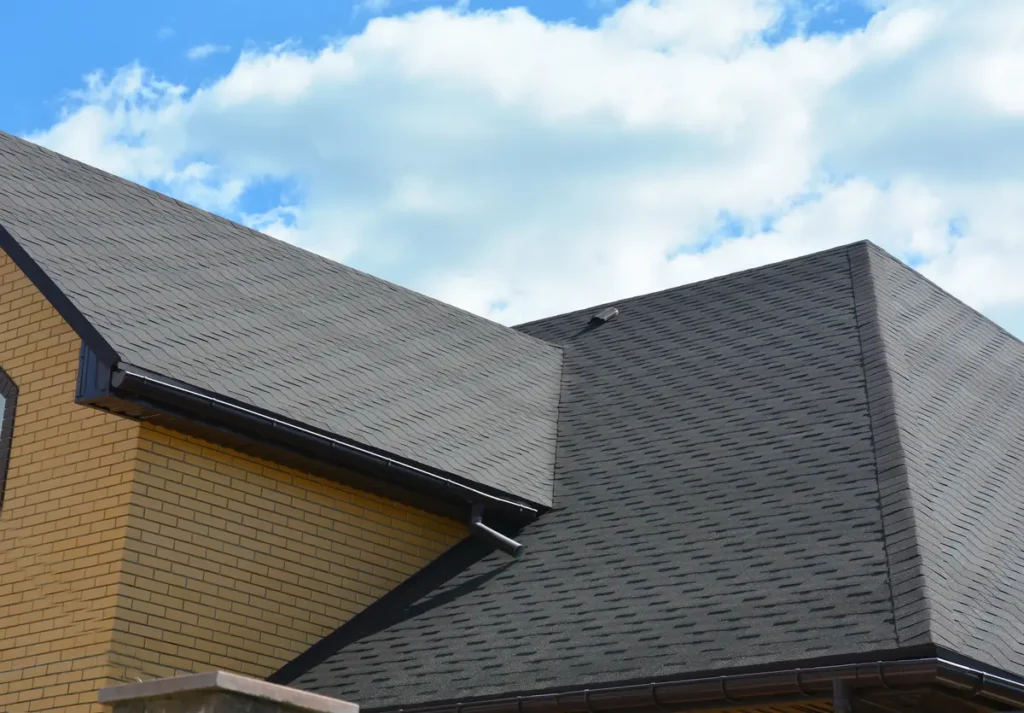
Shingling your roof is a manageable project for DIY enthusiasts and homeowners who are willing to put in the time and effort. By following this step-by-step guide, you can achieve a professional-quality roof that protects your home and enhances its curb appeal.
But sometimes, it’s just better to leave it to a roofing contractor. When you’re ready to call in the pros, Palladium Roofing is standing by to help you! Give us a call today to get more information on your roofing project.
Related Articles