How to Install a Roof Exhaust Vent in 6 Steps

If you’re looking to improve your home’s roof ventilation, installing a roof exhaust vent is one of the smartest ways to do it. Proper roof ventilation helps manage air circulation, reduces moisture buildup, and can even extend the life of your roof. But how do you go about installing one?
This blog post will walk you through everything you need to know about roof exhaust vents, including:
- What roof exhaust vents are and why they’re important
- A step-by-step guide to installing your own vent
- Tips to ensure proper roof maintenance for long-term performance
🤔 What Is a Roof Exhaust Vent and Why Do You Need One?
A roof exhaust vent is a key part of your home’s ventilation system, designed to let hot, humid air escape from your attic. This prevents moisture and heat buildup under your roof, which can otherwise lead to problems like mold, mildew, and even structural damage. Proper ventilation is essential to maintaining the health of your roof and home.
Installing a roof exhaust vent comes with several benefits. It helps regulate temperature, keeping your attic cooler and reducing strain on your air conditioning system. It also extends the life of your roof by preventing warping and deterioration caused by trapped moisture.
Additionally, it improves your home’s energy efficiency by maintaining proper airflow and eliminating the risk of condensation, which can cause water damage and insulation issues. Considering these advantages, it’s time to consider adding a roof exhaust vent to your home.
What to Know Before Installing a Roof Exhaust Vent
- Choose the right vent type based on your needs: ridge vents for continuous ventilation, static vents for simple designs, or powered vents for larger spaces.
- Gather essential tools (power drill, circular saw, hammer) and materials (roofing nails, sealant, vent flashing) before starting.
- Prioritize safety by using a sturdy ladder, wearing non-slip shoes, and working in good weather.
- Check local building codes and HOA requirements to ensure compliance and determine if a permit is needed.
✅ 6 Steps to Install a Roof Exhaust Vent
Installing a roof exhaust vent is essential for maintaining proper ventilation in your home. It helps prevent moisture buildup, reduces the risk of mold, and extends the lifespan of your roof.
1. Locate the Vent Placement
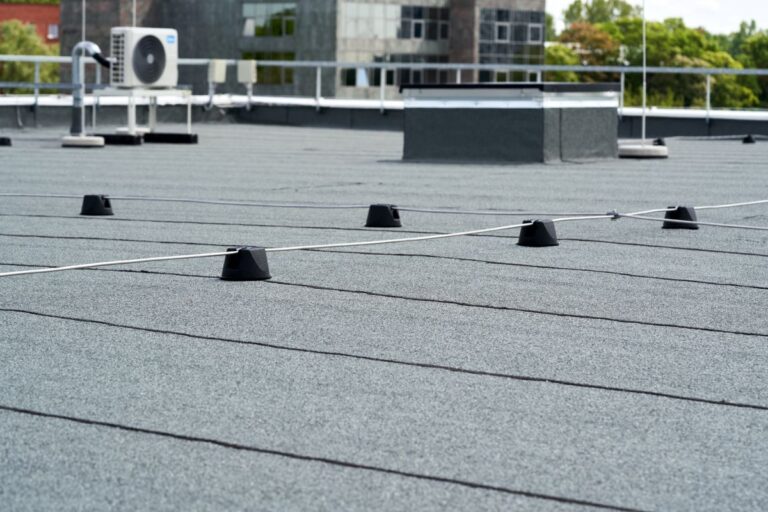
The first step in installing a roof exhaust vent is selecting the right location, as this will ensure optimal airflow throughout your attic. Begin by scouting an area on your roof near the attic’s peak, as warm air naturally rises and the peak is the ideal spot to allow heat and moisture to escape efficiently. Avoid areas near chimneys, vents, or other obstructions that could disrupt airflow. Use a tape measure to find a spot that is evenly centered and well-positioned on your roofline.
Mark the location clearly using chalk or a pencil, creating an outline that will serve as your guide. Double-check your measurements and ensure the location is free of structural obstacles like rafters or wires before proceeding. Taking time to carefully plan this step will help avoid unnecessary adjustments later.
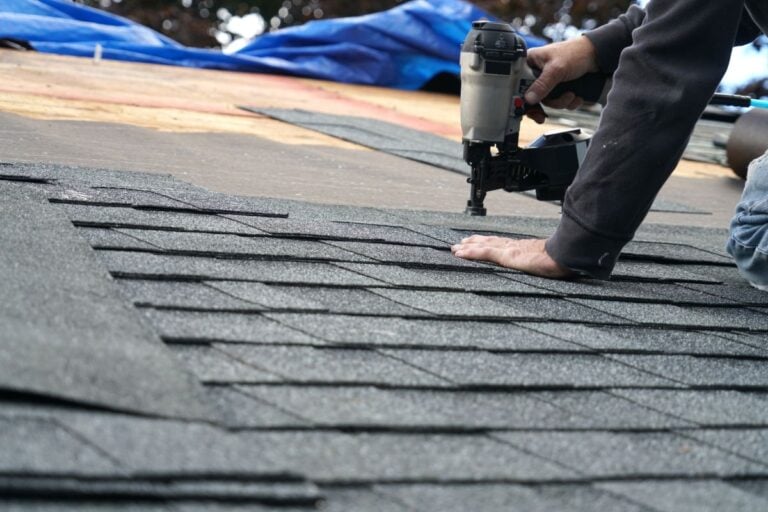
2. Cut the Vent Hole
Once you’ve marked the location for your roof vent, it’s time to cut the hole in the roof deck. Start by gathering the appropriate tools, including a circular saw, safety goggles, and gloves. Carefully follow the outline you marked earlier, using your circular saw to create a clean, precise cut. Work slowly to avoid cutting too large or jagged, as this could lead to fitment or sealing issues later.
As you cut, exercise caution to avoid damaging nearby shingles, structural rafters, or other roof components. It’s a good idea to periodically stop and check your progress to ensure accuracy. Once the hole is fully cut, remove the section of decking and clean up any sawdust or debris around the opening. A smooth and debris-free surface is essential for proper installation and sealing in the next steps.
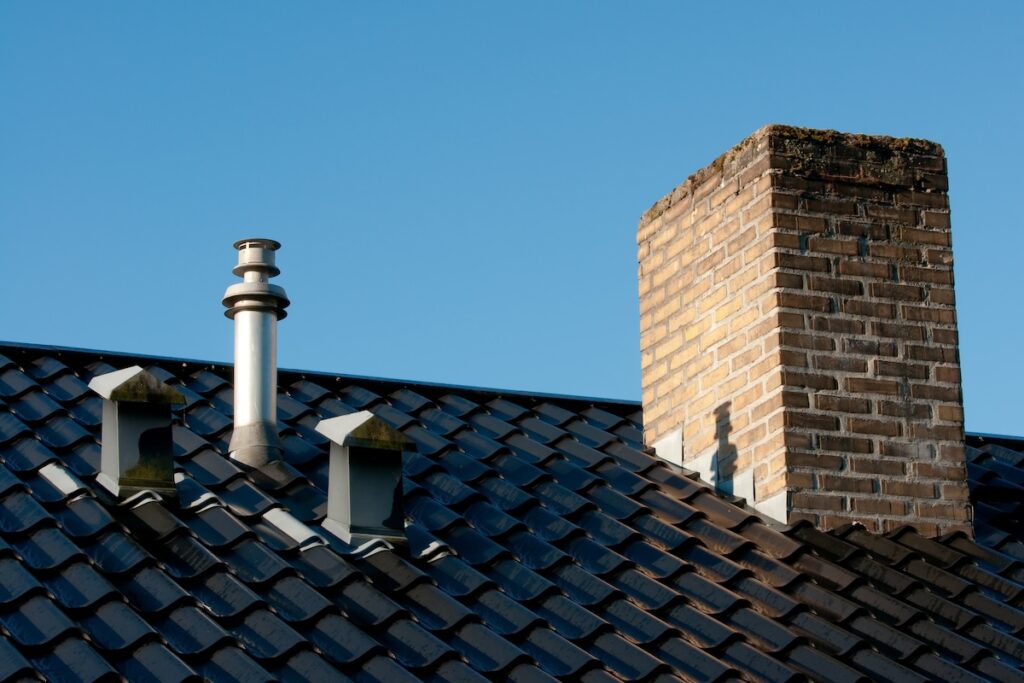
3. Install Flashing
The flashing is a critical component of your roof vent installation, as it prevents water from seeping into your home. Begin by positioning the flashing piece over the hole you’ve just cut, ensuring it fits snugly and provides full coverage around the edges of the opening. Carefully lift the surrounding roof shingles and slide the top edge of the flashing underneath them to create a watertight seal.
Take your time to ensure the flashing is correctly aligned and doesn’t leave any gaps or overlaps that could compromise the seal. Once positioned, use roofing nails to secure the flashing to the roof deck. Be sure to drive the nails in evenly, but avoid overtightening, as this could crack or bend the flashing. After securing the flashing, apply a generous layer of roofing sealant along its edges and where it meets the shingles. This creates an additional barrier against water and ensures long-term durability.
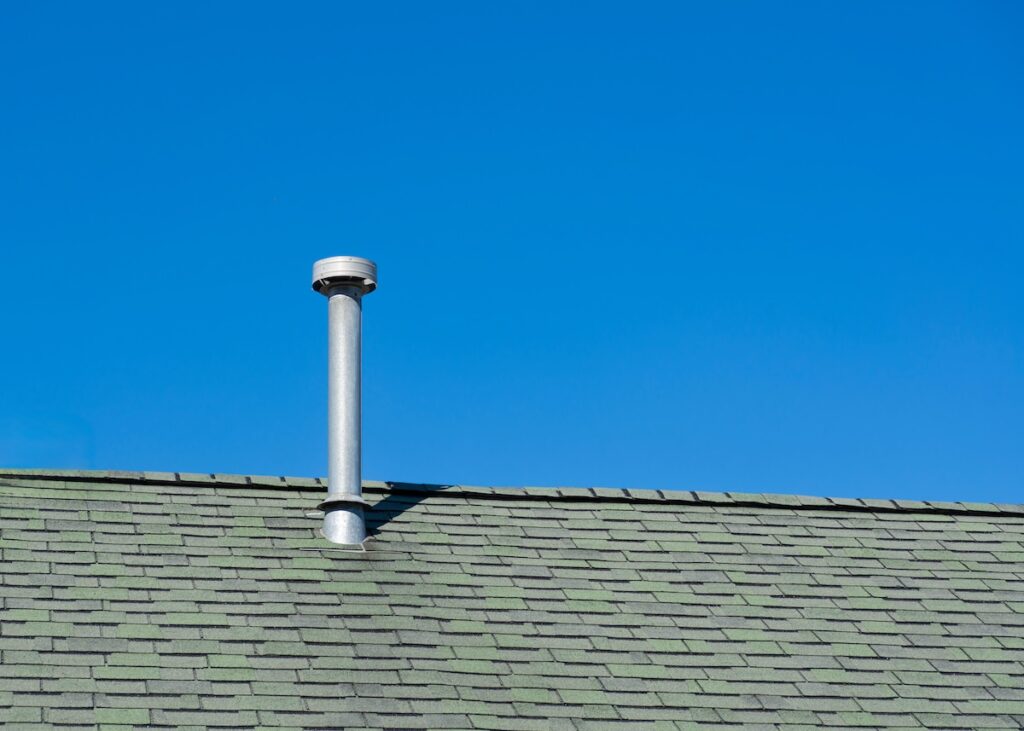
4. Mount the Exhaust Vent
With the flashing securely in place, it’s time to install the exhaust vent. Select a vent that matches the size of the hole and meets your ventilation needs. Position the vent directly over the hole, making sure it is perfectly centered and aligned with the flashing. Double-check that the vent is level and sits flush against the roof surface. Secure the vent using roofing nails or screws, following the manufacturer’s instructions for proper placement and spacing.
Some vent designs may require additional brackets or fasteners, so read the instructions thoroughly to avoid missing any critical steps. Once the vent is mounted, give it a slight tug to ensure it is securely attached and won’t shift or loosen over time. A properly mounted vent is essential for efficient airflow and long-term stability.
5. Seal the Edges
Sealing the edges of the vent is a vital step to protect your roof from leaks and debris. Use a high-quality roofing sealant to cover any gaps where water or moisture could seep through, including where the vent, flashing, and shingles meet. Be thorough in your application, ensuring there are no missed spots or thin areas. If needed, use a utility knife to trim nearby shingles for a smooth, flush fit around the vent.
Pay extra attention to the corners and edges, as these are common areas for leaks to develop. Once you’ve applied the sealant, use a putty knife or similar tool to spread it evenly and press it firmly into place. Allow the sealant to dry completely before moving on, as this step is crucial for preventing future water damage and ensuring the vent’s longevity.
6. Inspect Your Work
Before wrapping up, take the time to inspect your work closely. Start by checking that the vent is securely fastened and doesn’t have any loose nails or screws. Examine the sealant around the edges, looking for gaps, cracks, or areas that may need additional coverage. Inspect the surrounding shingles to ensure they are properly positioned and haven’t shifted during installation. Test the vent by observing airflow or using a smoke or air pressure test to confirm it is functioning correctly.
If you spot any issues, address them immediately to prevent future problems. A thorough inspection ensures your roof vent is installed properly and will perform effectively for years to come. Once everything looks secure and works as intended, you can confidently say you’ve successfully installed your roof exhaust vent!
💡 Maintenance Tips for Long-Term Vent Performance

Installing a roof exhaust vent is just the first step. To ensure it keeps working effectively, follow these tips:
Regular Inspections
Make it a habit to inspect your vent system at least once a year. Look for any signs of damage, such as cracks, rust, or loose components. Additionally, check for debris or anything clogging the vent to ensure proper airflow. Regular inspections can help you catch small issues before they become major problems.
Keep It Clean
Maintain clear airflow by removing any leaves, branches, dirt, or other debris that might accumulate around the vent. A blocked vent not only reduces efficiency but can also pose safety risks. Routine cleaning is a simple way to keep your system running smoothly.
Address Repairs Immediately
If you spot leaks, cracks, or signs of wear and tear, don’t wait to fix them. Ignoring these issues could lead to more extensive damage or costly repairs down the line. Acting promptly ensures your vent system stays in top condition and prevents bigger problems in the future.
🏠 Roof Vent Installation
At Palladium Roofing, we understand that proper roof ventilation is essential for protecting your home and ensuring long-term comfort. With our certified technicians, top-quality materials, and commitment to transparent pricing, we’ve earned the trust of countless homeowners.
When it comes to installing roof exhaust vents, you can count on our team to deliver expert workmanship and peace of mind every step of the way. Ready to upgrade your home’s ventilation?
Contact Palladium Roofing today for a free consultation and let us take care of your roofing needs!
Related Articles