What Is Roof Slope? (How to Determine the Slope of a Roof In 5 Steps)
Understanding roof slope is crucial for any homeowner considering a roofing project. Whether you’re planning a repair, replacement, or new installation, knowing your roof’s slope affects everything from material selection to water drainage efficiency. At Palladium Roofing, we help Oklahoma homeowners navigate these important decisions with expert guidance and professional service.
Roof slope determines how well water runs off your roof, influences your choice of roofing materials, and even impacts your home’s overall aesthetic appeal. Many homeowners don’t realize that different slopes require different installation techniques and materials to ensure proper protection.
This comprehensive guide will cover:
- What roof slope means and why it matters
- Step-by-step instructions for measuring your roof slope
- How slope affects material choices and installation
- Professional considerations for different slope ranges
- How to deal with complex roof shapes
- Cutting shingles around obstructions
If you need more proffesional information and more valuable knowledge, don’t think it twice and visit our blog’s feed. There’s a lot of helpful guides that allows you to make the right choice and know how we do the job.
🏠 Why Roof Slope Is Important
Roof slope plays a fundamental role in your home’s protection and longevity. Understanding this measurement helps you make informed decisions about repairs, replacements, and maintenance needs.
The slope of your roof directly impacts several critical factors that affect your home’s performance and value. Here’s why getting this measurement right matters:
Key Benefits of Understanding Roof Slope:
- Water drainage efficiency – Proper slope prevents water pooling and ice dam formation
- Material compatibility – Different slopes require specific roofing materials for optimal performance
- Installation requirements – Steeper slopes need additional safety measures and specialized techniques
- Cost considerations – Slope affects labor complexity and material quantities needed
- Building code compliance – Local codes often specify minimum slope requirements for different materials
📏 5 Steps: How to Determine the Slope of a Roof
Measuring roof slope accurately requires the right approach and basic tools. Follow these steps to get precise measurements safely from ground level or your attic.
Before starting, gather a measuring tape, level, and calculator. You can measure from inside your attic or from the ground using visual estimation techniques.
Step 1: Choose Your Measurement Location
Select either your attic space or measure from the ground using a reference point. Attic measurements provide the most accurate results. Ground-level measurements work well for preliminary assessments.
Step 2: Measure the Horizontal Run
Use your measuring tape to measure 12 inches horizontally along the roof line. Start from the lowest point of the roof section you’re measuring. Keep your measuring tape level for accurate horizontal measurement.
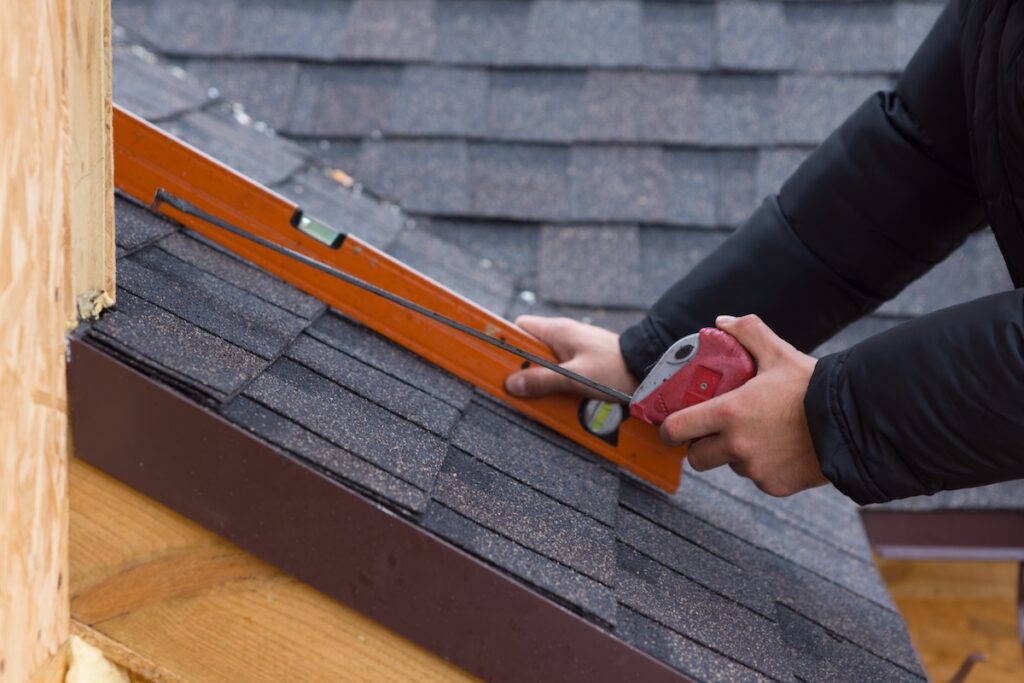
Step 3: Measure the Vertical Rise
From the end of your 12-inch horizontal measurement, measure straight up to the roof surface. This vertical measurement represents the “rise” in your slope calculation. Record this measurement in inches for proper ratio calculation.
Step 4: Calculate the Slope Ratio
Express your slope as rise over run, typically written as X:12 or X/12. For example, if your vertical rise is 4 inches, your slope is 4:12. This means the roof rises 4 inches for every 12 inches of horizontal distance.
Step 5: Verify Your Measurements
Take measurements at multiple points along your roof to ensure consistency. Different roof sections may have varying slopes. Document each section separately for comprehensive understanding.
✂️ Cutting Shingles Around Obstructions
Roof installations often involve working around vents, skylights, or chimneys. Clean, watertight cuts are crucial:
- Plumbing Vents: Cut the shingle to fit snugly around the vent, then install a vent boot. Overlap shingles above the vent boot so water naturally sheds over the flange.
- Skylights: Always use manufacturer-specific flashing kits. Cut shingles to fit neatly against the flashing, and never caulk as your only defense—shingles should layer with flashing to shed water.
- Chimneys: Install base flashing at the bottom, step flashing up the sides, and counter-flashing on top. Each piece of step flashing should overlap the shingle below for proper water diversion.
- Valleys or Odd Angles: Mark with a chalk line before cutting shingles. A hook blade on a utility knife gives cleaner cuts for curved or angled sections.
Always measure twice and cut once. Rough cuts not only look unprofessional but can also create gaps where water sneaks in.
🔧 Understanding Slope Categories and Material Requirements
Different roof slopes require specific materials and installation techniques to ensure proper performance and longevity. Understanding these categories helps you choose the right approach for your project.
Roofing professionals categorize slopes into distinct ranges, each with unique requirements and considerations. These categories determine everything from material selection to installation complexity.
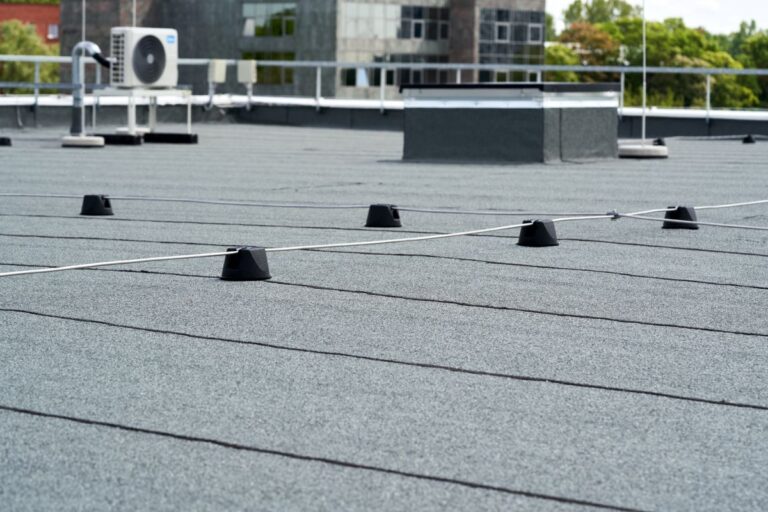
Low-Slope Roofs (0:12 to 3:12)
Low-slope roofs demand extra attention to waterproofing and materials to prevent leaks and damage.
- Materials needed: Modified bitumen, EPDM rubber, or TPO membranes are commonly used for their durability and flexibility in sealing flat surfaces.
- Special requirements: Enhanced waterproofing layers and proper drainage systems are essential to prevent water buildup and potential structural damage.
- Considerations: These roofs are more prone to water pooling, which can lead to leaks and require frequent inspections and maintenance to ensure long-term performance.
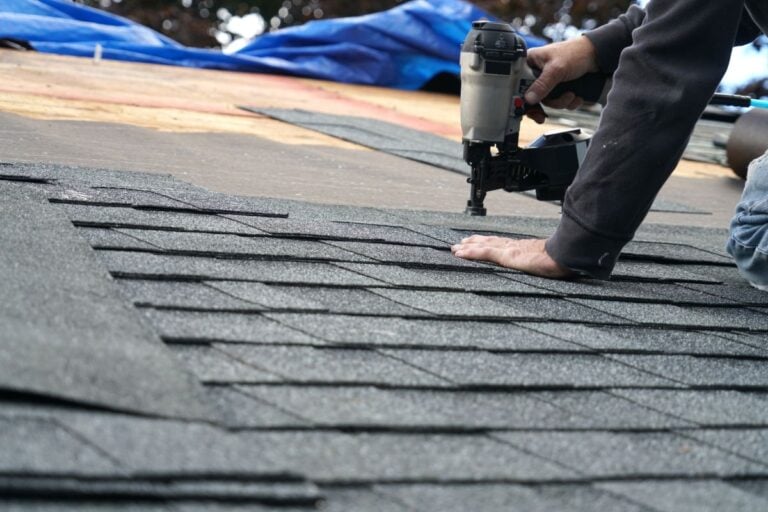
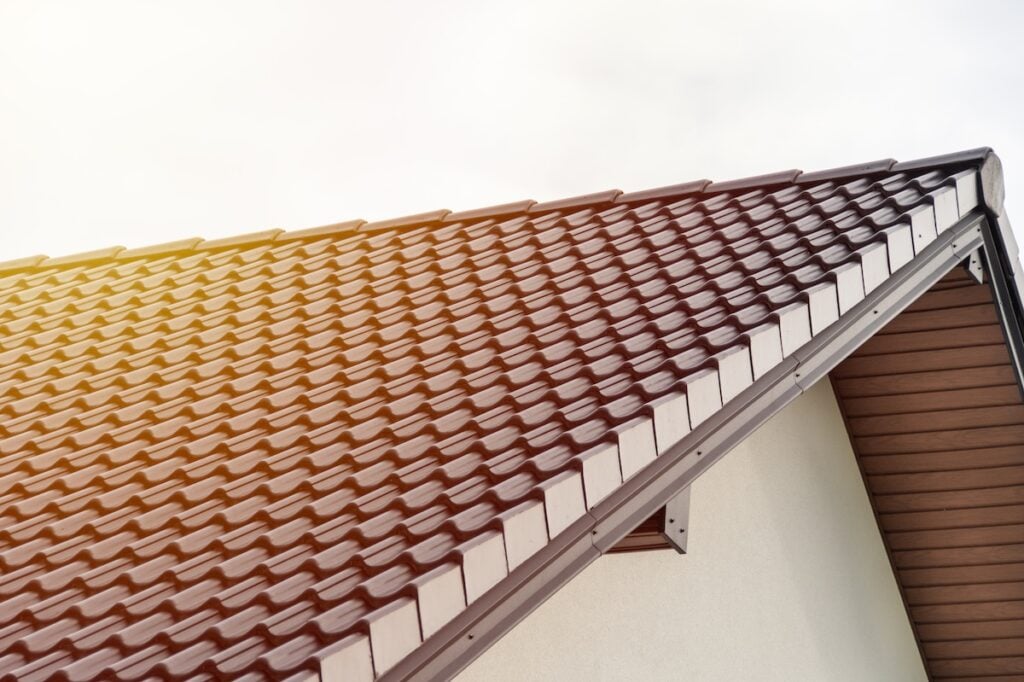
Medium-Slope Roofs (4:12 to 6:12)
Medium slopes strike a balance between functionality and aesthetics, making them a popular choice.
- Materials suitable: Options like asphalt shingles, metal roofing, and tile systems offer durability and a range of design choices for medium-sloped roofs.
- Installation benefits: The moderate slope makes access easier, simplifying routine maintenance, cleaning, and repairs.
- Performance advantages: With sufficient drainage and a wide variety of material options, these roofs are reliable and adaptable for different climates and preferences.
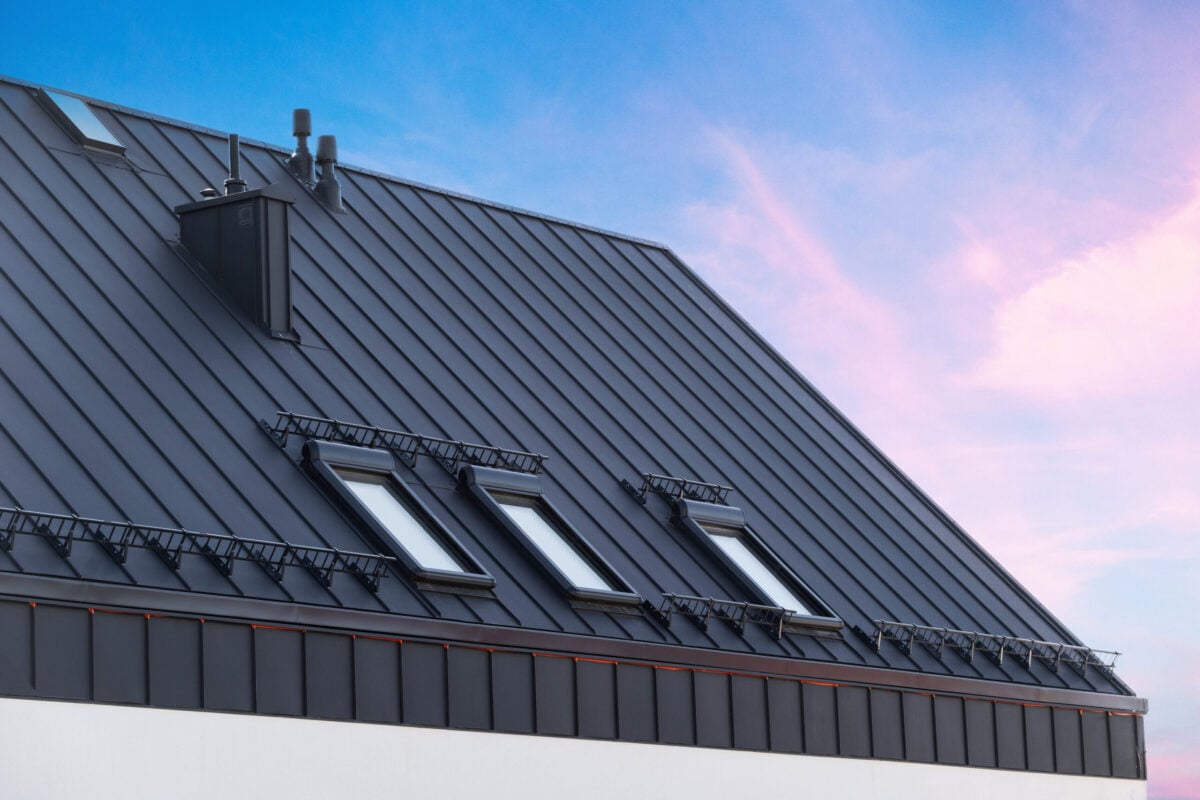
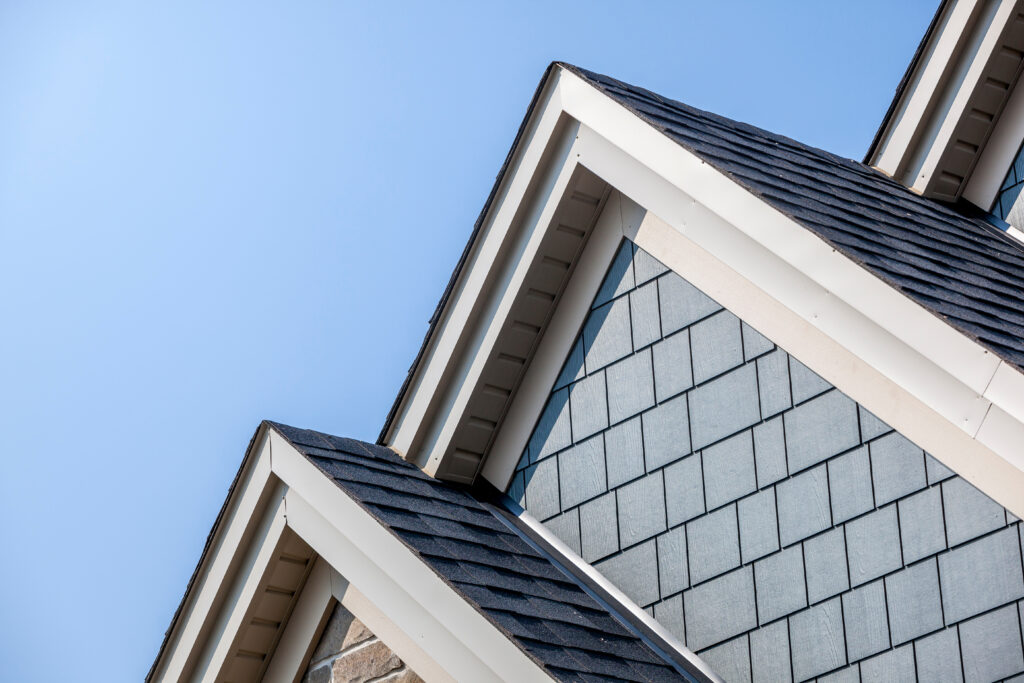
Steep-Slope Roofs (7:12 and Higher)
Steep slopes excel in water runoff and visual appeal but can be challenging to work on.
- Material compatibility: Most roofing materials, including shingles, metal, and tiles, perform well on steep slopes, offering both style and function.
- Safety considerations: Due to the steep angle, professional installation is highly recommended to ensure safety and proper technique during construction or repairs.
- Aesthetic benefits: Steep-sloped roofs often enhance architectural designs, boosting home curb appeal and increasing overall property value.
📐 How to Deal With Complex Roof Shapes
Not every roof is a simple gable or hip design. If your home has valleys, dormers, or multiple rooflines, installation gets more technical. Here are some key considerations:
Valleys (where two roof slopes meet):
Use an ice-and-water shield or valley liner for extra waterproofing. Shingles should overlap into the valley with precise cuts. In most cases, a “woven” or “open cut” valley installation is best—check manufacturer instructions for your specific shingles.
Hips and Ridges: These areas are exposed to heavy wind uplift. Always use shingles designed for hips and ridges, and secure them with the recommended number of nails. Overlap pieces properly to keep water flowing away from the ridge.
Dormers and Transitions: Pay attention to flashing around dormers or areas where one roofline meets another. Step flashing should be installed under each course of shingles to direct water away from the joint.
Steep Roof Slopes: On steep roofs, shingles can slip before they’re nailed down. Use roof jacks or scaffolding for safety, and chalk lines to keep rows straight. More nails per shingle may be required for added holding power.
👉 Pro Tip: When dealing with complicated roof slope shapes, it’s time to call Palladium Roofing Experts. A misstep in these areas can cause costly leaks down the road.
🌦️ Considering Local Weather and Climate
We know shingle installation isn’t one-size-fits-all. Climate should guide your choices and techniques if we are talking about roof slopes:
- Rainy or Humid Climates: Proper underlayment and flashing are critical. Choose algae-resistant shingles if your region is prone to moss and mildew growth.
- Cold Climates / Snow Zones: Install ice-and-water shield at eaves and valleys to prevent ice dam damage. Consider shingles with higher weight and durability against freeze-thaw cycles.
- Hot or Sunny Regions: UV rays can shorten shingle lifespan. Choose shingles with high solar reflectance or lighter colors to reduce heat absorption. Ensure attic ventilation is adequate to avoid overheating.
- Wind-Prone or Coastal Areas: Look for shingles with high wind ratings (110–130 mph). Use the correct nailing pattern—often six nails per shingle instead of four. Seal strips activate better in warm weather, so plan installations accordingly.
Always check your local building codes. Many places have specific requirements for wind resistance, underlayment type, or ice protection, depending on regional weather risks.
🎯 Making Informed Decisions About Your Roof
Understanding your roof slope empowers you to make smart decisions about materials, maintenance, and future improvements. This knowledge helps you work more effectively with roofing professionals and ensures your investment provides maximum value.
When you know your roof slope, you can better evaluate contractor recommendations and understand why certain materials or techniques are suggested for your specific situation. This information also helps you budget appropriately for your roofing project.
Ready to put this knowledge to work? Contact Palladium Roofing today for a professional roof inspection and expert guidance on your roofing needs. Our experienced team serves Oklahoma City and surrounding areas with honest assessments and quality workmanship you can trust.
Related Articles