Roof Vent Installation Guide for 2025

Proper roof ventilation is crucial for maintaining a healthy and efficient home. Without adequate ventilation, heat and moisture can become trapped in the attic, leading to a range of issues such as mold growth, wood rot, and increased energy costs. Installing roof vents is an effective way to promote airflow and prevent these problems, ensuring that your home remains comfortable and structurally sound. In this guide, we’ll walk you through the process of roof vent installation, providing you with the knowledge and confidence to tackle this home improvement project.
Inside this blog:
- The tools and materials required for roof vent installation
- 3 key types of roof vents to consider
- A 6-step roof vent installation guide
Keep reading to learn all about the process of roof vent installation and which type of roof vent will bring your home the most benefits!
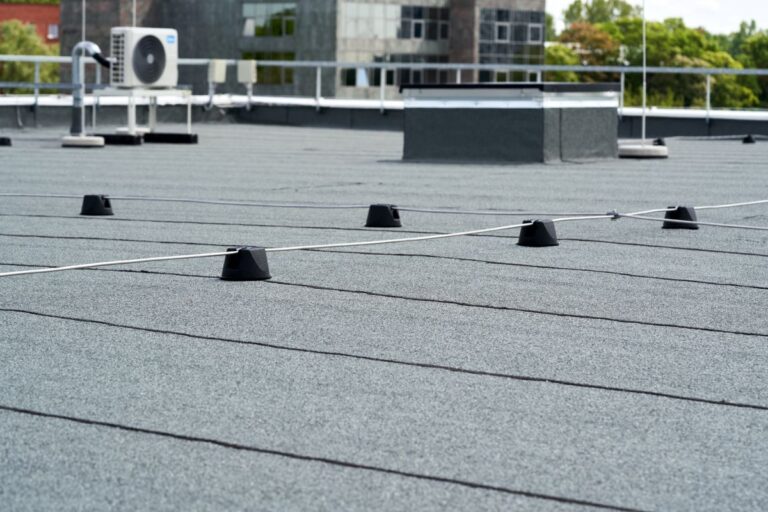
🧰 Getting Started: Tools and Materials
Before you begin installing roof vents, gather the necessary tools and materials to ensure a smooth and successful installation process. Here are some items you’ll need:
- Roof vents (choose the appropriate type and quantity based on your roof size and ventilation needs)
- Roofing nails or screws & roofing cement or sealant
- Caulk gun, hammer, and screwdriver
- Safety goggles, ladder, tape measure, and pencil
⚙️ 3 Types of Roof Vents: Choosing the Right Option
There are several types of roof vents available, each serving a specific purpose and installation method. Here are a few common types of roof vents to consider:
1. Ridge Vents
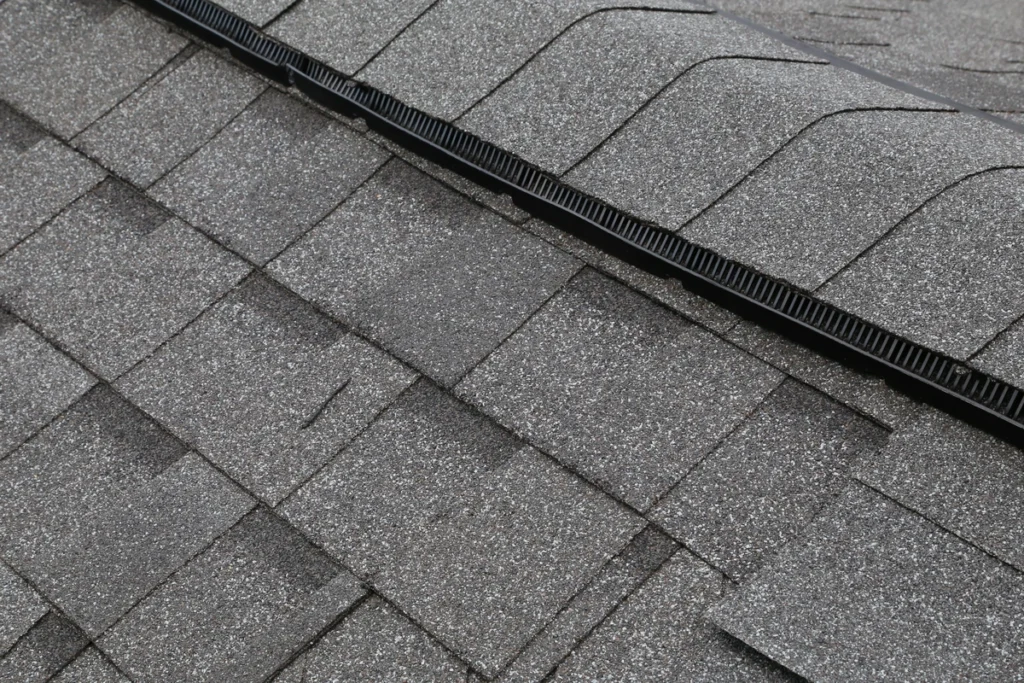
Ridge vents are a crucial component of a well-ventilated roofing system, serving as the primary outlet for hot, stale air to escape from the attic. Installed along the peak of the roof, these vents provide continuous ventilation along the entire length of the ridge, ensuring that no area of the attic is left stagnant or overheated.
2. Soffit Vents
Soffit vents play a complementary role to ridge vents by providing a steady intake of cool, fresh air from the outside into the attic space. Positioned under the eaves of the roof, these vents draw air in from the surrounding environment and channel it upward into the attic, creating a continuous airflow cycle that promotes ventilation and air exchange.
By working in tandem with ridge vents, soffit vents help maintain a balanced airflow system, preventing the attic from becoming overheated or stagnant. This influx of fresh air also helps reduce humidity levels in the attic, preventing moisture-related issues such as condensation and mold growth.
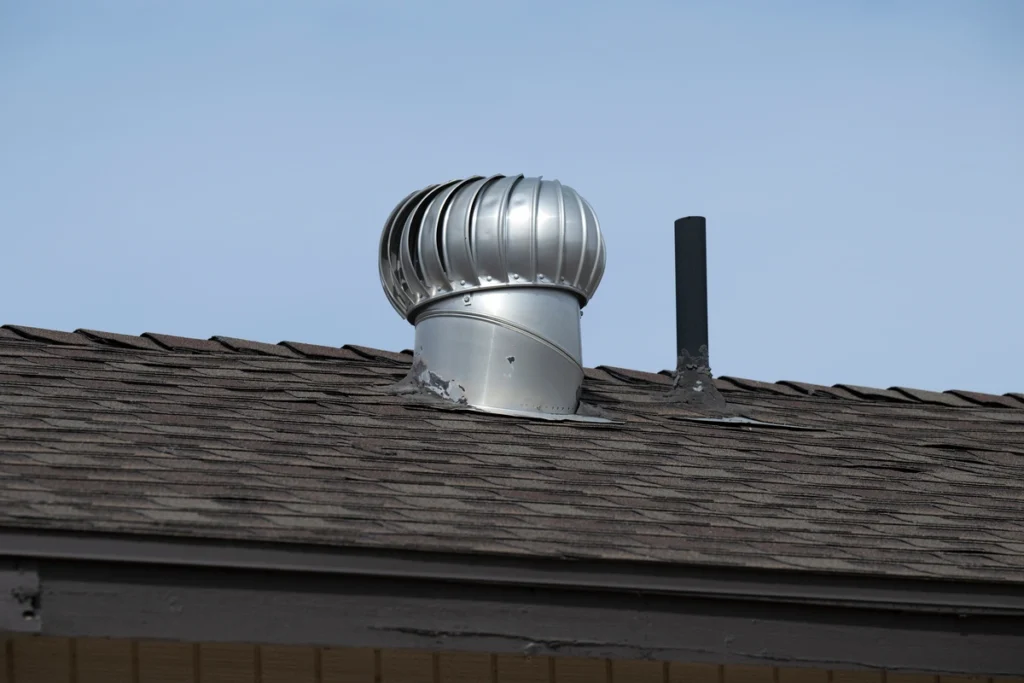
3. Gable Vents
Gable vents are an alternative ventilation option for homes with gable walls in the attic space. Positioned in the triangular ends of the gable wall, these vents allow air to flow freely in and out of the attic, helping regulate temperature and moisture levels.
Gable vents are particularly useful in situations where ridge and soffit venting may not be feasible due to architectural constraints or limited roof space. By facilitating airflow through the attic, gable vents help prevent heat buildup in the summer and moisture buildup in the winter, reducing the risk of damage to roofing materials and insulation.
🛠️ Installation Process: Step-by-Step Guide
Now that you have your tools and materials ready, it’s time to start the roof vent installation process.
Follow these 6 steps to successfully install a roof vent.
1. Choose the Location
When installing roof vents, it’s essential to pick the right spot to ensure optimal airflow throughout your attic space. Consider factors such as the size of your attic, the pitch of your roof, and your ventilation needs. Take your time to assess the layout of your roof and mark the ideal locations for vent installation using a pencil.
2. Prepare the Roof Surface
Before you begin installing roof vents, take a moment to prepare the roof surface. Clear away any debris or obstructions from the area where the vents will be installed. Ensure that the roof surface is clean and dry to promote proper adhesion and sealing.
3. Cut Openings
Once the roof surface is prepped, it’s time to cut openings for the vents. Use a reciprocating saw or circular saw to carefully cut through the roof sheathing, following the manufacturer’s guidelines for the size and placement of the openings. Take care to make clean, precise cuts to ensure the right fit for the vents and proper roof vent installation.
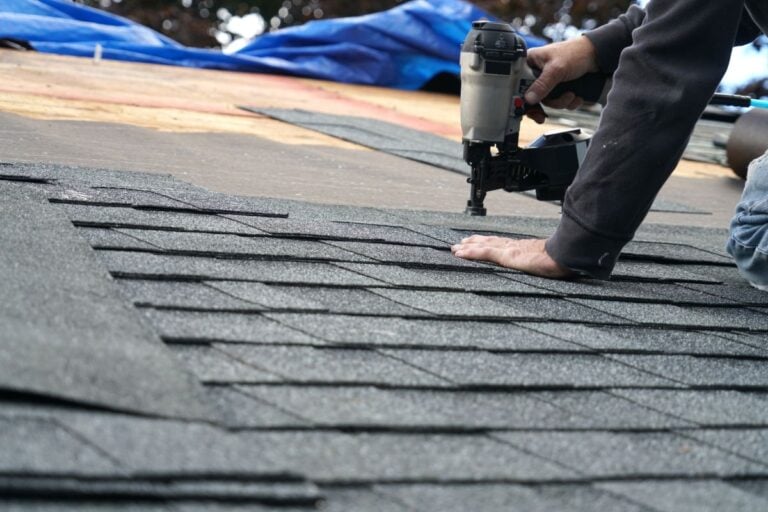
4. Install the Vents
With the openings cut, it’s time to install the vents. Position each vent over its respective opening and secure it in place using roofing nails or screws. Make sure the vents are properly aligned and flush with the roof surface to prevent any gaps or leaks. Once the vents are in position, apply roofing cement or sealant around the edges to create a watertight seal.
5. Test for Proper Ventilation
After the vents are installed, it’s essential to test for proper ventilation. Monitor any changes in attic temperature and humidity to ensure adequate airflow throughout the space. You may also consider using a smoke pencil or similar device to visualize airflow patterns and identify any areas of concern.
6. Seal and Finish
Once you’ve confirmed proper ventilation, it’s time to seal and finish the installation. Apply additional roofing cement or sealant as needed to seal any gaps or openings around the vents. Take the time to inspect the installation carefully for any signs of leaks or damage, and make any necessary repairs or adjustments.
🏡 Enjoy the Benefits of Proper Ventilation
By following this roof vent installation guide, you can ensure that your home is properly ventilated and protected against common issues associated with poor attic ventilation. From choosing the right type of vents to completing the installation process, you now have the knowledge and resources to improve your home’s energy efficiency and structural integrity.
Contact our expert team of roofers at Palladium Roofing today and experience reliable communication and industry-competitive warranties. We’ll make sure your property stands strong with a resilient and attractive roof.
Related Articles