Rubber Roof Repair (Common Issues & Fixes)
Rubber roofs, known for their durability and flexibility, are a popular choice for many commercial properties. However, like any roofing material, they are not immune to damage and wear over time. Regular maintenance and prompt repairs are crucial to extending the lifespan of your rubber roof and preventing costly replacements.
In this blog post, we’ll cover what you need to know about rubber roof repair, including:
- Common issues with rubber roofs
- A step-by-step guide to repairing a rubber roof
- Preventative tips to avoid future damage
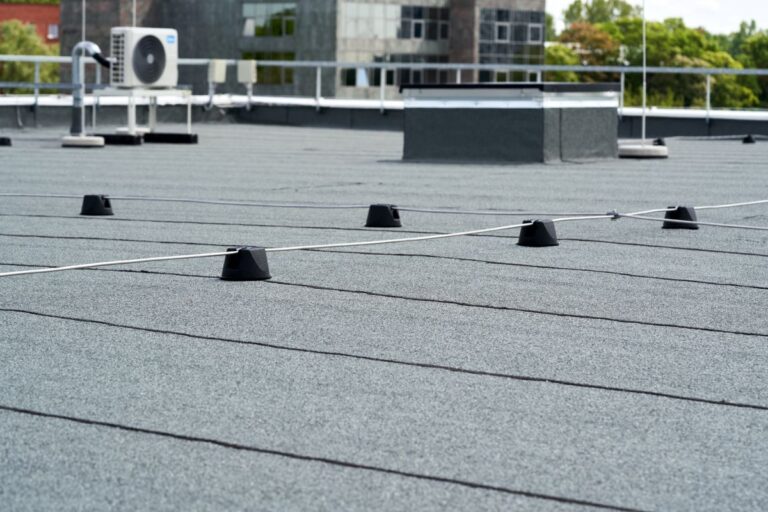
👉 Common Issues with Rubber Roofs
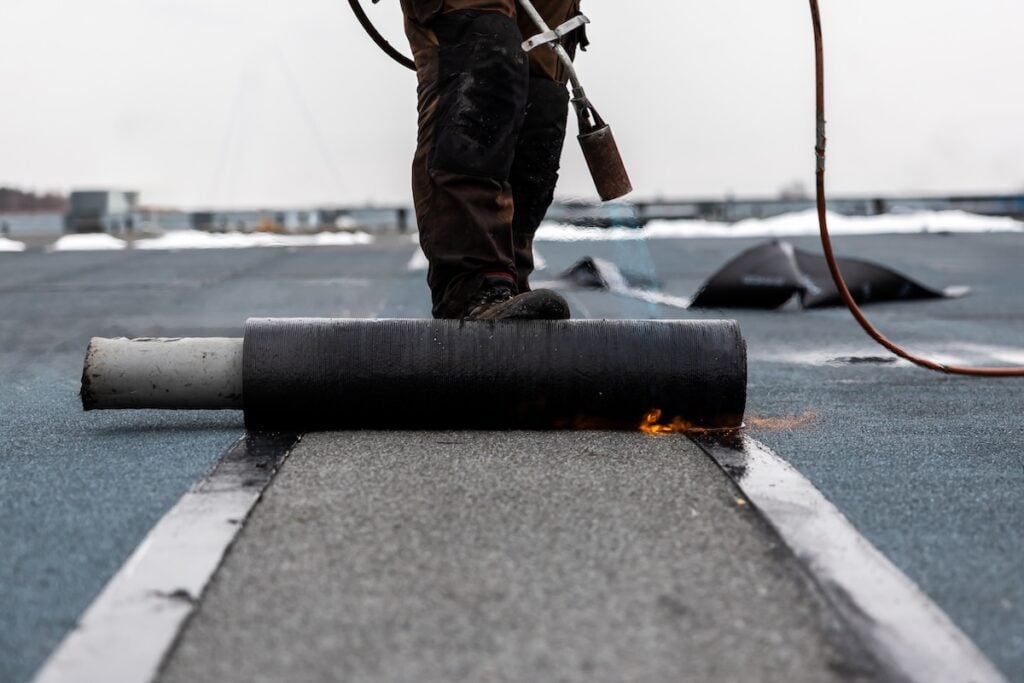
Rubber roofs, usually made of EPDM (ethylene propylene diene terpolymer), are known for their durability, but they can face certain issues over time. Punctures and tears are common, often caused by heavy foot traffic, fallen debris, or sharp objects. Even small holes can lead to leaks if not repaired promptly. Another frequent problem is seam separation, where the bonded seams loosen over time due to factors like high winds or temperature fluctuations.
Poor drainage can also create pooling water on the roof, which gradually weakens the rubber membrane and increases the risk of leaks. Additionally, exposure to heat and aging can cause the rubber material to shrink, pulling it away from other components like flashing, skylights, or vents. This shrinkage can leave gaps that compromise the roof’s performance.
Blistering and bubbling are other concerns, often resulting from air or moisture trapped beneath the membrane. Over time, these blisters can weaken the roof’s structure if left unaddressed. Regular inspection and maintenance are essential to identify and resolve these issues before they escalate.
How to Identify Damage and When to Repair
Regular inspections are key to catching problems early. Look for these warning signs:
- Visible Tears or Holes: Even small punctures should be repaired promptly.
- Leaking Water: Water stains on the ceiling or walls can indicate roof damage.
- Bubbling or Wrinkling: These can signal trapped moisture or air pockets.
- Pooling Water: Check after heavy rainfall to see if water is draining correctly.
- Loose Seams: Inspect edges and seams for peeling or separation.
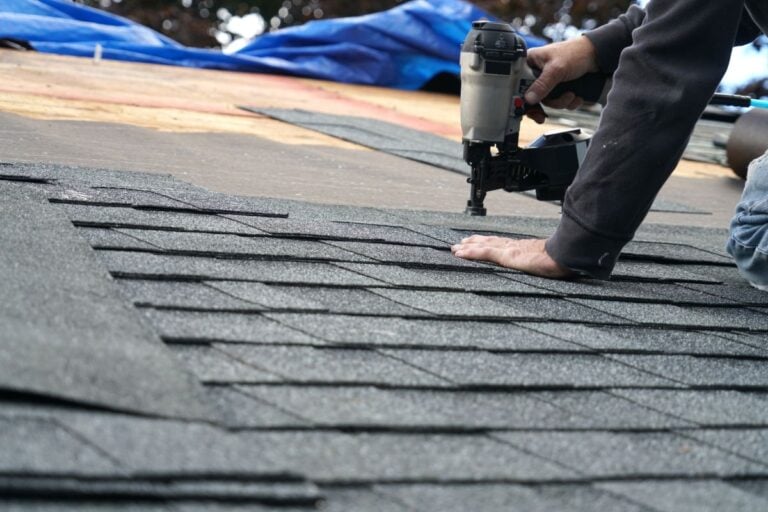
✅ 6 Steps to Repair a Rubber Roof

Repairing a rubber roof may seem intimidating at first, but it’s a task you can tackle with patience and the right tools. Follow these six detailed steps to execute a successful DIY repair and restore your roof’s integrity.
1. Clean the Damaged Area
The first and most important step is to ensure the damaged area is clean and ready for repair. Start by removing any visible debris, dirt, or loose material from the surface. Use a broom, cloth, or a soft brush to gently sweep away any particles that may interfere with the repair process. After clearing the surface, use a non-abrasive cleaner to thoroughly clean the area. This will remove grease, oils, or residues that could prevent the patch from adhering properly. Avoid using harsh chemicals, as they can damage the rubber. Once cleaned, let the area dry completely before proceeding. Moisture left behind can compromise the repair, so take your time to ensure it’s fully dry.
2. Measure the Repair Area
Accurate measurements are crucial for a strong and effective repair. Using a measuring tape, carefully measure the size of the damaged section. Once you have the measurements, cut a piece of rubber patching material slightly larger than the damaged spot, ensuring there is an overlap of at least 2-3 inches on all sides. This extra overlap is critical because it provides a secure seal and helps protect the edges of the patch against future wear and tear. Use sharp scissors or a utility knife to cut the patch neatly, ensuring there are no jagged edges that could compromise the patch’s adhesion. Double-check your measurements and test-fit the patch before moving on to the next step.
3. Apply Primer
Priming the damaged surface is a key step that ensures maximum adhesion of the rubber patch. Use an EPDM primer specially designed for rubber roofs. Apply the primer evenly over the cleaned area using a scrub pad, brush, or roller, ensuring full coverage where the patch will be applied. Work the primer into the surface to create a strong bonding layer. Be sure to follow the primer manufacturer’s instructions for drying time. Typically, the primer should dry to a tacky consistency before you move forward. This tackiness acts as a perfect base for the patch to adhere securely. Skipping or rushing this step could weaken the repair, so take your time to do it properly.
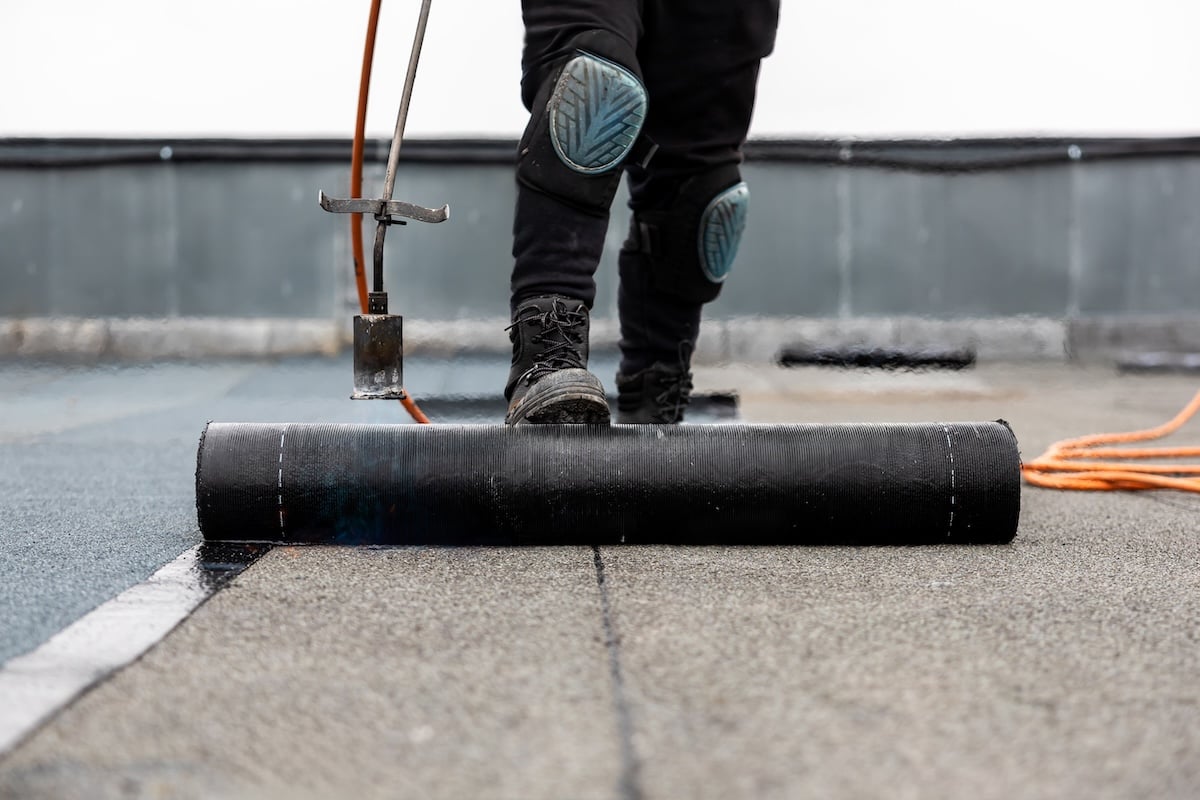
4. Install the Rubber Patch
Now it’s time to apply the patch. Begin by peeling off the backing from the adhesive side of the rubber patch. Be careful not to touch the adhesive with your fingers too much, as oils from your skin can reduce its effectiveness. Carefully align the patch over the damaged area, ensuring there is adequate overlap on all sides. Start by placing the center of the patch onto the damaged section and then work outward. Press the patch down gently but firmly, smoothing it out as you go to avoid wrinkles or bubbles. A properly placed and flat patch will create a strong seal and prevent moisture from getting underneath. Double-check that the patch fully covers the damaged area before continuing.
5. Roll Over the Patch
Once the patch is in place, use a roller to press it down firmly and eliminate any air bubbles trapped underneath. This step is essential for ensuring even adhesion between the patch and the roof. Start from the center of the patch and work your way outward, applying consistent pressure as you roll. Pay special attention to the edges of the patch, as these are the most vulnerable areas for leaks. Rolling not only enhances the bond but also smooths out any wrinkles or folds that could compromise the repair. Use a heavy-duty roller for the best results, and make sure to cover every part of the patch thoroughly.
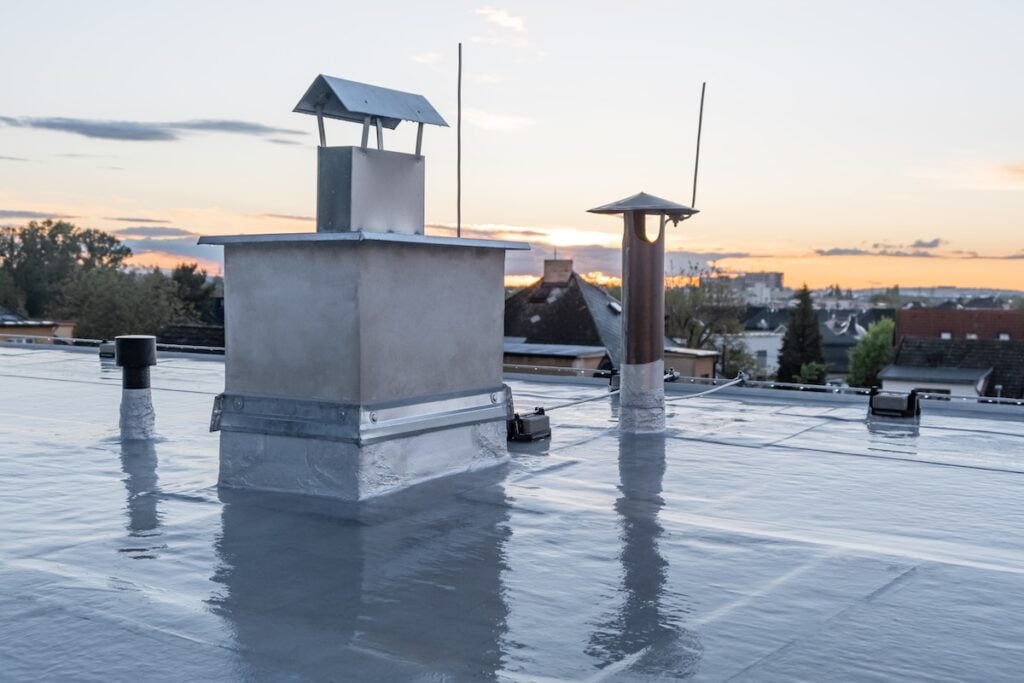
6. Seal the Edges
For the final step, apply a rubber roof sealant around the edges of the patch. This creates an additional watertight barrier that prevents moisture from seeping underneath and causing further damage. Use a brush or applicator to apply the sealant evenly, ensuring full coverage of the edges. Pay close attention to any areas where the patch meets the roof surface, as these are the most likely spots for water to penetrate. Allow the sealant to dry completely before exposing the roof to rain or other elements. This step not only improves the durability of your repair but also provides extra protection against future leaks or damage. A properly sealed patch will help your roof stay in great condition for years to come.
💡 Preventative Tips to Avoid Future Damage
Keep your rubber roof in good shape by following these maintenance tips:
Schedule Regular Inspections
Inspecting your roof regularly is one of the best ways to ensure its longevity. Aim to check your roof at least twice a year, typically in the spring and fall, to catch any seasonal damage. Additionally, always inspect your roof after major storms, as high winds, heavy rain, or hail can cause hidden damage that may worsen if left untreated.
Remove Debris Promptly
Leaves, branches, and other debris can accumulate on your roof, especially during the fall. If not removed, this debris can trap moisture, leading to mold, rot, or even damage to your roofing material. Regularly clearing your roof helps maintain its integrity and prevents unnecessary issues.
Ensure Proper Drainage
Clogged gutters and downspouts can cause water to pool on your roof, leading to leaks and water damage. Make sure to clean your gutters frequently, especially after a storm or when leaves are falling. Proper drainage is essential to directing water away from your roof and home.
Use Walk Pads
If your roof experiences frequent foot traffic, such as during maintenance or inspections, consider installing walk pads. These protective pads help distribute weight evenly and reduce wear and tear on your roofing materials, prolonging their lifespan.
Address Small Issues Early
Small damages, like a loose shingle or a tiny leak, might not seem urgent, but they can quickly escalate into major problems if ignored. Repairing minor issues as soon as you spot them can save you from costly repairs and extend the life of your roof.
🛠️ Rubber Roof Repair
When it comes to rubber roof repair, Palladium Roofing stands out as the team you can rely on. With expert knowledge, premium materials, and a dedication to transparent communication, we ensure every repair is done right the first time. Our customer-focused approach means your satisfaction is always our top priority.
Don’t let minor issues turn into major expenses—trust Palladium Roofing to keep your commercial roof in excellent condition. Contact us today to schedule your free roof inspection and see why businesses across Moore and Oklahoma City choose us for their commercial roofing needs!
Related Articles