4 Causes Of Water Stains On Ceiling & How To Fix
Water stains on a ceiling can be an unsightly and potentially serious problem for homeowners. Not only do they detract from the aesthetic appeal of your living space, but they can also signal underlying issues that, if left untreated, could lead to more significant damage.
We take water stains on ceiling and roof systems seriously. In this blog, we’ll cover everything you need to know about:
- Identifying
- Diagnosing
- Fixing water stains on your ceiling
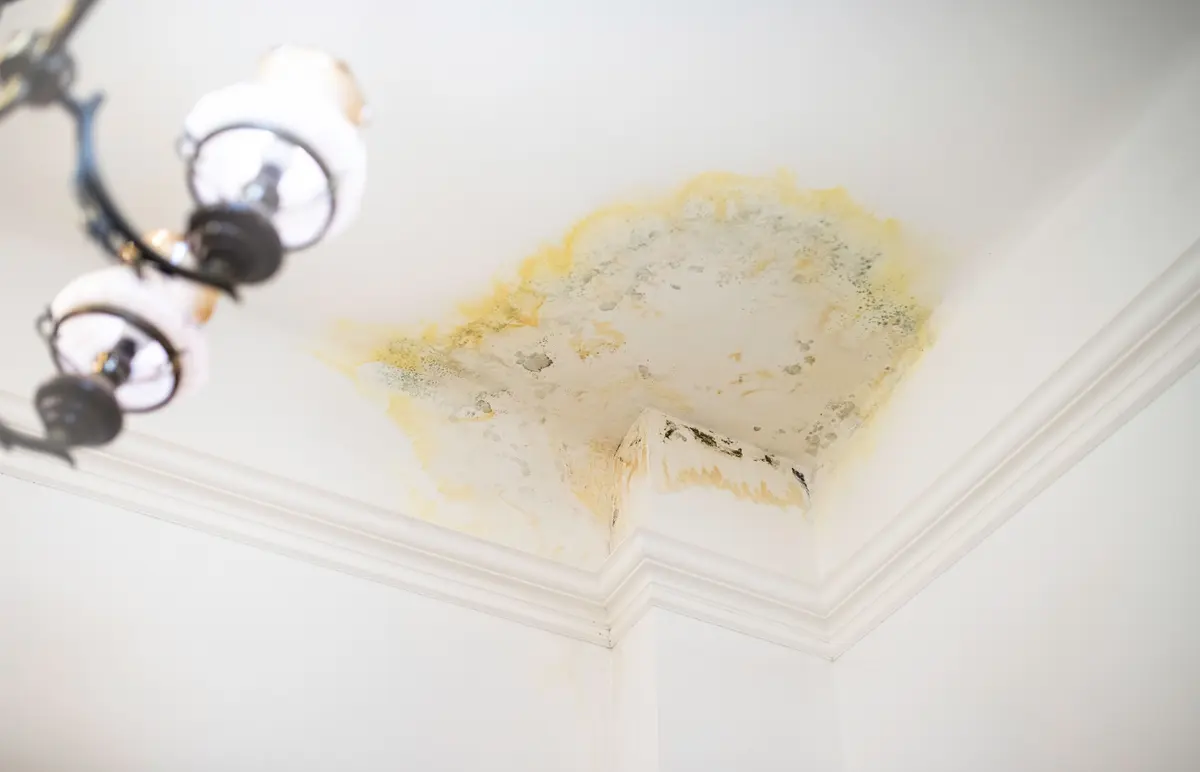
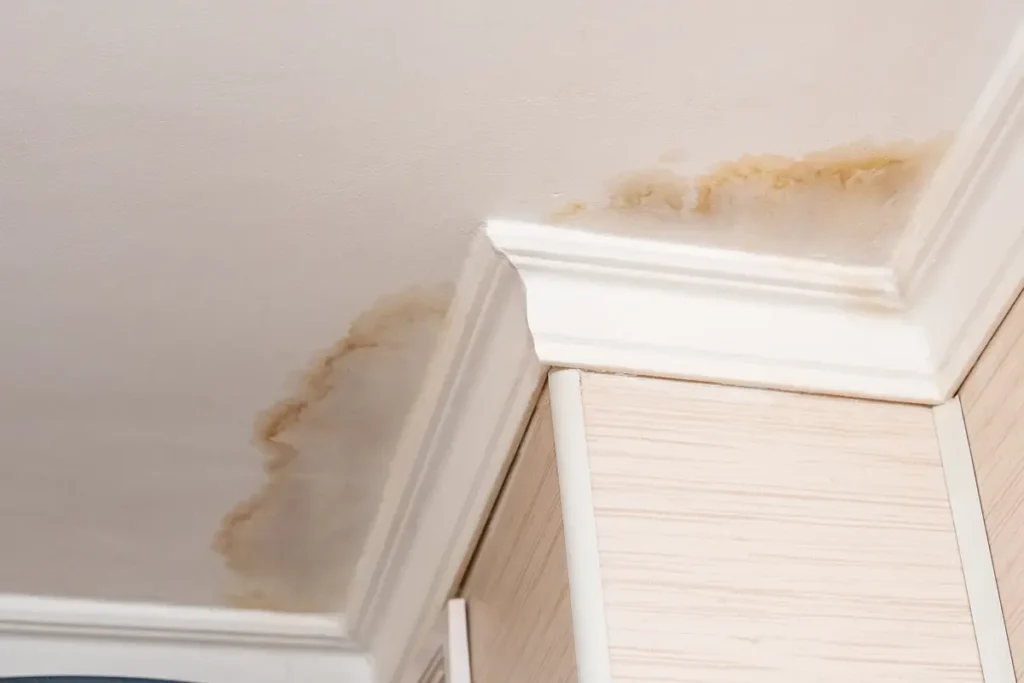
Water stains are a common occurrence, but they should never be ignored. These stains can vary in color from a faint yellow to a deep brown, and their presence often indicates water intrusion from one of several sources. Addressing the root cause promptly can save you from costly repairs down the line. Let’s explore the potential causes of these unsightly marks and how to deal with them effectively.
4 Causes of Ceiling Water Stains
Wondering why your roof is leaking? We’ve got the answers for you.
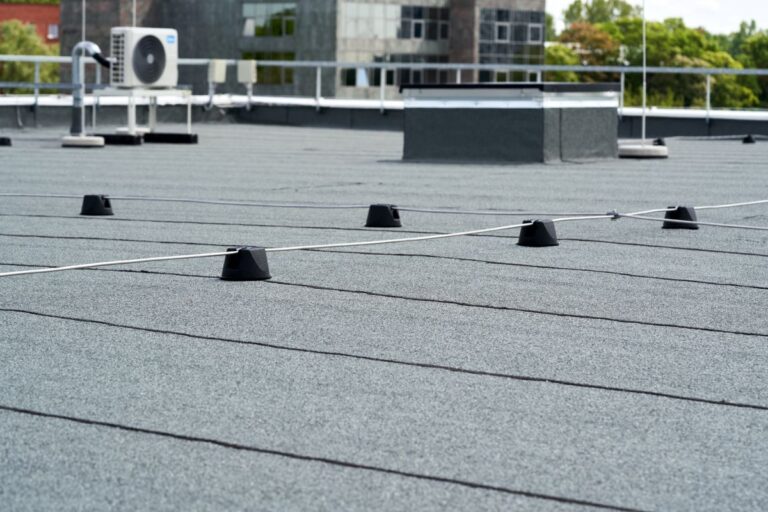
1) Leaky Roof:
One of the most common culprits behind water stains is a leaky roof. If your roof has damaged or missing shingles, flashing issues, or clogged gutters, water can seep through and create stains on your ceiling. This is especially true during heavy rainfall or snowmelt.
2) Plumbing Issues:
Leaks from plumbing fixtures, such as toilets, sinks, or bathtubs located on upper floors, can result in water damage to the ceilings below. Burst or leaking pipes, faulty caulking, and poor drainage can all contribute to this issue.
3) Condensation:
In areas with high humidity, condensation can form on ceilings, particularly if the insulation is inadequate. Over time, this moisture can lead to water stains and even mold growth if not properly managed.
4) Weather Damage:
Severe weather conditions, such as hurricanes, heavy rains, or ice dams, can cause water to infiltrate your home. This water can then travel down through walls or ceilings, creating stains as it moves.
Identifying the Source

Before you can fix the stain, you need to identify the source of the water intrusion. This step is crucial to ensure the problem is resolved and does not recur.
Visual Inspection
Start with a thorough visual inspection. Look for any obvious signs of water damage, such as damp spots, peeling paint, or visible mold. Check the attic, roof, and any plumbing fixtures directly above the stained area.
Using Moisture Meters
A moisture meter can be a valuable tool for detecting hidden moisture in walls and ceilings. By measuring the moisture content, you can pinpoint the exact location of the leak and assess the extent of the damage.
Professional Help
If the source of the water stain is not immediately apparent, it may be wise to consult a professional. A licensed contractor or a roofing expert can conduct a more detailed inspection and provide recommendations for repair.
Assessing the Damage
Once you’ve identified the source, the next step is to assess the extent of the damage. This will help you determine whether you can handle the repairs yourself or if you need professional assistance.
- Surface Level Damage: If the stain is limited to the surface and there is no structural damage, you might be able to address it with cleaning and repainting. Surface-level damage usually involves discoloration or minor mold growth.
- Structural Damage: Structural damage is more severe and may involve rotting wood, compromised insulation, or damaged drywall. In such cases, it’s essential to repair the structural components before addressing the cosmetic appearance of the stain.
Removing Water Stains in 2 Steps

Get rid of your water stain by following these expert steps!
1) Cleaning the Stain
For minor stains, a simple cleaning solution can work wonders.
Materials Needed:
- Mild detergent or bleach
- Warm water
- Sponge or cloth
- Protective gloves
Steps:
- Mix Solution: Combine a few drops of mild detergent or bleach with warm water.
- Apply Solution: Dampen a sponge or cloth with the solution and gently scrub the stain.
- Rinse: Wipe the area with clean water to remove any residue.
- Dry: Allow the area to dry completely before proceeding to painting.
Note: Always test a small, inconspicuous area first to ensure the cleaning solution doesn’t damage the ceiling material.
2) Painting Over the Stain
If the stain persists after cleaning, painting over it can provide a fresh, clean look.
Materials Needed:
- Stain-blocking primer
- Ceiling paint
- Paintbrush or roller
- Painter’s tape
Steps:
- Prepare the Area: Use painter’s tape to protect the areas around the stain.
- Apply Primer: Apply a coat of stain-blocking primer to the affected area. This will prevent the stain from bleeding through the new paint. Allow it to dry as per the manufacturer’s instructions.
- Paint: Once the primer is dry, apply ceiling paint to match the rest of your ceiling. You may need multiple coats for even coverage.
Preventing Future Water Stains
Prevention is always better than cure. Here are some proactive steps to minimize the risk of future water stains:
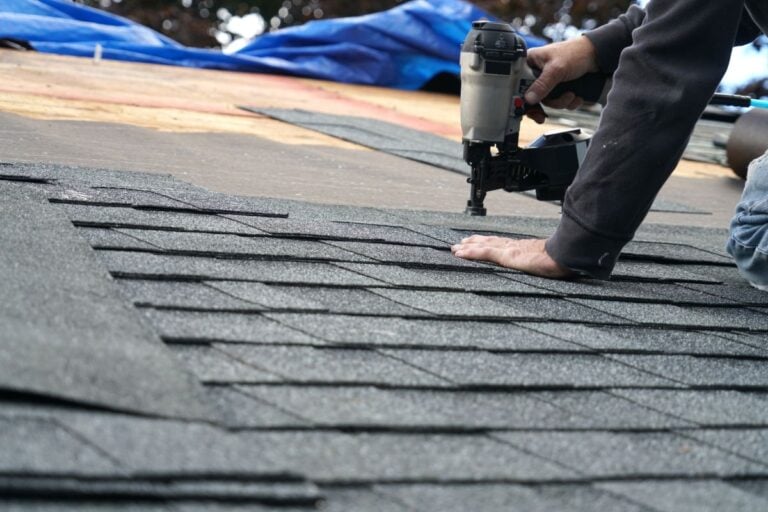
Regular Maintenance
Conduct regular inspections and maintenance of your roof, gutters, and plumbing systems. Look for signs of wear and tear, and address them promptly to prevent leaks.
Installing Water Barriers
Consider installing water barriers such as vapor barriers in your attic or waterproof membranes on your roof. These barriers can help prevent water from penetrating your home’s structure.
When to Call a Professional
While some water stains can be handled with DIY methods, there are situations where professional intervention is necessary:
- Persistent Stains: If the stain reappears despite repeated cleaning and painting.
- Extensive Damage: If there is significant structural damage that poses a risk to your home’s integrity.
- Mold Infestation: If you notice mold growth beyond a small, manageable area.
- Unidentified Source: If you cannot locate the source of the leak.
Professional contractors can provide a comprehensive solution, ensuring both the cause and the cosmetic appearance of the stain are addressed.
Water Stain FAQs
Not sure how to handle your ceiling stain? Check out our FAQ’s below:
Q: Can I just paint over a water stain?
While painting over a water stain can hide the discoloration, it’s essential to address the underlying cause first. Otherwise, the stain may reappear.
Q: How can I prevent mold from forming on a water-stained ceiling?
Ensure the area is thoroughly dried and repaired. Use mold-resistant paint and consider a dehumidifier in high-humidity areas.
Q: Is it dangerous to have water stains on my ceiling?
Water stains themselves are not dangerous, but they can indicate underlying issues such as structural damage or mold growth, which can pose health risks.
Q: How can I identify mold versus water stains?
Mold usually appears as black, green, or brown spots and has a musty odor. Water stains often appear yellowish or brownish without an odor.
Q: How much does it cost to repair a water-stained ceiling?
The cost varies depending on the extent of the damage and the repairs needed. Simple cleaning and repainting can be done cheaply, but significant damage requiring professional help will be more expensive.
Your Ceiling Water Stain Experts
Water stains on your ceiling are more than just an eyesore; they’re a signal that something is wrong. Remember, preventive measures are key to avoiding future problems. Regular maintenance of your roof and plumbing systems, along with prompt attention to any leaks, will help keep your ceilings stain-free.
For those complex or persistent issues, like hail damage, don’t hesitate to seek professional help. Your home is an investment worth protecting. If you’d like more personalized advice or assistance with your home’s maintenance, feel free to reach out to our team at Palladium Roofing for a consultation.
Related Articles