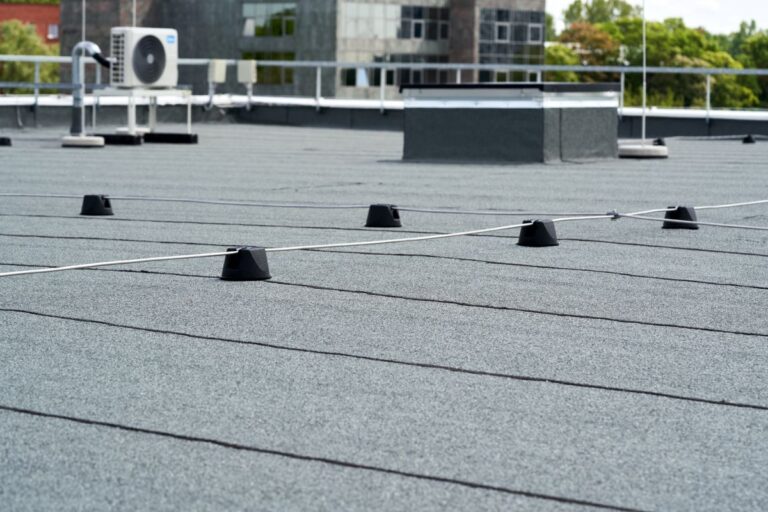
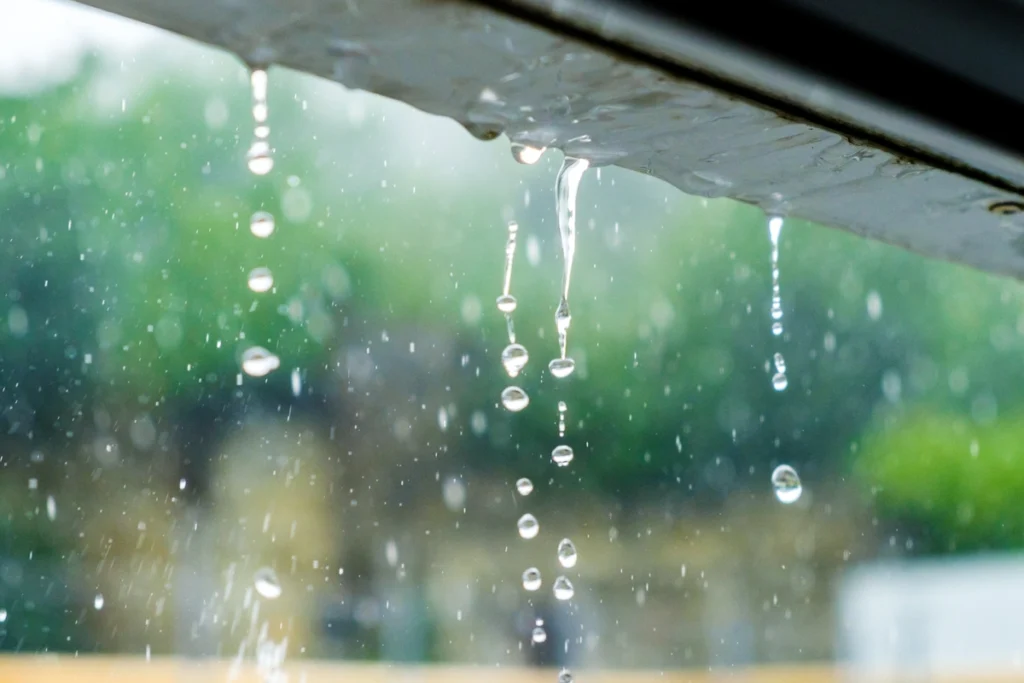
What Is Drip Edge?
Have you ever wondered about the different components that make up your roof? It’s not just shingles and nails, my friends. One important element that often goes unnoticed is the drip edge. In this homeowner’s guide, we’re going to dive into the world of drip edges and why they matter for your home. So, let’s get started!
Inside this blog:
- 4 key functions of a drip edge
- The different types of drip edges
- 7 steps to effectively installing a drip edge
Keep reading to learn everything you need to know about drip edges and how they keep you and your home safe!
What is a Drip Edge, Anyway? 🤔
A drip edge, simply put, is a piece of metal (usually aluminum) or plastic that is installed along the edges of your roof. It’s a critical component of your roofing system as it’s designed to perform several crucial functions. Let’s go over 4 of its key purposes.
1. Water Diversion
The main job of a drip edge is to redirect water away from your home. It prevents water from seeping under your roofing materials and causing damage to your roof deck, fascia, and soffit.
2. Protects Fascia and Soffit
The edge of your roof is where the fascia and soffit are exposed. Without a drip edge, water can infiltrate these areas, leading to rot, mold, and other structural issues.
3. Preserves Shingle Overhang
Roof drip edges help maintain the correct overhang of your shingles, ensuring proper water runoff and preventing wind-driven rain from getting under the shingles.
4. Aesthetic Value
Drip edges can also provide a polished look to your roof by covering the rough edges of the roofing materials, giving it a clean and finished appearance.
Types of Drip Edges 📦
Now that we know what a drip edge is and why it’s important, let’s explore the various types available for your roofing needs:
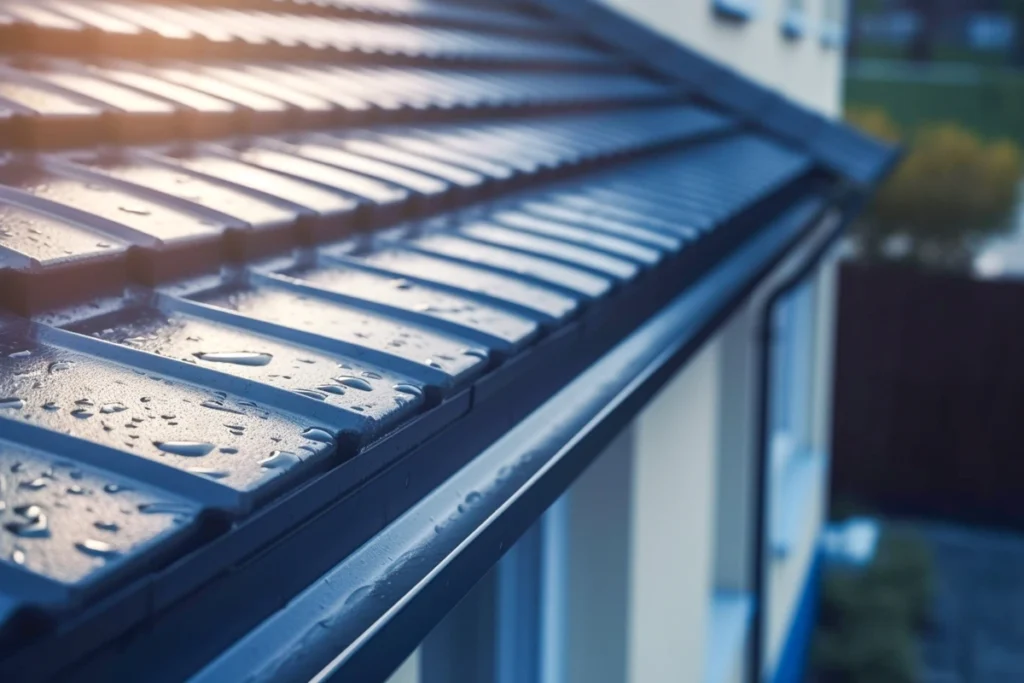
- L-shaped Drip Edge: This is the most common type of drip edge. It resembles an “L” and is installed along the eaves of your roof.
- T-shaped Drip Edge: Similar to the L-shaped version but with an added piece extending upward, offering additional protection for the roof deck.
- C-style Drip Edge: This type creates a small channel, allowing water to flow off the edge and away from your home more efficiently.
- D-style Drip Edge: This style is shaped like a “D” and is often used for flat or low-slope roofs.
- Custom Drip Edge: In some cases, custom drip edges may be required to fit unique roof designs. These are fabricated to meet specific requirements.
Why Your Roof Needs a Drip Edge 🌧️
Now that we’ve discussed the types of drip edges, let’s explore why they are an essential part of your roofing system:
Prevents Water Damage
Without a drip edge, water can get underneath your roofing materials, causing rot, mold, and damage to your home’s structure.
Protects Your Foundation
Properly installed drip edges ensure that water is directed away from your foundation, preventing costly foundation damage.
Enhances Curb Appeal
Drip edges can add a finished and polished look to your roof, increasing the overall aesthetics of your home.
Longevity of Roofing Materials
By preventing water infiltration, drip edges help extend the lifespan of your roofing materials, saving you money in the long run.
Avoids Ice Dams
In colder climates, drip edges play a role in preventing ice dams from forming on your roof, reducing the risk of leaks and damage.
Installing a Drip Edge: DIY or Hire a Pro? 🔧
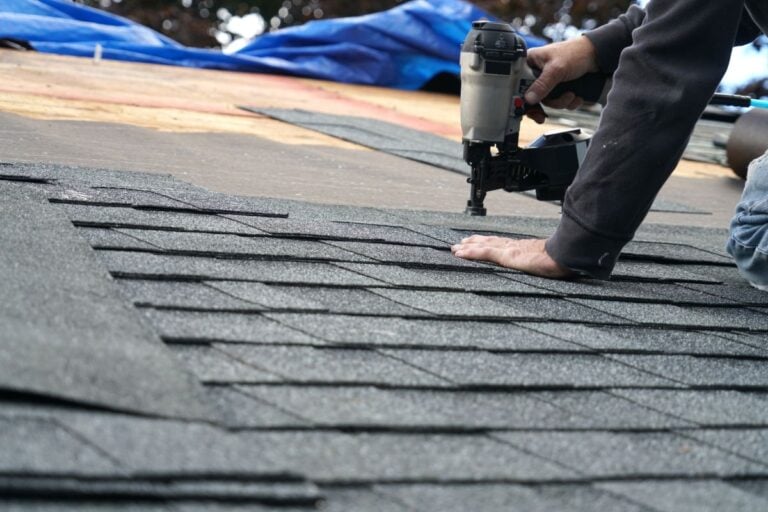
If you’re a handy homeowner and have experience with roofing projects, installing a drip edge can be a DIY task. However, it’s essential to follow these 7 steps carefully:
1. Safety First
Always prioritize safety when working on your roof. Use appropriate safety gear and work on a clear, dry day.
2. Materials and Tools
Gather the necessary materials, including the appropriate type of drip edge, roofing nails, and a hammer or nail gun.
3. Measure and Cut
Measure the length of your roof’s edges, and cut the drip edge accordingly, allowing for a slight overhang (usually about 1/4 inch).
4. Position and Nail
Position the drip edge along the eaves, ensuring that it overhangs the edge slightly. Nail it in place, spacing nails approximately every 8 to 10 inches.
5. Overlap Joints
If your roof requires multiple pieces of drip edge, be sure to overlap the joints by at least 2 inches to create a continuous barrier.
6. Gutter Connection
Ensure that the drip edge extends into the gutter, directing water away from the foundation.
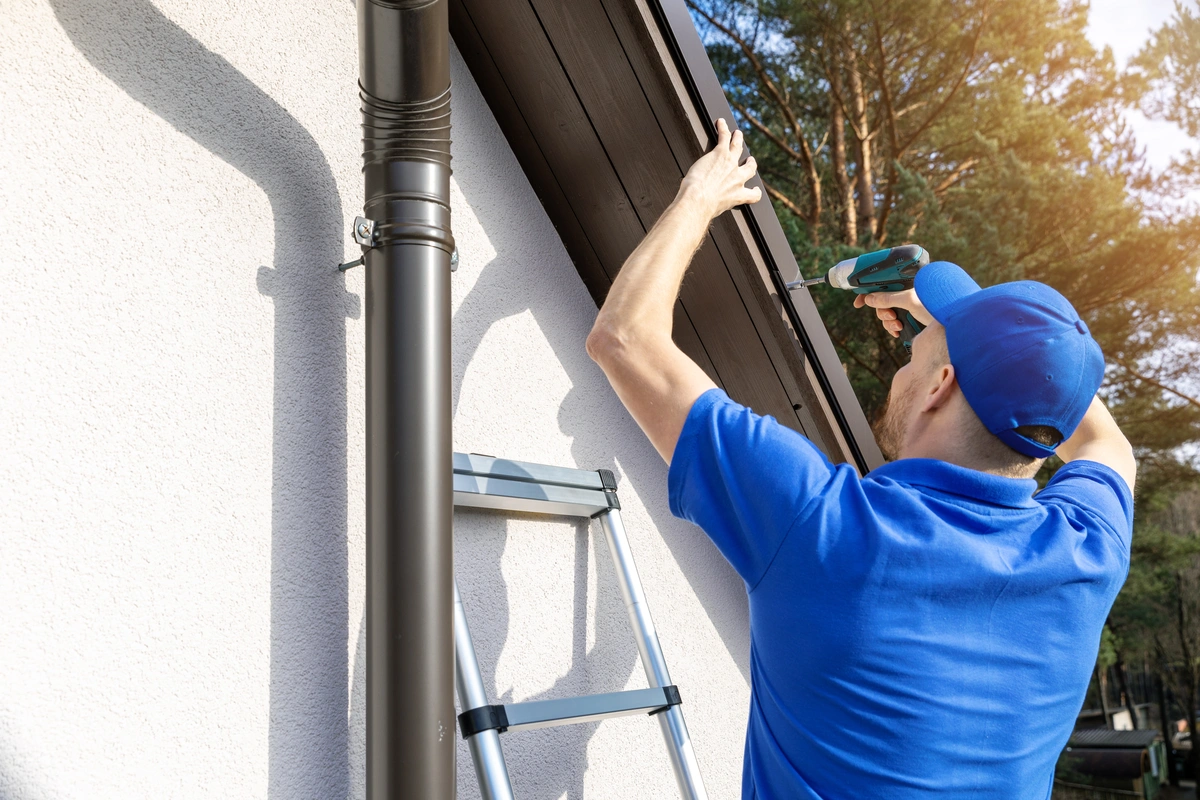
7. Secure Fascia
Secure the fascia on top of the drip edge, creating a seamless appearance.
If you’re not comfortable with roofing tasks or your roof has unique complexities, it’s wise to hire a professional roofer. They have the experience and tools needed to ensure proper installation and can assess any potential issues during the process.
Maintaining Your Drip Edge: Tips and Tricks 🧹
Once your drip edge is in place, it’s important to maintain it to ensure it continues to do its job effectively. Here are some tips for maintaining your drip edge:
- Regular Inspections: Periodically inspect your drip edge for damage, such as dents or rust, and repair or replace it as needed.
- Keep It Clean: Make sure debris, leaves, and other materials don’t accumulate on your roof or in your gutters, as this can affect the flow of water.
- Gutter Maintenance: Keep your gutters clean and in good condition to ensure proper water drainage and prevent clogs.
- Trim Overhanging Trees: If you have trees near your roof, trim branches that might hang over and drop leaves and debris onto your roof.
Keep Your Home Protected With a Solid Drip Edge
In the grand scheme of your home, a drip edge might seem like a minor detail, but it plays a vital role in protecting your investment. By redirecting water away from your home, preserving your roof’s structural integrity, and enhancing curb appeal, drip edges are an essential component of your roofing system.
Remember, whether you decide to install or maintain your drip edge yourself or hire a professional, it’s crucial to prioritize this often overlooked element of your roof. A well-installed and properly maintained drip edge can save you money in the long run by preventing water damage and extending the life of your roof.
Contact our roofing experts at Palladium Roofing today and experience top-notch customer service and unparalleled craftsmanship. We’re excited to hear all about your next roofing project and help you bring your vision to life!
Related Articles