Dealing with a roof leak can be daunting for any homeowner. Not only does it risk damaging your property, but it can also lead to expensive repairs if not addressed promptly.
That’s why we’ve put together a guide, where we will walk you through everything you need to know about finding and fixing roof leaks, ensuring you have the knowledge to tackle this issue head-on. We’ll cover:
- Signs of a roof leak
- How to find a roof leak
- Temporary repair tips
Signs of a Roof Leak
Identifying a roof leak early can save you time, money, and a lot of headaches. Here are some common signs to watch out for:
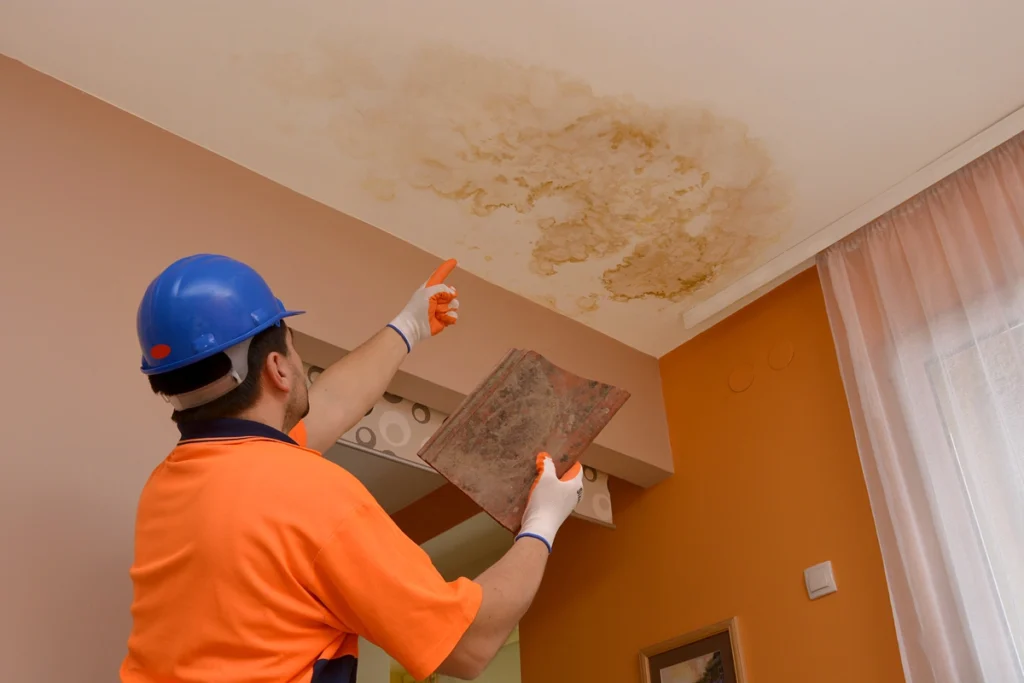
- Water Stains on Ceilings and Walls: One of the most apparent signs of a roof leak is water stains on your ceilings or walls. These stains may appear as yellowish-brown spots and can vary in size.
- Drips and Puddles: If you notice water dripping from your ceiling or discover puddles on the floor, it’s a clear indication that water is getting through your roof.
- Musty Odors: A persistent musty smell in certain areas of your home could suggest mold growth due to moisture from a roof leak.
- Damaged or Missing Shingles: Inspecting your roof for damaged or missing shingles can help you spot potential entry points for water.
- Exterior Wall Growth: If you notice mold or mildew growing on your exterior walls, it could indicate that water is seeping in from a roof leak.
Dangers of a Roof Leak
Ignoring a roof leak can have severe consequences. Here are some dangers associated with untreated roof leaks:
🏚️ Structural Damage
Water can weaken the structural integrity of your home, leading to rot, decay, and even collapsing ceilings or walls.
🍄 Mold and Mildew Growth
Moisture from a roof leak creates an ideal environment for mold and mildew to thrive, posing health risks to you and your family.
⚡️ Electrical Hazards
Water infiltrating your home can come into contact with electrical wiring, increasing the risk of electrical fires and shocks.
📈 Increased Energy Bills
A compromised roof can result in poor insulation, causing your heating and cooling systems to work harder and increasing your energy bills.
How to Find a Roof Leak Step-by-Step
Locating the source of a roof leak can be challenging, but with the right approach, you can identify the problem area. Follow these steps:
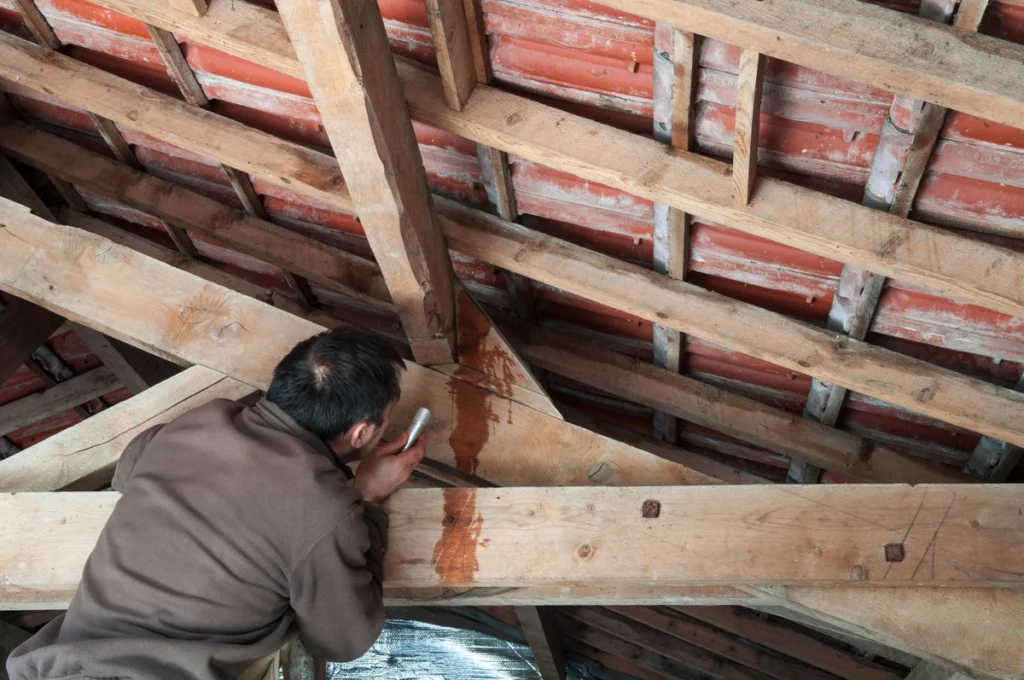
Step 1: Inspect Your Attic
Begin by inspecting your attic for any signs of water intrusion. Look for water stains, damp insulation, and mold growth. Use a flashlight to examine the roof’s underside for any visible holes or cracks.
Step 2: Check for Roof Penetrations
Roof penetrations, such as chimneys, vents, and skylights, are common entry points for water. Inspect the seals around these areas for any gaps or damage.
Step 3: Conduct a Water Test
If you can’t find any visible signs of a leak, you may need to conduct a water test. Enlist a helper to spray water on different sections of the roof while you inspect the attic for any signs of water intrusion.
Step 4: Examine the Roofing Material
Inspect the roofing material for any signs of damage, such as cracked or missing shingles, deteriorated flashing, or punctures. Pay close attention to areas where different sections of the roof meet.
Step 5: Review Your Roofing History
If you’ve recently had any roofing work done or experienced severe weather, it could be worth revisiting those instances to identify potential causes of the leak.
8 Common Problem Areas on Roofs
Identifying potential problem areas on your roof can help you prevent leaks and other issues before they become major concerns. Here are some of the most common problem spots to watch for:
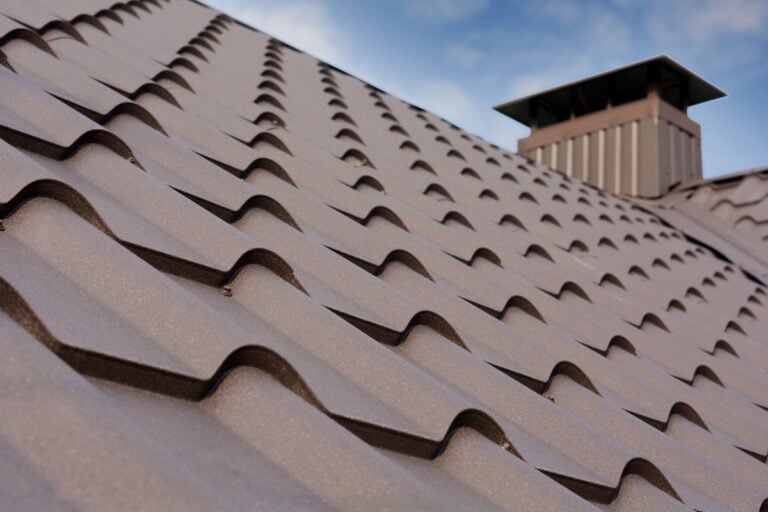
1) Flashing
Flashing is the material used to seal joints and prevent water from seeping into your home. It is often found around chimneys, vents, and skylights. Over time, flashing can corrode, crack, or become loose, leading to leaks.
2) Shingles
Shingles protect the roof from the elements, but they can become cracked, curled, or missing due to severe weather or age. Damaged shingles can expose the underlying materials to water damage.
3) Gutters
Gutters and downspouts direct water away from your roof and home. If they become clogged with debris, they can cause water to back up and seep under the roofing material, leading to leaks and water damage.
4) Roof Valleys
Roof valleys are the areas where two roof planes meet. These valleys naturally direct a significant amount of water away from the roof. However, if they are not properly sealed or are clogged with debris, they can be prone to leaks.
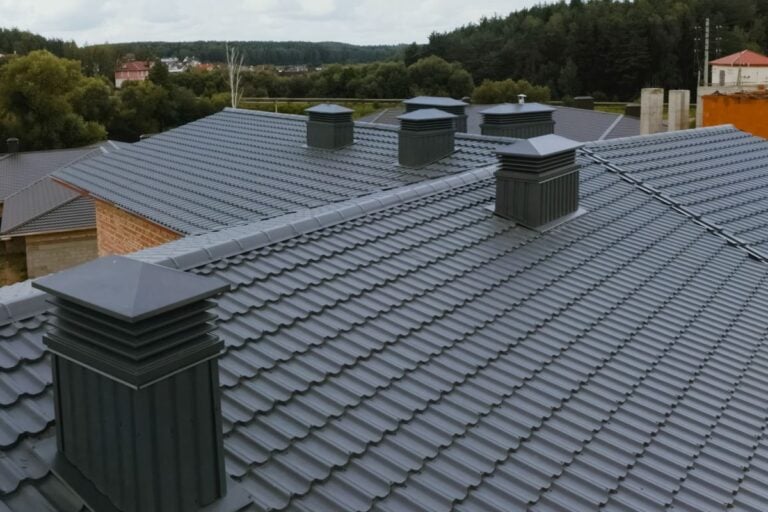
5) Roof Penetrations
Any hole or penetration in your roof, such as those for chimneys, vents, or skylights, can be potential problem areas. If the seals around these penetrations deteriorate, they can allow water to enter your home.
6) Eaves and Soffits
Eaves and soffits are the edges of the roof that overhang the walls. These areas can be vulnerable to water damage if not properly maintained. Check for signs of rot, mold, or pest activity.
7) Dormer Windows
Dormer windows add light and space to attics and upper floors, but their joints can be prone to leaks. Ensure that the flashing around these windows is intact and that any cracks or gaps are sealed.
8) Ridge Vents
Ridge vents allow hot air to escape from the attic, helping to regulate temperature and moisture levels. However, if they are damaged or improperly installed, they can let water in.
By regularly inspecting these common problem areas and addressing any issues promptly, you can help ensure the longevity of your roof and prevent costly repairs down the line.
Temporary Repairs
Once you’ve identified the source of the leak, you may need to make temporary repairs to prevent further damage until professional help arrives. Here are some quick fixes you can try:
- Apply Roofing Tape: Roofing tape can be used to seal small cracks or holes in the roofing material. Clean the area thoroughly before applying the tape to ensure a proper seal.
- Use Roofing Cement: Roofing cement is a versatile material that can be used to patch small holes and cracks. Apply it with a putty knife, ensuring a smooth and even layer.
- Cover with a Tarp: For larger leaks or more extensive damage, covering the affected area with a tarp can provide temporary protection. Secure the tarp with nails or bungee cords to keep it in place.
How Much Do Professional Repairs Cost?
The cost of professional roof repairs can vary widely depending on the extent of the damage and the type of roofing material. On average, homeowners can expect to pay between $300 and $1,100 for minor repairs. However, more extensive repairs or complete roof replacements can cost several thousand dollars.
Common Factors Affecting Repair Costs
- Extent of Damage: Larger or more complex repairs will naturally cost more.
- Roofing Material: Different materials have varying costs, with asphalt shingles being the most affordable and slate or metal roofs being more expensive.
- Labor Costs: Rates can vary based on your location and the roofing contractor’s experience.
- Accessibility: If your roof is difficult to access, it may increase the labor costs.
What the Pros Will Do to Repair It
When you hire a professional roofer, they will follow a systematic approach to repair the leak and ensure the longevity of your roof. Here’s what you can expect:
Thorough Inspection
The roofer will conduct a detailed inspection to identify the source and extent of the leak. This may involve examining the attic, inspecting the roof’s exterior, and reviewing your roofing history.
Remove Damaged Material
Once the source is identified, the roofer will remove any damaged or compromised roofing material, such as shingles, flashing, or underlayment.
Apply New Roofing Material
The roofer will then replace the damaged material with new, high-quality roofing products, ensuring a secure and watertight seal.
Seal and Waterproof
To prevent future leaks, the roofer will apply sealants and waterproofing materials around roof penetrations and vulnerable areas.
Clean Up and Final Inspection
After completing the repairs, the roofer will clean up the work area and conduct a final inspection to ensure the job is done correctly.
How to Prevent Leaks in the Future
Preventing roof leaks is all about regular maintenance and proactive measures. Here are some tips to keep your roof in top condition:
Regular Inspections: Schedule regular roof inspections, especially after severe weather events. Look for signs of damage and address any issues promptly.
Clean Gutters and Downspouts: Clogged gutters and downspouts can lead to water buildup on your roof. Clean them regularly to ensure proper drainage.
Trim Overhanging Branches: Overhanging branches can damage your roof and create entry points for water. Trim them back to reduce the risk of leaks.
Maintain Roof Penetrations: Regularly inspect and maintain seals around roof penetrations, such as chimneys, vents, and skylights. Replace damaged or deteriorated seals as needed.
Address Small Issues Promptly: Don’t ignore small issues, such as cracked shingles or minor leaks. Addressing them early can prevent more extensive damage down the line.
Will Insurance Cover Leak Repair?
Whether or not your insurance will cover roof leak repairs depends on the cause of the leak and your specific policy. Here are some general guidelines:
Covered Causes
Most homeowners’ insurance policies cover roof leaks caused by sudden and accidental events, such as storms, falling objects, or fire. In these cases, your insurance may cover the cost of repairs and any resulting damage to your home.
Exclusions
Insurance policies typically do not cover leaks caused by wear and tear, neglect, or lack of maintenance. If the leak results from poor upkeep, you may be responsible for the repair costs.
Filing a Claim
If you believe your roof leak is covered by insurance, follow these steps to file a claim:
- Document the Damage: Take photos and notes detailing the extent of the damage.
- Contact Your Insurance Company: Report the leak and provide the necessary documentation.
- Schedule an Inspection: Your insurance company may send an adjuster to assess the damage.
- Get Estimates: Obtain estimates from reputable roofing contractors to present to your insurance company.
- Review the Settlement: Review the settlement offer and make sure it covers the necessary repairs.
Let Us Take Care of Your Leaky Roof
Dealing with a roof leak can be stressful, but with the right knowledge and approach, you can address the issue effectively. By following the steps outlined in this guide, you’ll be well-equipped to identify, repair, and prevent roof leaks, ensuring the safety and longevity of your home.
If you need professional assistance, don’t hesitate to contact your trusted roofing contractor at Palladium Roofing! And remember, regular maintenance and proactive measures are key to keeping your roof in top condition.
Related Articles