
Step-By-Step Emergency Roof Repair Guide
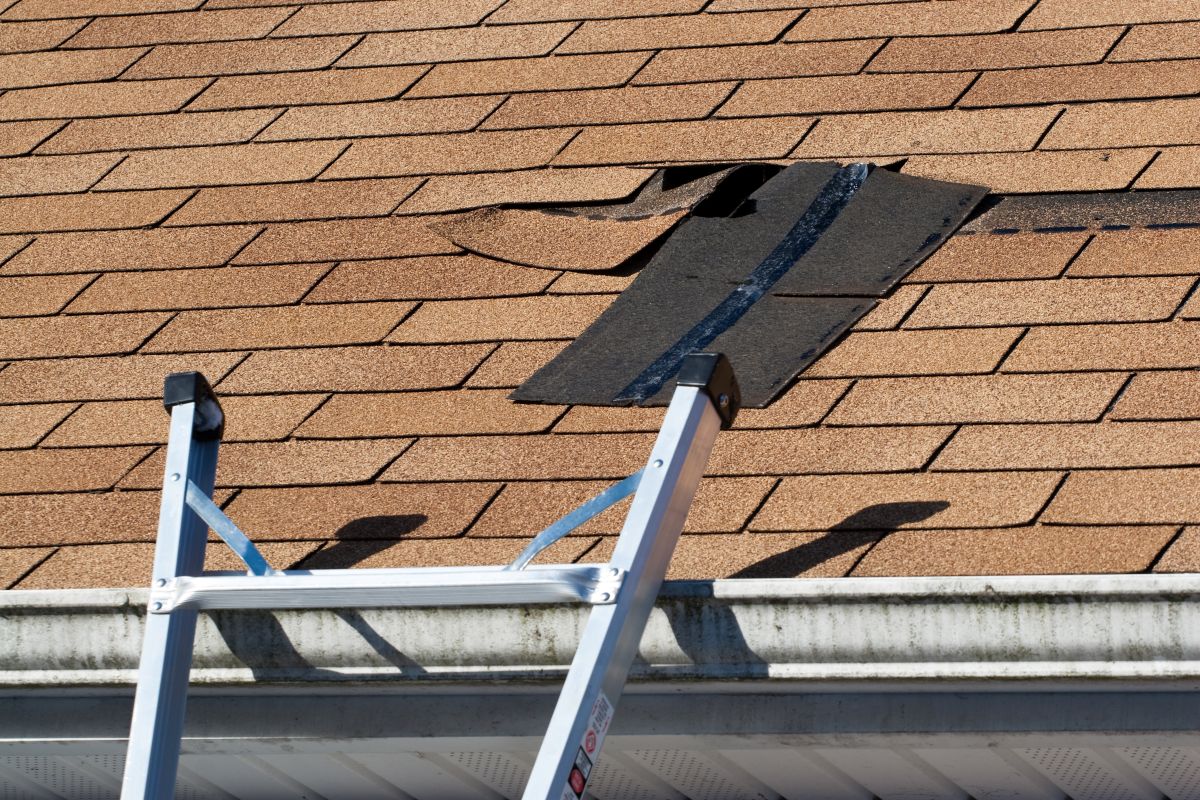
A storm does not wait for a convenient time to tear off shingles or open up a hole in your roof, which is exactly why knowing the right emergency roof repair steps ahead of time matters so much. The first hour after damage is discovered often determines whether you are dealing with a simple repair or a much larger problem involving soaked insulation and damaged drywall. Before disaster strikes, it helps to know what professional roof support actually looks like once you make that first call.
Dealing with a leaking roof or storm damage right now? Call for 24/7 emergency repair and get an emergency roofer on the way immediately.
What you’ll learn:
- The immediate safety steps to take before you do anything else
- How to stop a leak from causing further damage inside your home
- What actually caused the damage and how to assess it safely
- When a tarp is appropriate and why that step belongs to a professional
- How temporary fixes compare to permanent repairs so you know what to expect next
Why Acting Quickly Matters So Much
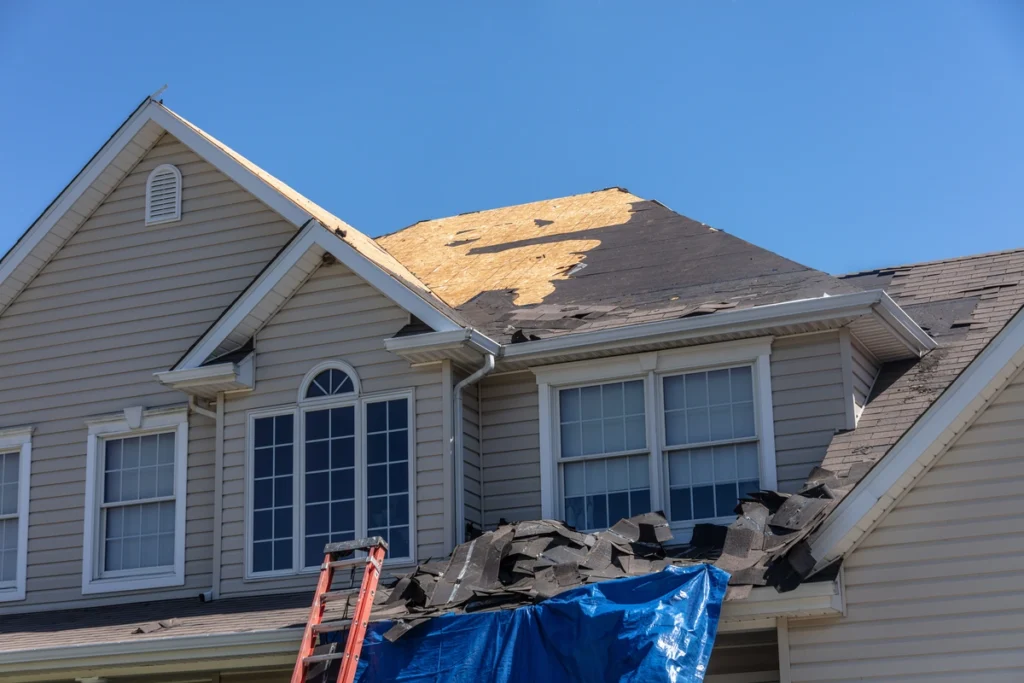
Homeowners in Bethany and surrounding areas deal with sudden roof damage every storm season, whether from high winds, hail, or a fallen tree limb. What happens in the hours right after that damage is discovered often matters just as much as the eventual repair itself, since water intrudes fast and spreads even faster once it finds a way inside.
Understanding how to respond in the moment protects both your home and your budget. Here is why it matters so much:
- Preventing further damage: Quick action keeps a small leak from turning into ruined drywall, insulation, or flooring.
- Personal safety: Knowing what to check before climbing anywhere reduces the risk of a fall or electrical hazard.
- Stronger insurance documentation: Acting fast while damage is fresh gives you clearer evidence to support a claim later.
- Lower overall repair costs: Addressing a problem within hours is almost always cheaper than waiting days for water to spread.
None of this requires roofing expertise. It simply means knowing the right sequence of steps to follow, which the next few sections walk through scenario by scenario.
Active Leak Right Now
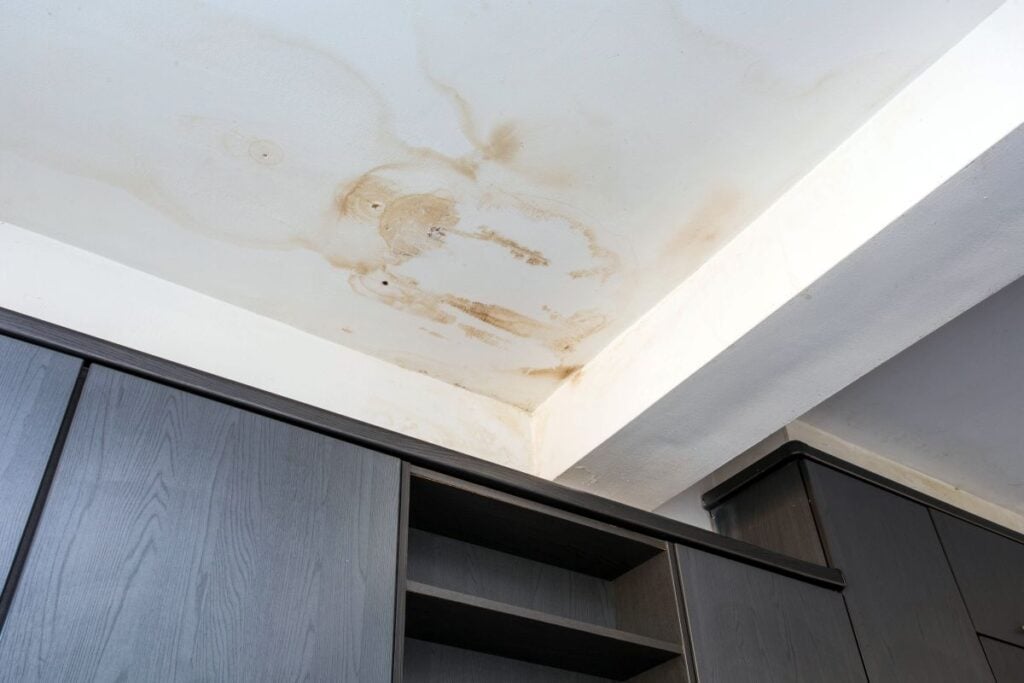
If water is actively dripping or pooling inside your home this minute, here is what to do in a roofing emergency like this one, starting with the steps that matter most in the first few minutes.
1. Contain The Water Immediately
Place buckets or containers under the leak and use towels or old sheets to soak up standing water before it spreads further into the room. Moving quickly here prevents a small leak from becoming a much larger cleanup.
2. Protect Your Belongings
Move furniture, electronics, and anything else of value away from the affected area. A few minutes spent relocating items can save far more in replacement costs than the time it takes.
3. Document The Leak For Insurance
Take clear photos and video of the water damage, ceiling stains, and any visible cause before you begin cleanup. This documentation becomes essential later if you end up filing an insurance claim for the repair.
4. Call A Professional Right Away
Once the interior situation is under control, call a professional roofing contractor so the actual source of the leak can be identified and addressed. A leak rarely stays contained on its own for long.
Interior water containment and basic cleanup are entirely DIY-safe tasks that any homeowner can handle without special training. Locating the source of the leak and repairing it, however, is not something to attempt alone, especially if it means climbing onto a wet or damaged roof.
If the leak is significant or has been going on for a while, call for 24/7 emergency repair rather than waiting until morning. Our guide on documenting and filing a storm damage insurance claim covers exactly what to do with the photos and notes you take during this stage.
Storm Just Hit
Once the storm itself has passed, the priority shifts from containing water indoors to understanding what actually happened to your roof and how severe the damage really is. Different weather events leave very different signatures, and recognizing them helps homeowners in Bethany and surrounding areas communicate clearly with both a contractor and their insurance company.
1. Check For Immediate Hazards
Look for downed power lines near the house and contact your utility company immediately if you spot one, since this is never safe to approach yourself. Also check for any part of the ceiling that looks like it could collapse.
2. Identify What Likely Caused The Damage
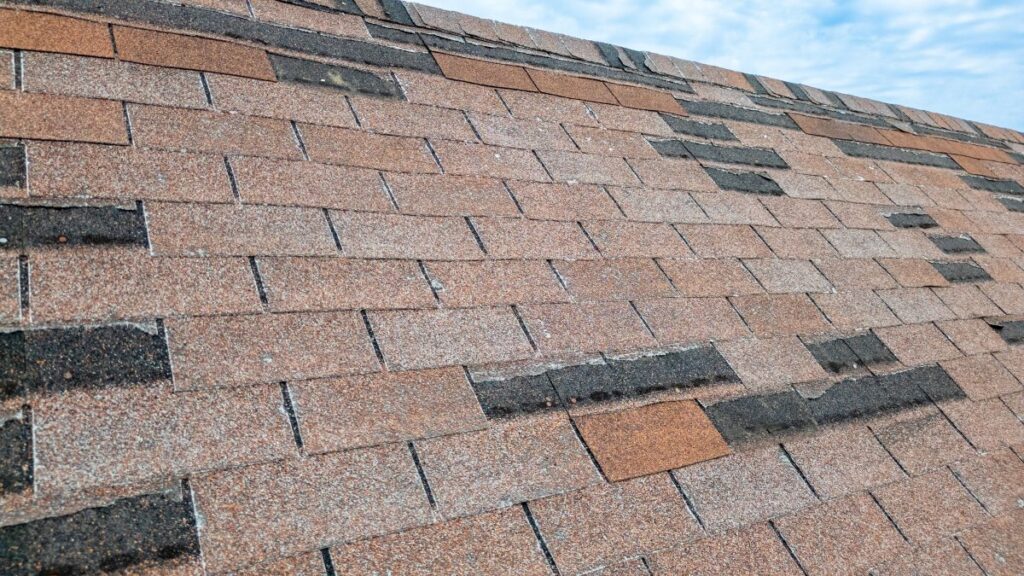
Heavy winds can dislodge or remove shingles entirely, hail can cause dents and fractures in roofing materials, intense rain can lead to leaks and water damage, and ice dams can cause leaks along with structural damage in colder months. Knowing the likely cause helps set expectations for the repair ahead.
3. Do A Ground-Level Cleanup
Clear fallen branches, check gutters for clogged debris, and look for missing shingle pieces in the yard. All of these tasks are safe to handle from ground level without any special equipment.
4. Photograph Everything
Capture the roof from multiple angles along with any debris on the ground, missing shingles, or visible dents from hail. Thorough photos now make the claims process considerably smoother later.
5. Contact Your Insurance Company
Most homeowner insurance policies cover emergency roof repairs caused by sudden severe weather, so report the damage while the details are still fresh. Acting quickly also strengthens your position if any questions come up later.
Ground-level cleanup and photo documentation are both DIY-safe, but getting onto the roof itself to assess loose shingles, damaged flashing, or the full extent of the damage is a job for roofing professionals. If your ceiling is sagging significantly after a storm, treat that as an emergency and call for help right away rather than waiting to see if it settles on its own.
Understanding what caused the damage also helps when it comes time to file a claim. Our guide on how to get insurance to pay for a full roof replacement walks through what most insurance policies expect to see before approving repair or replacement costs.
Temporary Tarping
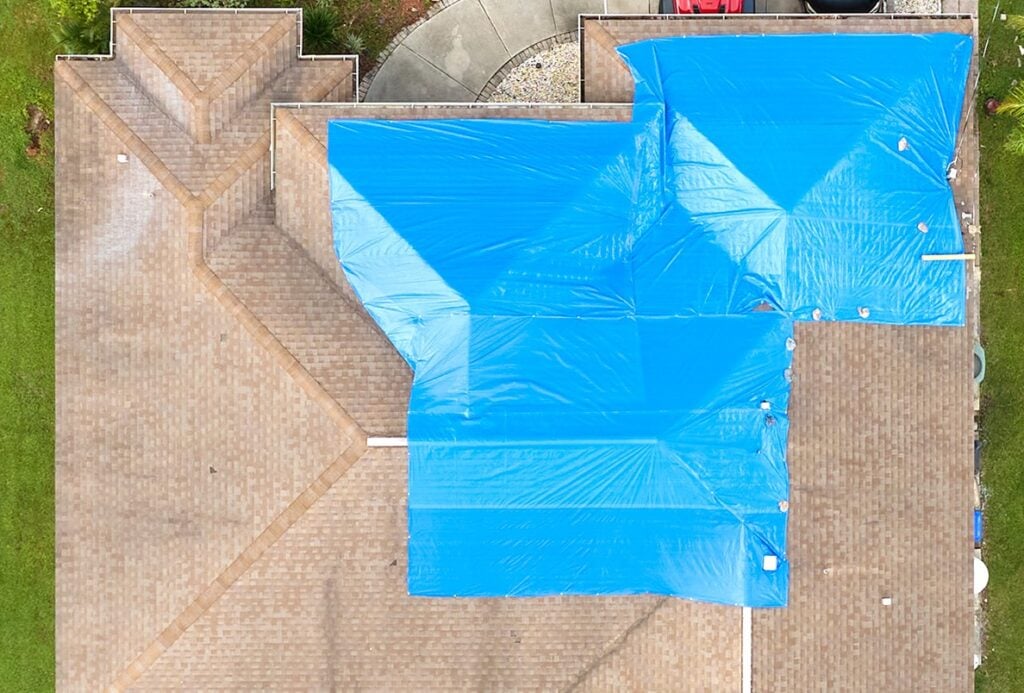
Once the immediate hazards are addressed, a temporary tarp is often the single most effective way to stop further harm while a permanent repair gets scheduled. This step, however, is one that should be left entirely to trained professionals rather than attempted from a ladder in the yard.
1. Confirm Tarping Is Actually Needed
Missing shingle sections, exposed decking, or an active leak that continues after interior containment usually mean the roof needs emergency tarping before the next round of weather. A quick call to a contractor can confirm whether this step applies to your situation.
2. Leave The Roof Work To A Professional
Emergency roof tarping is professional-only due to the serious fall risk involved, especially on steep or wet surfaces. This applies to both flat roofs and sloped roofs alike, regardless of how small the damaged area looks from the ground.
3. Know What A Proper Temporary Fix Involves
A properly installed tarp can protect a roof for 30 to 90 days, and roofing cement can effectively seal small cracks around flashing or shingles in the meantime. Heavy-duty plastic sheeting is sometimes used as an additional temporary patch over especially compromised areas.
A tarp is temporary protection, not a repair, and treating it as a finished job invites mold growth and further deterioration underneath. Our detailed guide on roof flashing repair covers what actually happens once a contractor moves from a temporary patch to permanent work on damaged flashing and other affected areas.
Waiting too long between the temporary fix and the permanent repair leaves your home exposed the next time weather conditions turn, which is why most roofing companies treat scheduling the follow up work as urgent business.
Temporary Fixes Versus Permanent Repairs
Once the emergency itself is under control, it helps to understand how a temporary fix differs from the permanent repair that will eventually need to happen. Confusing the two can leave a homeowner under the impression that the problem is fully solved when it is really just contained.
| Aspect | Temporary Fix | Permanent Repair |
| Purpose | Stops additional water intrusion right away | Restores the roof to full structural integrity |
| Typical materials | Tarps, plastic sheeting, roofing cement | Quality roofing materials matched to the existing roof |
| Expected lifespan | 30 to 90 days at most | Years, matching the expected lifespan of the surrounding roof |
| Who should handle it | Ground-level tasks are DIY-safe, roof work is professional-only | Always a licensed roofing contractor |
Treating a tarp as a lasting solution is one of the most common mistakes homeowners make after an emergency. Weather, wind, and time all work against temporary materials, which is why scheduling the permanent repair as soon as possible protects the investment you already made in stabilizing the damage.
Understanding this distinction from the start helps you set realistic expectations with your contractor and avoid discovering weeks later that the temporary patch was never meant to last.
Let Palladium Roofing Handle Your Emergency
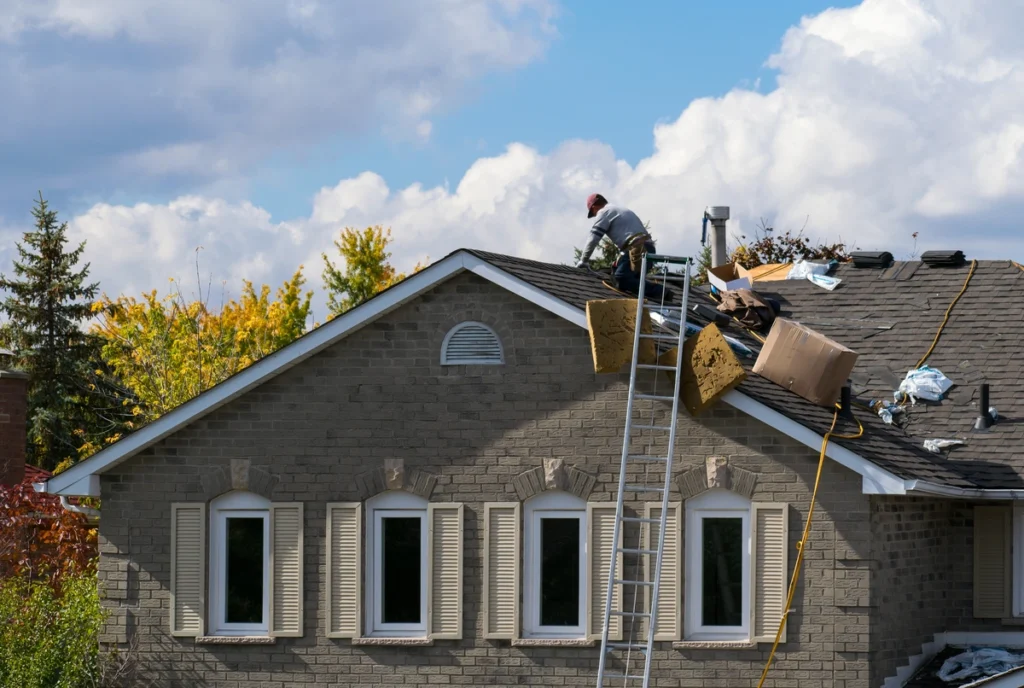
A roofing emergency can feel overwhelming in the moment, but knowing the right steps to take turns a chaotic situation into a manageable one. From containing an active leak to understanding what a storm did to your roof to scheduling professional tarping, having an experienced team on call makes all the difference. Palladium Roofing responds to homeowners throughout Bethany and surrounding areas when storms strike, providing both emergency support and the permanent repair work that follows.
If your roof has been damaged and you need help right away, do not wait until the next storm makes things worse. Contact us today to get emergency support and a clear plan for getting your roof fully repaired.
Related Articles