How to Measure a Roof for Shingles (Homeowner’s Guide)

When it comes to installing new shingles on your roof, accurate measurements are crucial for ensuring you purchase the right amount of materials and complete the project successfully. In this guide, we’ll walk you through the steps to measure your roof for shingles like a pro. Whether you’re planning a DIY project or working with a contractor, these tips will help you get started on the right foot.
Inside this blog:
- 5 easy-to-follow steps for how to measure your roof for shingles
- Tips under each step to ensure a successful outcome
Ready to scratch that DIY itch and learn all about how to measure your roof for new shingles? Keep reading!
Step 1: Gather Your Tools & Roofing Materials

Before you begin measuring your roof, gather the necessary tools to ensure accuracy and efficiency:
Tape Measure
When it comes to measuring for roof shingles, having a trusty tape measure is essential. Look for a tape measure that’s sturdy and retractable, with clear markings that make it easy to read. This will ensure that you can take accurate measurements with confidence, helping you avoid any errors that could lead to purchasing the wrong amount of materials or compromising the integrity of your roof.
Calculator
Your seventh grade math teacher wasn’t wrong–you do need math in many areas of your life! While measuring your roof may seem straightforward, depending on its complexity, you may need to do some calculations to determine the total square footage accurately for how many shingles you’ll be installing. That’s where a roofing calculator comes in handy!
Whether you’re adding up measurements, calculating areas, or figuring out the quantity of materials needed, having a calculator on hand will make the process much smoother and less prone to mistakes.
Pen and Paper
It’s always a good idea to have a pen and paper nearby when you’re working on a project like measuring for roofing shingles. As you take measurements and make notes, jotting them down on paper will help you stay organized and keep track of important details.
Safety Equipment
Last but certainly not least, safety should be your top priority when working on your roof. If you’ll be climbing onto your roof to take measurements, it’s essential to have the right safety gear.
This includes a harness to prevent falls, sturdy shoes with good grip to avoid slips, and a stable ladder that’s properly secured. By taking the necessary precautions, you can minimize the risk of accidents or injuries and ensure that your roofing project goes smoothly from start to finish.
And remember, if you ever feel hesitant to jump up on your roof, reach out to a pro roofing contractor to ensure a safe and successful project.
Step 2: Understand Roof Geometry
Roofs come in various shapes and sizes, each with its unique geometry. Understanding the basic geometry of your roof will make the measuring process much easier. Here are some common roof shapes and their key features:
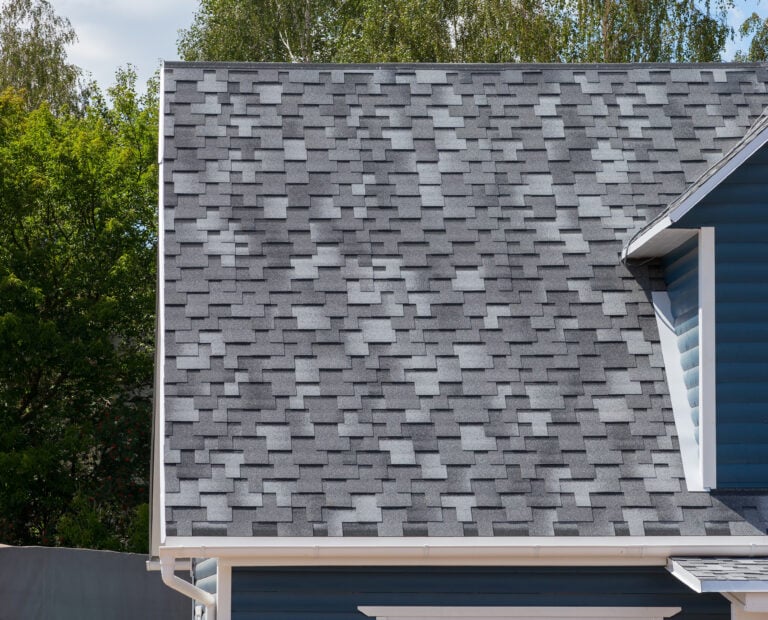
- Gable roof: This is one of the most common roof styles, featuring two sloping sides that meet at a ridge. To measure a gable roof, you’ll need to calculate the area of each slope separately and then add them together.
- Hip roof: A hip roof has slopes on all four sides, with each slope meeting at a ridge. To measure a hip roof, you’ll need to measure each slope individually and then combine the measurements.
- Flat roof: Flat roofs have little to no slope, making them easier to measure. Simply measure the length and width of the roof and multiply the two measurements to find the total square footage.
Step 3: Measure Roof Dimensions
Once you’re familiar with your roof’s geometry, it’s time to start measuring! Here’s a step-by-step process:
Measuring the Length and Width
Take your time to ensure accuracy, using your tape measure to measure from one end to the other and recording the measurements as you go. If you have a gable roof with two slopes, measure each slope separately to account for any differences in size or shape.
Multiply the Length by the Width
Once you have the measurements for each section of your roof, it’s time to crunch some numbers! Use a calculator to multiply the length by the width of each section, giving you the square footage for that particular area. If your roof has multiple sections, be sure to repeat this process for each one.
Add the Square Footage Together
Now that you have the roofing square footage for each section, it’s time to tally up the totals! Add together the square footage of all sections to find the total square footage of your roof. This final number will give you a clear picture of the overall size of your roof and the amount of shingles needed to cover it completely.
Step 4: Account for Waste and Overlaps
When estimating the amount of shingles needed, it’s essential to account for waste and overlaps. Here are some factors to consider:
- Overhangs: Measure any roof overhangs or eaves and subtract this area from your total square footage to avoid purchasing excess materials.
- Waste factor: It’s wise to include a waste factor of around 10% to 15% to account for cutting errors, damaged shingles, and unexpected changes in the roof’s layout.
- Shingle exposure: Check the manufacturer’s recommendations for shingle exposure and overlap requirements. Adjust your measurements accordingly to ensure proper coverage and protection against the elements.
Step 5: Plan for Shingle Installation For Your New Roof
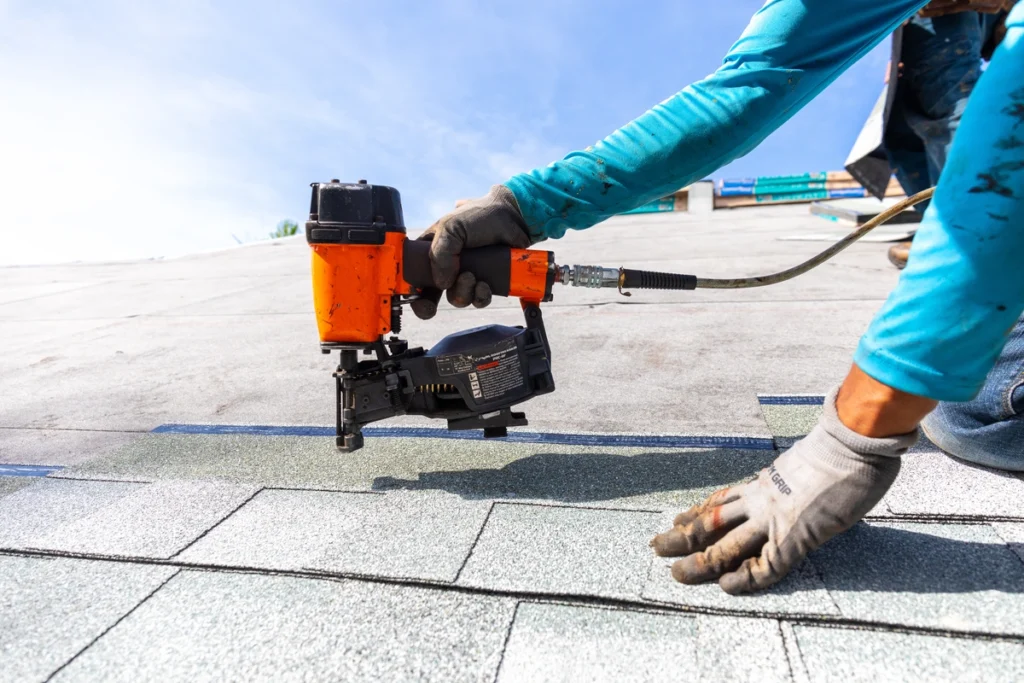
Once you’ve determined the total square footage of shingles needed, it’s time to plan for installation. Consider factors such as the type of shingles you’ll be using, the complexity of the roof, and any additional materials or accessories required for installation. If you’re unsure about any aspect of the installation process, don’t hesitate to consult with a roofing professional for guidance.
📏 Ready to Measure Your Roof Like a Pro?
Measuring your roof for shingles may seem daunting at first, but with the right tools and knowledge, you can tackle the task with confidence. By following these steps and taking accurate measurements, you’ll be well-equipped to purchase the correct amount of materials and complete your roofing project successfully.
Contact our expert team of roofers at Palladium Roofing today and experience reliable communication and industry-competitive warranties. We’ll make sure your property stands strong with a resilient and attractive roof.
Related Articles