How to Remove Shingles From a Roof (9 Step Easy Guide)
Are you looking to start a new roofing project that involves removing old shingles? Whether it’s for a much-needed repair, a shingles upgrade, or a complete roof replacement, we’ve got you covered.
In this comprehensive guide, we’ll walk you through the process of how to remove shingles from a roof safely and efficiently. Let’s get started on this exciting DIY journey!
Inside this blog:
- Why removing your roof shingles is an important task
- Avoid Costly Mistakes & Build Trust When Learning How to Remove Shingles From a Roof
- A 9-step guide to removing roof shingles effectively
- Legal, Safety & Code Considerations
- Maintenance tips + tricks for a healthy roof and home
Keep reading to discover how to keep your roof in top-notch shape by removing roof shingles like a pro.
Why Removing Shingles Matters
Before we jump into the nitty-gritty of shingle removal, let’s understand why this task is essential:
Roof Repair
Removing damaged or deteriorating shingles is crucial to address issues like leaks, water damage, or mold growth, which left unattended can lead to costly interior damage and compromise your home’s structural integrity.
Roof Replacement
When it’s time for a full roof replacement, removing old shingles provides a clean slate for new roofing materials, ensuring a durable and long-lasting result that not only enhances your home’s appearance but also its value.
Enhanced Efficiency
Removing shingles allows for proper inspection of the roof deck and any necessary repairs, improving the overall efficiency of your roofing system. By addressing potential issues proactively, you can optimize your roof’s performance and longevity, saving you money in the long run.
Now, let’s dive into the step-by-step process of removing shingles like a pro.
🧰 Tools & Materials You’ll Need 🧰
Before you start, gather the following tools and materials to ensure a smooth shingle removal process:
- Safety gear (safety glasses, gloves, and a dust mask)
- Sturdy ladder
- Pry bar or shingle ripper
- Hammer
- Roofing shovel or pitchfork
- Wheelbarrow or tarp for debris disposal
- Trash bags or a dumpster for waste removal
- Roofing nails and a nail gun (for later re-installation)
- Roofing felt or underlayment (for replacement)
Avoid Costly Mistakes & Build Trust When Learning How to Remove Shingles From a Roof
Removing shingles properly doesn’t just keep your roof clean — mistakes in the removal process can lead to serious costs, legal trouble, and safety hazards. Here’s expert guidance to help protect you, your home, and your investment.
Common Mistakes That Can Cost You
- Damaging the roof deck unknowingly: Overzealous prying can crack or puncture the wood sheathing beneath the shingles. That leads to leaks, rot, or structural issues which are expensive to repair.
- Improper disposal or leftover debris: Many jurisdictions have rules on how to dispose roofing material, especially if old shingles contain asbestos or hazardous substances. Failure to follow code can result in fines or penalties.
- Skipping safety gear or fall protection: Roof work is high-risk. Without proper PPE and fall protection, injuries are likely. A single incident can lead to medical expenses or liability.
How to Avoid It
- Use the correct tools (roofing shovel, pry bar), work gently, cut nails rather than forcing removal. Inspect the wood as you go. If you see soft spots or rot, stop and call a contractor.
- Before removal, check with local waste disposal authority. Use proper bags/containers. Don’t mix hazardous material with regular trash. Follow local asbestos laws if applicable.
- Use fall protection per OSHA’s requirements. Wear gloves, eye protection, non-slip footwear, hard hats, guardrails or personal fall arrest systems. Don’t attempt steep roofs without experience or safety systems in place.
9-Step Guide of How To Remove Shingles From a Roof 📝
Now, let’s break down the process of removing shingles step by step:
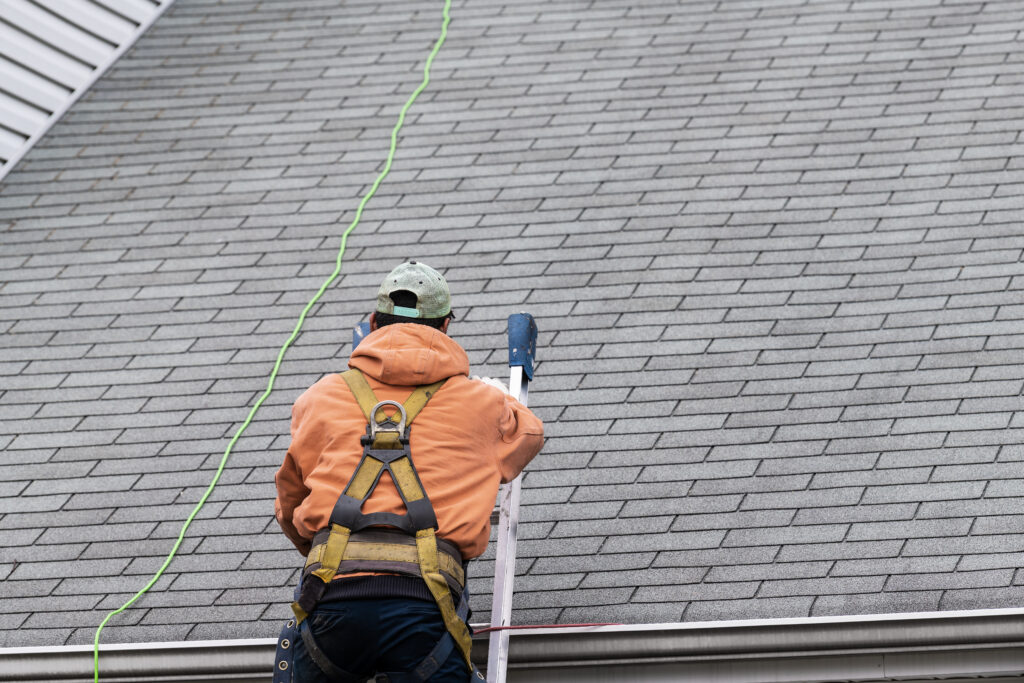
1. Prioritize Your Safety
Safety should be your top priority. Wear safety glasses, gloves, and a dust mask to protect yourself from debris and possible exposure to mold or asbestos in older roofing materials.
2. Inspect the Roof
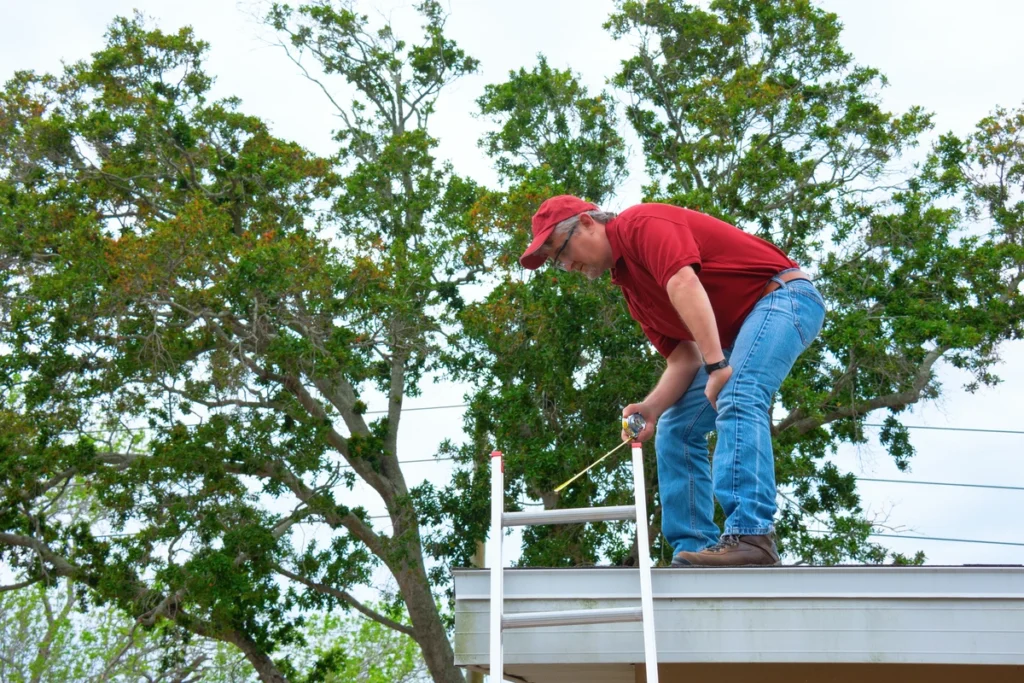
Before you begin removing shingles, inspect your roof for any potential hazards or issues. Look for loose or damaged shingles, rotting wood, or any signs of structural problems. Address these issues before proceeding.
3. Remove Roofing Accessories
Start by removing any accessories on your roof, such as vents, flashing, or satellite dishes. Carefully disconnect and set them aside for reinstallation later.
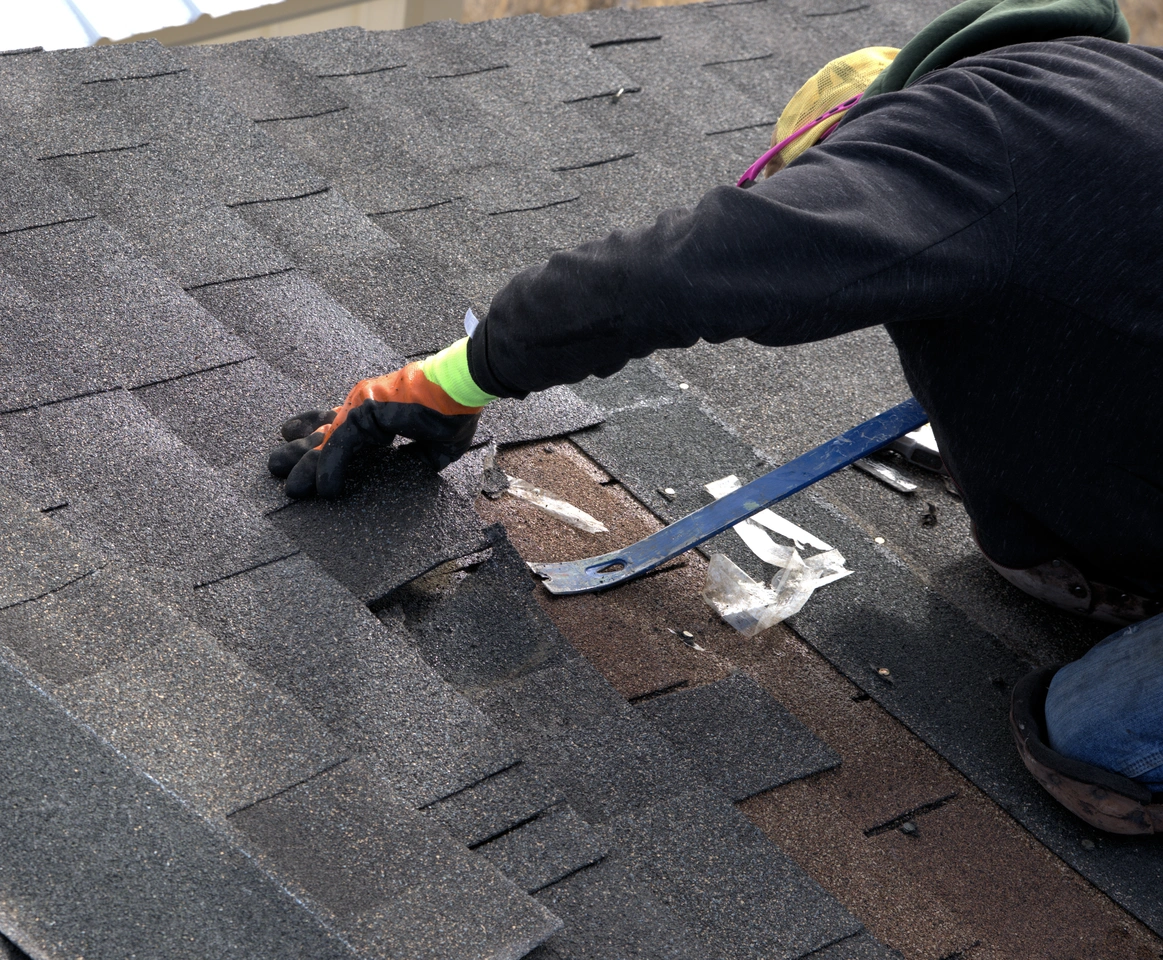
4. Begin Shingle Removal
Here’s the exciting part – removing the shingles!
- Start at the top of your roof and work your way down, one row at a time. This ensures that gravity helps you throughout the process.
- Use a pry bar or shingle ripper to lift the edge of the first shingle in the row.
- Gently pry up the shingle tabs and remove any roofing nails or staples holding them in place.
- Once the first shingle is removed, continue down the row, repeating the process for each shingle.
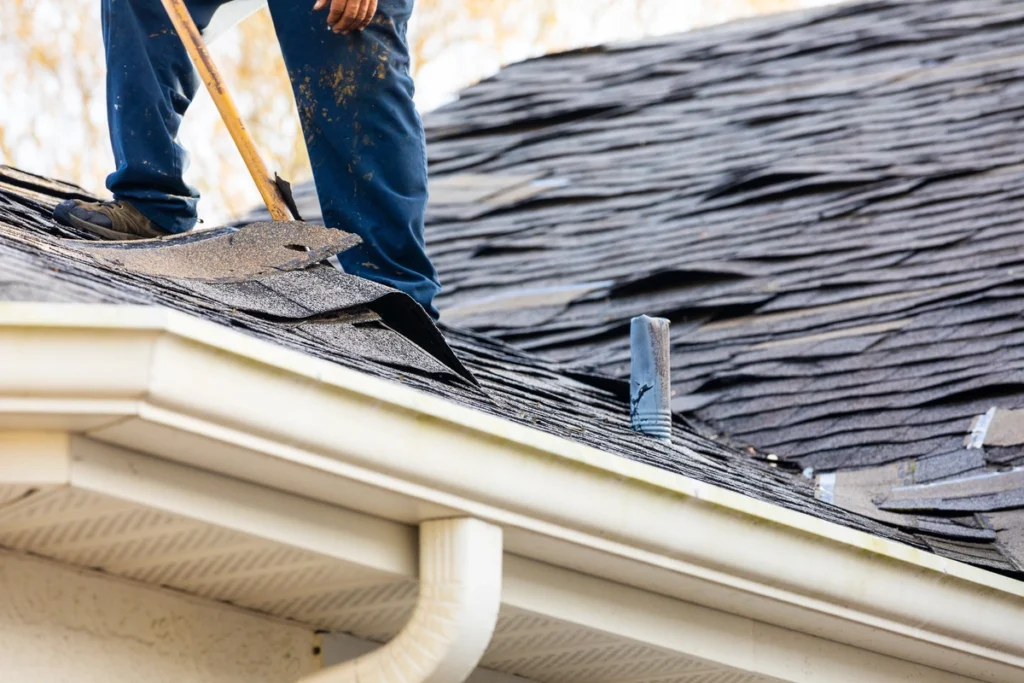
- If you encounter stubborn shingles, a roofing shovel or pitchfork can be useful for lifting them.
- Be careful not to damage the underlying roof deck or other components while removing shingles.
5. Dispose of Debris Properly
As you remove shingles, place them in a wheelbarrow, on a tarp, or directly into trash bags for disposal. Ensure that your disposal method complies with local regulations, as some areas may have specific requirements for roofing waste.
6. Inspect and Repair
With the shingles removed, thoroughly inspect the roof deck for any issues. Replace damaged or rotted wood and address any structural concerns. This is your opportunity to ensure a solid foundation for your new roofing materials.
7. Install Roofing Underlayment
Before installing new shingles, it’s essential to lay down roofing underlayment or felt. This additional layer provides an extra barrier against moisture and helps protect your roof deck.
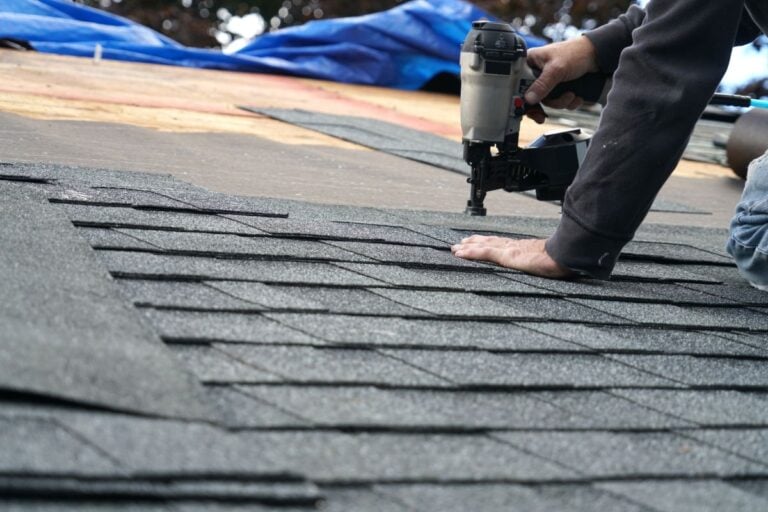
8. Prepare for Shingle Replacement
Now that your roof is ready, gather your new shingles, roofing nails, and any accessories you removed earlier. Make sure you have everything in place before you start installing the new shingles.
9. Properly Dispose of Old Shingles
Dispose of the old roof shingles in accordance with local regulations. Many areas have specific guidelines for disposing of roofing materials, so be sure to follow them to avoid any fines or penalties.

Legal, Safety & Code Considerations
If you’re asking yourself how to remove shingles from a roof, there are legal, safety, and regulatory rules to observe. Skipping these isn’t just risky — it can cost you.
- Fall Protection & OSHA Standards
- OSHA requires fall protection for roofing work where workers are 4 feet or more above lower levels, this is a crucial step if you are into learn how to remove shinlges from a roof.
- Warning line systems, guardrails, personal fall arrest systems are mandatory depending on roof slope, height, and proximity to edges.
- PPE (personal protective equipment): safety glasses, gloves, non-slip boots, hearing protection, respiratory protection if dust or airborne particles are involved.
- Asbestos & Hazardous Materials
- If your roof or roofing material is old, it might contain asbestos (for example in older shingles or roofing felts). Under OSHA’s asbestos standard (29 CFR 1926.1101), removal of asbestos‐containing roofing material must follow strict rules.
- Many states/local jurisdictions require inspection for asbestos-containing material before renovation or demolition. If found, removal often requires certified professionals and proper disposal.
- Permits, Local Building Codes & Regulations
- Some municipalities mandate permits before doing roof work, especially removal. WHAT qualifies as removal, disposal, or demolition can be regulated.
- Codes may limit the number of shingle layers removed or installed. Some areas regulate how old roofing material must be disposed. Not complying can result in legal penalties or failing inspections when you sell your property.
- Be sure to check your local building authority / county code office before doing the work, especially if your home is older or in a historic district.
Maintenance Tips for a Healthier Roof
After removing and replacing your shingles, here are some maintenance tips to keep your roof in excellent condition:
- Regularly inspect your roof for signs of damage, missing shingles, or loose nails. This proactive approach can help you identify and address minor roofing issues before they escalate into costly problems, ultimately extending the life of your roof.
- Keep gutters and downspouts clear to ensure proper drainage and prevent water from backing up onto your roof. Clogged gutters can lead to water infiltration under your shingles, causing damage to your roof and potentially your home’s interior.
- Trim overhanging branches to prevent debris buildup and potential damage during storms. By keeping branches away from your roof, you reduce the risk of fallen leaves, twigs, and branches causing damage or blocking drainage systems.
- Consider scheduling a professional roof inspection every few years to catch any issues early. Expert roofers can identify hidden problems and recommend necessary maintenance or repairs, providing you with peace of mind and potentially saving you from more extensive and costly repairs down the road.
Remove Shingles From Your Roof Like a Pro 🏡
The guide: How to remove shingles from a roof, may seem like a daunting task, but with the right tools, materials, and safety precautions, it’s a manageable DIY project that can extend the life of your roof and protect your home from water damage. So, roll up your sleeves, follow this step-by-step guide, and get ready to enjoy a sturdy and leak-free roof for years to come!
Contact our roofing experts at Palladium Roofing today and experience top-notch customer service and unparalleled craftsmanship. We’re excited to hear all about your next roofing project and help you bring your vision to life!
Related Articles