How To Install PVC Roofing? (Step By Step)

Installing PVC roofing is one of the most durable and efficient investments you can make for your property. Whether you’re managing a commercial space or a residential building, PVC roofing offers unparalleled longevity, weather resistance, and energy efficiency. With proper installation, this versatile material can provide protection and savings for decades. In this guide, you’ll learn everything you need to know about installing PVC roofing, including:
- Benefits of choosing PVC roofing
- Preparing your roof
- 6 steps to install PVC roofing
- Tips for a long-lasting PVC roof
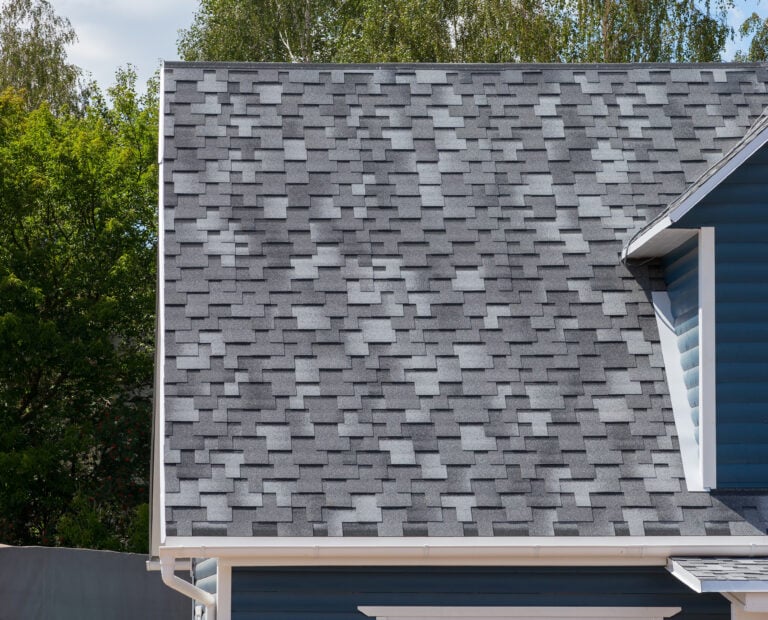
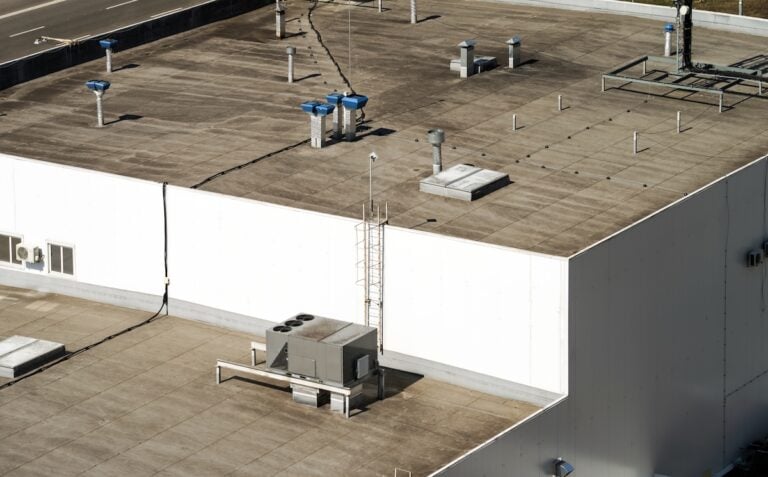
🤔 What is PVC Roofing?

PVC (Polyvinyl Chloride) roofing is a popular choice in the roofing industry for its exceptional durability and performance. It is a single-ply membrane that is made from high-quality synthetic materials, specifically engineered to withstand various weather conditions and provide long-lasting protection for both commercial and residential properties. PVC roofing is known for its flexibility, strength, and excellent weather resistance. This versatile roofing material consists of a thermoplastic membrane with reinforced polyester or fiberglass, making it highly resistant to punctures, tears, and UV degradation. With its outstanding waterproofing properties, PVC roofing offers reliable protection against leaks and moisture infiltration. Moreover, PVC roofing has proven to be energy-efficient, thanks to its reflective surface that helps reduce heat absorption, leading to potential energy savings and a more comfortable indoor environment.
Benefits of Choosing PVC Roofing
Before installing PVC roofing, it’s worth understanding why it’s such a popular choice for property managers. Here are some key benefits:
- Durability: PVC roofs are designed to withstand extreme weather conditions, including wind, rain, and hail.
- Energy Efficiency: Its reflective surface reduces heat absorption, leading to lower energy costs for cooling the building.
- Low Maintenance: PVC roofs require minimal upkeep compared to other roofing materials.
- Environmental Friendliness: PVC roofs are recyclable, making them an eco-conscious option.
- Longevity: These roofs can last up to 30 years or more with proper installation and care.
Considering the advantages, it’s no wonder PVC roofing is a top choice among property managers for both commercial and residential buildings.
👉 Preparing Your Roof
Proper preparation is essential for a successful PVC roofing installation. Taking the time to ensure your roof is ready will save you time and effort during the installation process.
Inspect the Existing Roof
Start by carefully inspecting the existing roof for any cracks, leaks, or other damage. Addressing these issues beforehand prevents them from worsening under the new roof. Also, make sure the roof deck is completely clean, dry, and structurally sound to provide a stable foundation for the new PVC roofing system.
Remove Old Roofing Materials
Removing old roofing materials is crucial for achieving the best results. Stripping the roof down to its base ensures that any hidden problems, such as trapped moisture or weak spots, are identified and resolved before installation. Be sure to dispose of the old materials responsibly, following local regulations to keep the worksite safe and clean.
Install Insulation Boards
Adding insulation boards to the roof deck is a key step for improving energy efficiency and creating a smooth, even surface for the PVC membrane. These boards help regulate indoor temperatures and add an extra layer of protection to your roofing system.
With proper preparation complete, your roof is ready for the PVC roofing installation process.
Tools and Materials You’ll Need
Before you start, gather the following tools and materials to ensure a smooth installation process:
Tools:
- Tape measure
- Utility knife
- Roofing roller
- Heat welding tool
- Screw gun or drill
- Safety harness
Materials:
- PVC roofing membrane
- Insulation boards
- Primer and adhesive
- Screws and plates
- Sealant tape
- Flashing materials
Having everything ready will save time and make your installation process more efficient.
🛠️ 6 Steps to Install PVC Roofing
Follow these detailed instructions carefully to ensure a secure and long-lasting PVC roof installation.
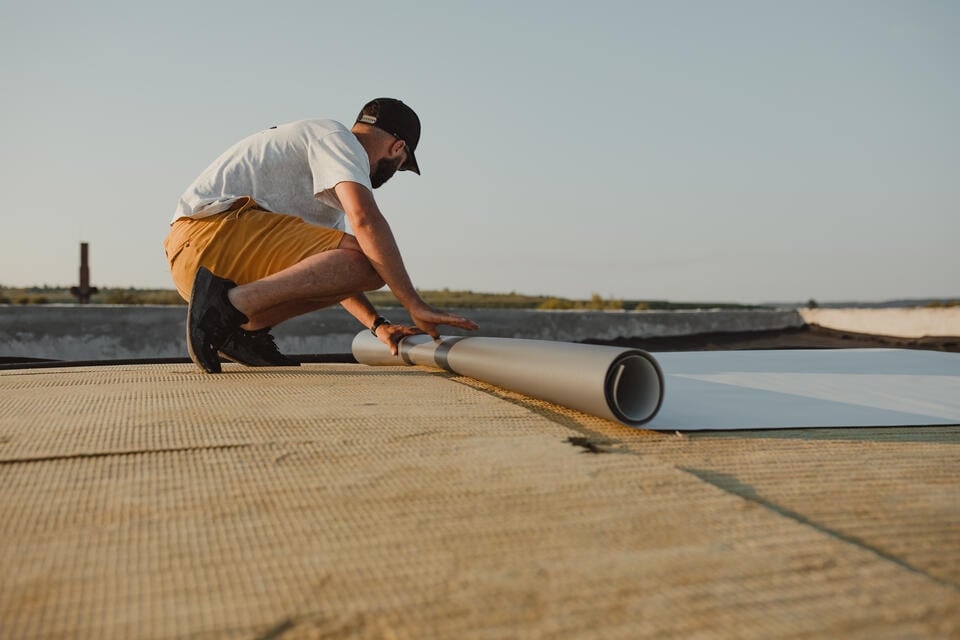
1. Measure and Cut the PVC Membrane
Start by accurately measuring your roof’s dimensions to determine the exact amount of PVC membrane required for the project. This step is crucial to avoid material wastage and ensure you have enough coverage. Once you have the measurements, cut the PVC membrane into sections that are easy to handle. Be sure to leave extra material for overlapping edges, as this overlap will be essential for creating a strong and durable weld between sheets. Taking your time to measure and cut precisely will help ensure the entire installation process goes smoothly.
2. Apply Primer and Adhesive
Before laying down the PVC membrane, you must prepare the roof’s surface to ensure proper adhesion. Begin by cleaning the surface thoroughly to remove any dirt, debris, or old materials that could interfere with bonding. Next, apply a primer to the roof surface, which helps create an optimal base for the adhesive. Once the primer has dried, evenly spread an adhesive across the surface, being careful to avoid bubbles, lumps, or uneven spots. A uniform application of adhesive is critical to ensuring the membrane adheres securely to the roof and remains intact over time.
3. Position the PVC Membrane
After preparing the roof, carefully position the PVC membrane sheets onto the surface. Lay the first sheet down, aligning it properly to avoid any wrinkles or folds. This alignment is essential for both the appearance and functionality of the roof. As you add additional sheets, overlap the edges by approximately 2-3 inches. This overlap is necessary for heat welding, which will bond the sheets together to create a watertight seal. Take your time during this step to ensure the membrane is laid out smoothly and precisely.
4. Weld the Seams
With the PVC membrane sheets in place, the next step is to weld the seams where the sheets overlap. Using a heat welding tool, apply steady and consistent heat along the overlapping sections. The heat melts the PVC material, allowing it to fuse together and form a seamless, watertight bond. Move the welding tool slowly and carefully along the seams to ensure complete adhesion without damaging the material. Proper welding is critical to the roof’s durability and its ability to withstand water infiltration, so this step should be done meticulously.
5. Secure with Screws and Plates
To add extra reinforcement, secure the PVC membrane to the roof using screws and metal plates. Focus on the edges, corners, and any areas that are prone to higher wind exposure or stress. These screws and plates hold the membrane securely in place, preventing it from shifting or lifting in harsh weather conditions. This step not only adds strength to the installation but also ensures the roof remains stable and intact over time, even in the face of challenging environmental factors.
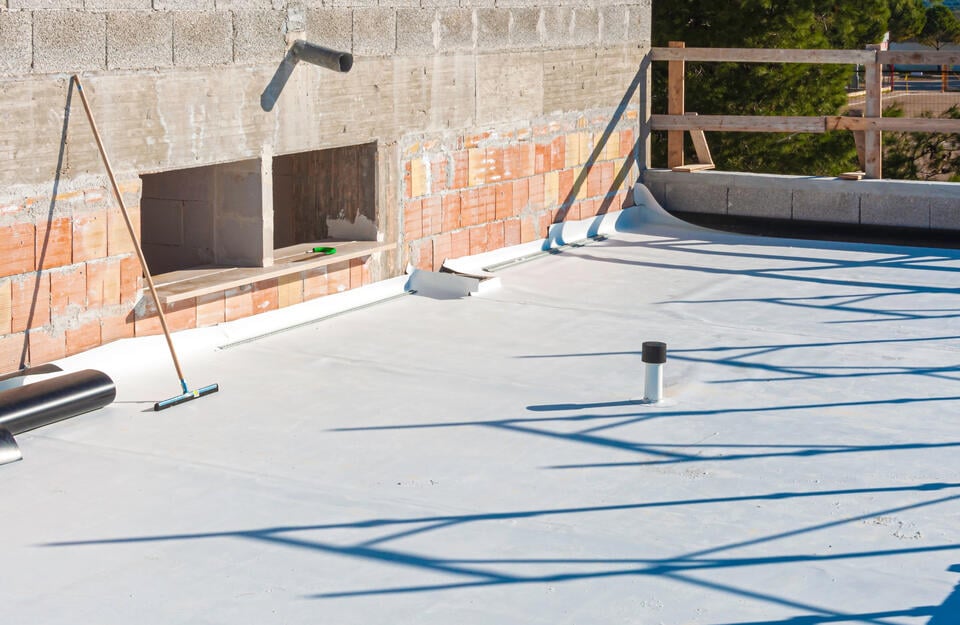
6. Seal the Roof
Once the PVC membrane is welded and secured, finish the installation by sealing all edges and flashing. Use sealant tape to cover these areas, ensuring that no water can seep underneath the membrane. Carefully inspect all the seams, corners, and other critical points to confirm that they are properly sealed and watertight. Address any gaps or weak spots you find during this inspection. A thorough sealing process is essential for maximizing the roof’s lifespan and protecting your property from leaks and water damage.
💡 Tips for a Long-Lasting PVC Roof
Proper care and maintenance can significantly extend the life of your PVC roof. Here’s how:
- Regular Inspections: Schedule inspections at least twice a year, ideally in spring and fall. These checks help identify minor issues like small cracks, loose seams, or wear before they turn into costly repairs.
- Clean Debris: Keep your roof clear of leaves, branches, and dirt buildup to prevent water pooling, which can lead to leaks or structural damage over time. Regular cleaning also helps maintain the roof’s reflective surface.
- Check for Leaks: Focus on seams, flashing, and areas around rooftop equipment like vents or HVAC units. These spots are particularly vulnerable to water damage and should be checked for cracks or gaps.
- Hire Professionals: For major repairs or maintenance that require expertise, always consult licensed roofing contractors. They’ll ensure proper fixes and extend the durability of your roof.
By following these steps, you can maximize your PVC roof’s performance, protect your investment, and enjoy a durable, cost-efficient solution for years to come.
🙌 Your Trusted Experts for PVC Roofing Solutions
At Palladium Roofing, we understand that your roofing needs are of utmost importance. With our years of experience and expertise in the industry, we have earned a reputation for being a trustworthy and reliable team for all your PVC roofing needs. Our dedicated professionals are committed to delivering top-notch service, utilizing the highest quality materials and employing meticulous craftsmanship. Whether you require installation, repairs, or maintenance, we prioritize your satisfaction and strive to exceed your expectations. Don’t wait any longer to ensure the longevity and durability of your PVC roof. Contact us today for a consultation and let us be your trusted partner in securing the protection and value of your property.
Related Articles