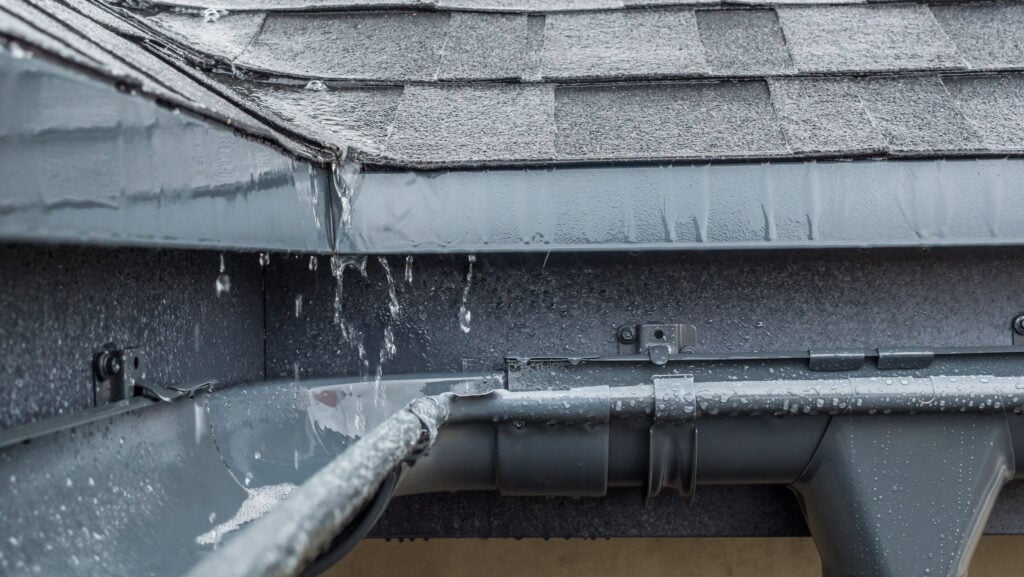
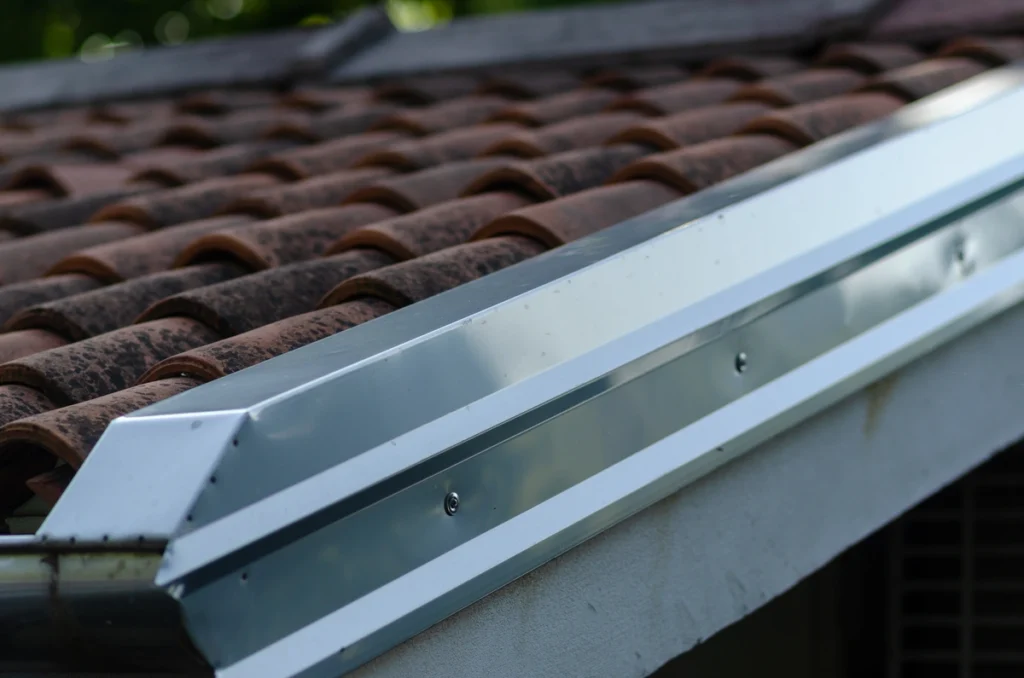
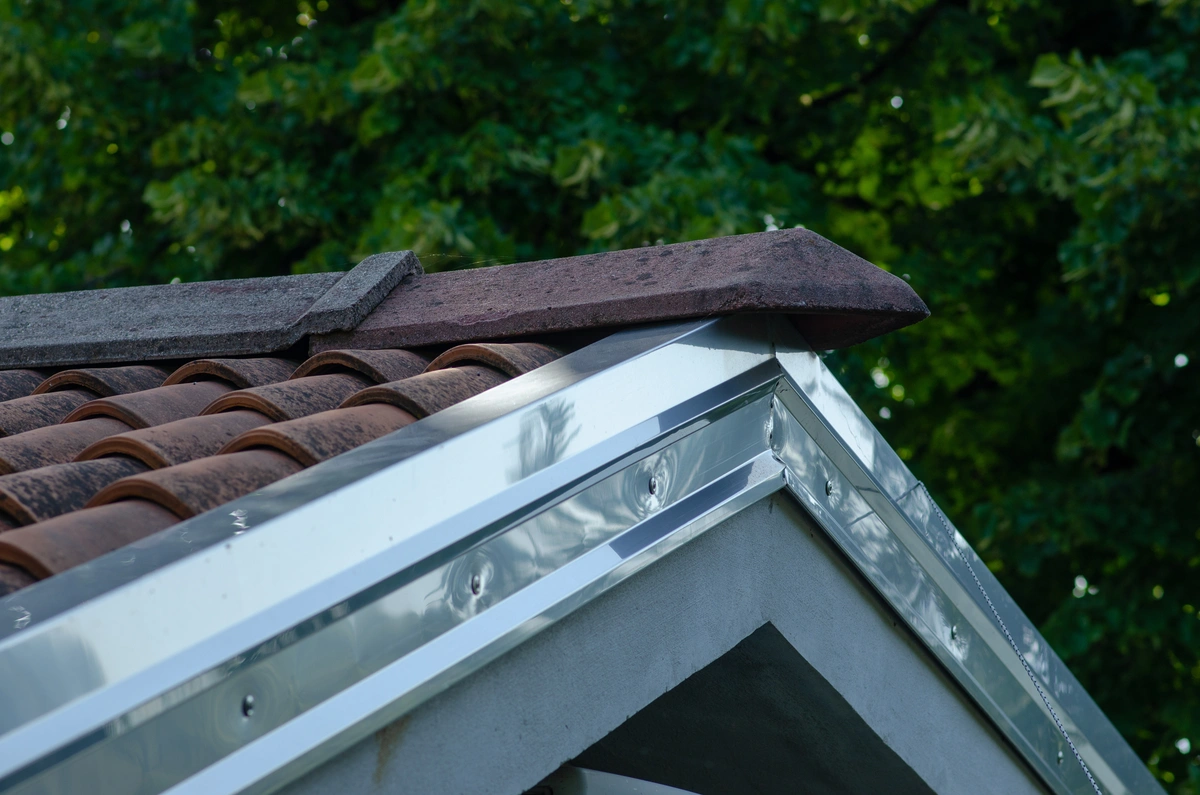
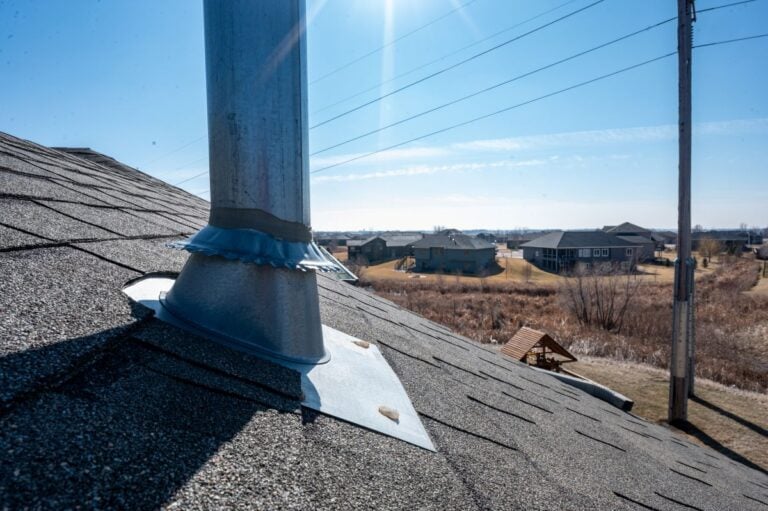
Flashing is a critical component of your roof, responsible for directing water away from vulnerable areas and preventing leaks. Over time, flashing can become damaged or worn, leading to water infiltration and requiring immediate roof repairs from a reputable contractor.
Fortunately, repairing flashing is a manageable task for many homeowners with the right tools and guidance. In this guide, we’ll walk you through the process of repairing roof flashing in seven easy steps. Let’s get started!
Inside this blog:
- 7 actionable steps you can take to tackle roof flashing repair in DIY fashion
- Key details and tips under each step to ensure a successful roof repair outcome
Keep reading to become an expert on roof flashing repair so you can keep your roof and home safe for the long haul!
Step 1: Assess the Damage

Begin by visually inspecting your roof for signs of damaged or deteriorated flashing. Look for areas where the flashing is bent, cracked, or missing altogether. Likewise, if you notice water stains or signs of moisture inside your home, it’s essential to investigate the source of the roof leaks. Often, damaged flashing is the culprit.
Moreover, checking the damage will let you know whether you need to repair roof flashing or replace roof flashing.
Step 2: Gather Your Tools and Roof Flashing Materials
To install flashing, you’ll need basic tools such as a ladder, hammer, pry bar, utility knife, and caulking gun for roof flashing repair. You’ll also need to purchase replacement flashing material compatible with your roof type, as well as roofing cement and a high-quality sealant.
Step 3: Check Your Safety
It’s no secret that working on your roof can be dangerous, so always prioritize safety. After all, roof flashing repair isn’t your average gardening or bread baking DIY project. So, with this in mind, use a sturdy ladder and work with a partner if possible. Wear appropriate safety gear, including gloves and non-slip footwear.
Step 4: Remove Old Flashing
Before installing new flashing, it’s essential to remove the old flashing carefully. Using a pry bar or hammer, gently work around the edges of the existing flashing, taking care not to damage the surrounding roofing materials such as shingles or underlayment.
Applying excessive force or using improper tools can cause unnecessary damage, leading to leaks or other issues down the line. Take your time with this step to ensure that the old flashing is removed cleanly and completely, leaving a smooth surface for the new flashing to adhere to.
Clean the Area
Once the old flashing has been successfully removed, it’s time to clean the area thoroughly in preparation for the installation of the new flashing. Use a stiff-bristled brush or broom to sweep away any debris, dirt, or loose particles from the surface of the roof.
Pay particular attention to any areas where the old flashing was attached, as these may have accumulated dirt or residue over time.
Step 5: Cut and Install New Flashing
Before installing the replacement flashing, it’s crucial to measure the dimensions of the area accurately. Use a tape measure to determine the length and width needed for the new roof flashing.
Once you have the measurements, use a utility knife to cut the replacement flashing to the appropriate size. Take your time with this step to ensure precision and accuracy, as any errors in measurement or cutting could result in an improper fit and potential leaks down the line.
Remember to Secure the Flashing in Place
Once you have cut the replacement flashing to size, it’s time to secure it in place. Position the new flashing over the area where the old flashing was removed, ensuring that it fits snugly against the roof surface and adjacent flashing.
- Use roofing nails or screws to secure the flashing, driving them through the designated holes or tabs provided by the manufacturer.
- Be sure to space the nails or screws evenly along the length of the flashing to ensure a secure attachment.
- Make sure to drive the fasteners flush with the surface of the flashing to prevent any protrusions that could catch water or debris.
- Take care not to overdrive the fasteners, as this could damage the flashing or underlying roofing materials.
Step 6: Apply Roofing Cement
Once the new flashing is in place, it’s essential to seal the edges thoroughly to prevent any water from seeping through. To do this, apply roofing cement along the edges of the flashing, ensuring that you cover any seams or joints where water could potentially penetrate.
- Take your time with this step to ensure a proper seal, as any gaps or openings could lead to leaks and water damage.
- Be generous with the roofing cement, making sure to apply it evenly and covering the entire edge of the flashing.
- This will create a watertight barrier that helps protect your roof from moisture infiltration.
Step 7: Sealant Application
After applying the roofing cement, it’s time for the final step: Applying a high-quality sealant. This sealant acts as an additional barrier against moisture, ensuring that water cannot penetrate the repaired area. By sealing the entire repaired section, you provide added protection to your roof, preventing future leaks and water damage.
Don’t Forget to Inspect Your Work

Once you’ve applied the sealant, it’s crucial to take the time to inspect your repair job thoroughly. Carefully examine the repaired area, paying close attention to the seams and edges of the flashing.
During the roof inspection, look for any signs of gaps, cracks, or areas where the sealant may not have fully adhered. Use a flashlight if necessary to illuminate hard-to-reach areas and ensure a thorough inspection.
Tackle Roof Flashing Repair Like a Pro
By following these seven steps, you can effectively repair damaged roof flashing and prevent potential leaks and water damage to your home. If you’re uncomfortable working on your roof or unsure about the extent of the damage, don’t hesitate to call on a professional roofing contractor for assistance. With proper maintenance and timely repairs, your roof flashing can continue to protect your home for years to come.
Contact our expert team of roofers at Palladium Roofing today and experience reliable communication and industry-competitive warranties. We’ll make sure your property stands strong with a resilient and attractive roof.


