
Roof Flashing Repair (Explained In 7 Steps)
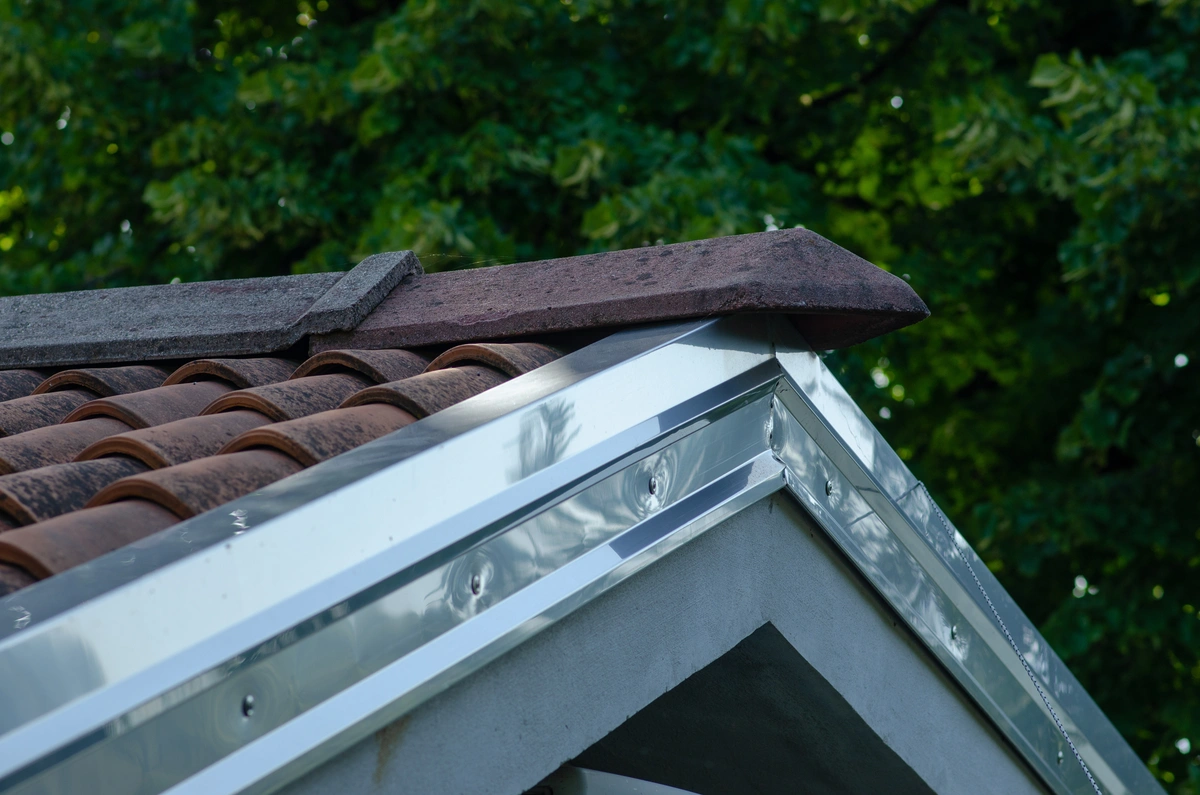
A small gap around a chimney or vent pipe can turn into a serious leak before most homeowners even notice a problem, and many roof leaks trace back to damaged roof flashing rather than the shingles themselves. Roof flashing repair is one of the most overlooked parts of home maintenance, yet it plays a huge role in keeping water out of the attic, walls, and ceilings. Understanding how flashing fits into the bigger picture of what keeps a roof watertight makes it much easier to catch small problems before they turn into big ones.
In short, repairing roof flashing means removing the damaged section, cleaning the surface underneath, cutting a properly sized replacement piece, then fastening and sealing it back into place so water cannot work its way through the seam again. The seven steps below cover that general process, and the sections after them break down what changes depending on where the flashing sits on the roof.
Here is a quick look at what this guide covers:
- The different types of flashing found on a typical roof
- The seven steps involved in a proper flashing repair
- Repair notes and rough cost ranges by flashing location
- Which fixes are safe to handle yourself and which call for a professional
Types of Roof Flashing Homeowners Should Know
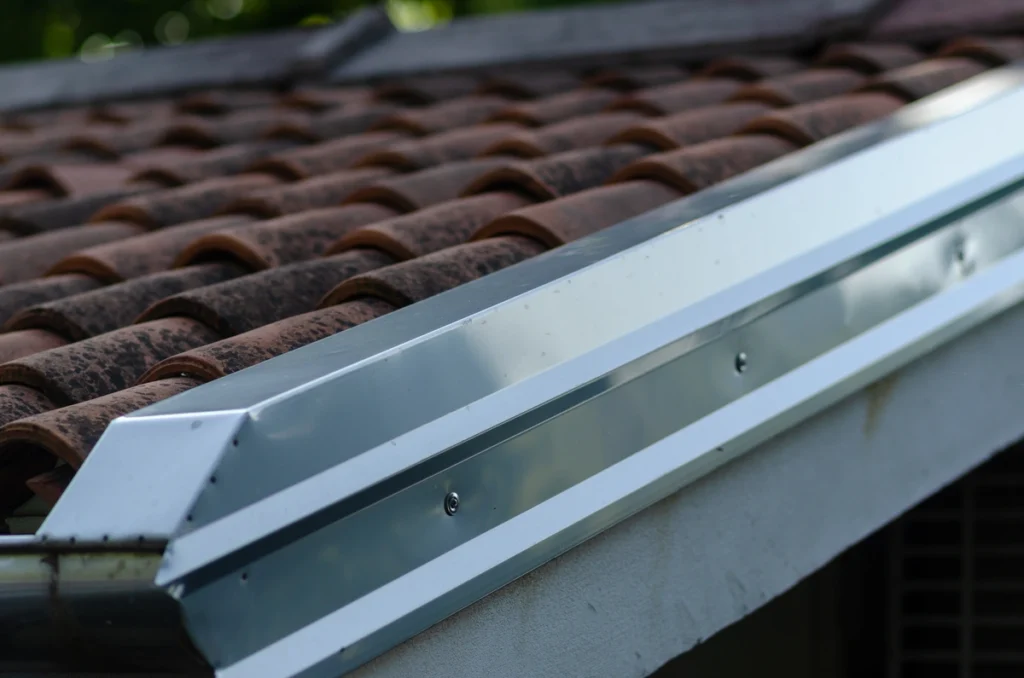
Before diving into repairs, it helps to know which type of flashing is actually causing the problem. Roofs use several distinct types of flashing, each installed in a different spot and built to handle a different kind of water exposure, and understanding how each type fits into a roof’s overall anatomy makes it much easier to spot a problem early.
- Chimney flashing: Wraps the base of a chimney where it meets the roof deck
- Valley flashing: Lines the V shaped channel where two roof planes meet
- Vent pipe flashing: Forms a collar around plumbing or exhaust vents
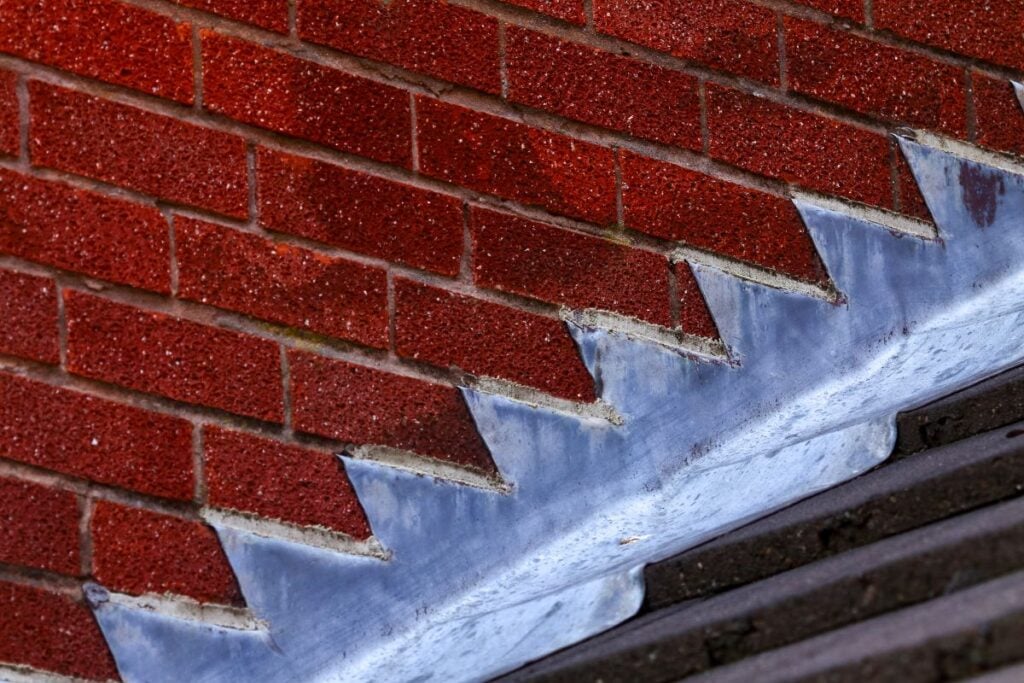
- Step flashing: Layers along walls and dormers in overlapping sections
- Continuous flashing: Runs in one long piece along a roof edge or wall
- Counter flashing: Covers the top edge of base flashing for extra protection
Each type fails in its own way over time, whether from rust, cracked sealant, or loose nails. The sections below cover the general repair process, then cost and DIY guidance by location.
7 Steps to Repairing Roof Flashing
A flashing repair is a methodical process, and skipping steps is usually what leads to a repeat leak a season later. The same general sequence applies no matter which type of flashing is involved, though the details shift slightly by location.
1. Inspect the Roofline for Warning Signs
Start with a full visual inspection of the roofline, paying close attention to chimneys, valleys, vent pipes, and any wall intersections. Look for lifted edges, visible rust, cracked sealant, or gaps where the flashing no longer sits flush against the surface.
2. Identify the Type and Location of the Flashing
Confirming whether the problem involves chimney, valley, vent pipe, or step flashing determines how the repair needs to be approached and roughly what it will cost.
3. Remove the Damaged Section
Carefully lift the surrounding shingles and pry out old roofing nails to remove the damaged flashing without tearing the underlayment.
4. Clean and Prep the Surface
Clear away debris, old sealant, and any corrosion so the surface underneath is clean and dry before new flashing goes in.
5. Cut and Fit the Replacement Flashing
Measure and cut new metal flashing to match the exact dimensions of the area being repaired, since gaps or overlaps in the wrong direction can undo the entire repair.
6. Seal and Fasten Securely
Fasten the new piece with corrosion resistant roofing nails and seal every edge with roofing cement to create a waterproof seal against future leaks.
7. Reinstall Shingles and Test the Repair
Lay the surrounding shingles back into place, then run a quick water test with a garden hose to confirm the seam is holding before calling the job complete.
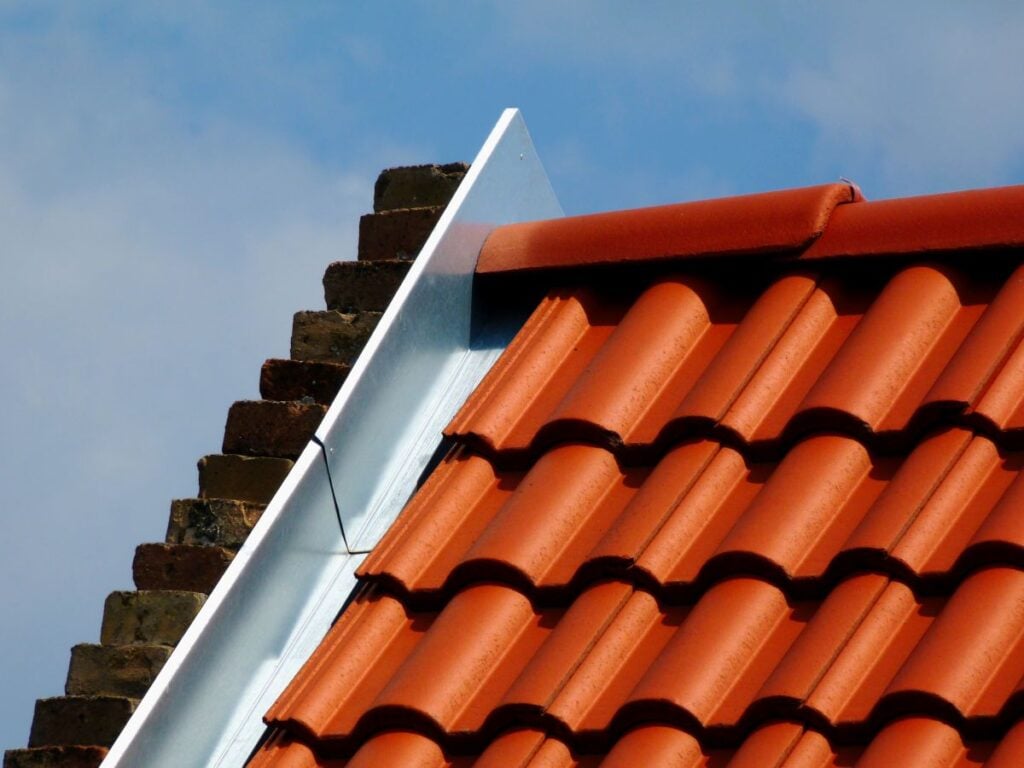
Following these seven steps in order gives the repair the best chance of holding up through multiple seasons of weather. The specifics shift a bit depending on where the flashing sits, which is covered next.
Flashing Repair by Location
The general process above applies everywhere, but cost and difficulty change quite a bit by flashing type. Here is what to expect at each of the roof’s most common trouble spots.
Chimney Flashing Repair
Chimney flashing takes on a lot of stress from temperature swings and settling, making it one of the most common sources of roof leaks in Yukon and surrounding areas. It wraps around a masonry structure that expands and contracts differently than the roof deck, so seams here tend to separate faster than flashing installed elsewhere.
Chimney flashing repair typically costs between $250 and $650, depending on chimney size and surrounding shingle work. Because it means working around masonry and resetting counter flashing, this is professional-only work rather than a weekend project. If the flashing is already leaking, immediate repair may be needed rather than waiting for a scheduled maintenance visit.
Chimney leaks are one of the most common reasons homeowners start researching flashing repair in the first place. If a chimney is showing any of these warning signs, do not wait for the next storm to find out how bad the damage has gotten. Get a flashing leak assessment before a small gap turns into a bigger repair.
Valley Flashing Repair
Roof valleys carry more running water than almost any other part of the roof, since two slopes drain into that single channel. That pressure means any weak point tends to show up quickly as a leak inside the attic.
Valley flashing repair generally runs $300 to $700, with the higher end reflecting steep rooflines or valleys that require removing more shingles to access. Because the repair involves handling water volume from two roof planes at once, valley reflashing is best left to a professional roofing contractor rather than attempted as a DIY project.
Vent Pipe Flashing Repair
Vent pipe flashing forms a rubber or metal collar around plumbing stacks and vents, and the rubber gasket inside it tends to dry out years before the shingles wear out. This makes it one of the more frequent and affordable flashing repairs on a typical roof.
Minor sealant touch ups around a vent pipe boot are DIY-safe for a homeowner comfortable on a ladder, and typically cost very little in materials. A full collar replacement runs closer to $150 to $350 once labor is factored in, and is worth handing to a professional if the surrounding shingles also need attention.
Step Flashing Repair
Step flashing runs in overlapping pieces along walls and dormers, tucked under the shingle above to shed water down the roof. Over time, nails can back out or pieces can shift, opening small gaps at the wall line.
Small sealant touch ups on step flashing are DIY-safe when only a piece or two has shifted, while a full step flashing replacement along an entire wall is better handled by a professional crew. That larger job typically runs $400 to $900, since it usually means removing and reinstalling siding as well as shingles.
Matching the repair to the right location keeps costs predictable. The materials used for the replacement matter just as much for how long it lasts.
Materials and Techniques That Extend Flashing Life
The materials chosen for a flashing repair have a direct impact on how long it lasts. Aluminum, galvanized steel, and copper are the most common types of metal flashing, and picking the right one for the location makes a noticeable difference over time.
- Aluminum flashing: Lightweight and affordable, though it can corrode faster near masonry
- Galvanized steel: Durable and widely used, with a coating that resists rust for years
- Copper flashing: A premium option known for exceptional longevity
Proper overlap, correct nail placement, and consistent sealant application matter just as much as the metal itself against freeze thaw cycles and high winds. When flashing problems start turning up in more than one spot on the roof, it is often worth scheduling a full roof inspection rather than patching one section at a time.
DIY Repair vs. Professional Flashing Replacement
Deciding whether to tackle a flashing repair alone or call in a professional depends heavily on which type of flashing is involved. Small sealant touch ups tend to be safe for a confident homeowner, while chimney and valley reflashing carry enough risk and complexity to be considered professional-only work.
| Flashing Type | DIY-Safe | Professional-Only |
| Vent pipe sealant touch up | Yes | No |
| Step flashing minor reseal | Yes | No |
| Chimney reflashing | No | Yes |
| Valley reflashing | No | Yes |
A poorly sealed vent boot is a low-risk repair to attempt on a mild afternoon, but chimney and valley work involves more roof exposure and more water volume. Getting either one wrong can mean paying for the same repair twice, which is why those two jobs are worth leaving to a professional crew.
Frequently Asked Questions
A few questions come up again and again when homeowners start looking into flashing repair. The answers below cover the most common concerns in plain, straightforward terms.
How do I know which type of flashing is causing my leak?
Water stains near a chimney usually point to chimney flashing, while stains near an interior wall or dormer often trace back to step flashing. A roofing inspection can confirm the source.
Is flashing repair covered by homeowners insurance?
Storm related flashing failures are often covered, while wear from age or lack of maintenance typically is not.
How much does roof flashing repair usually cost?
Costs vary by location, ranging from under $100 for a minor touch up to $900 or more for a full chimney or valley reflashing job.
Can flashing repair be done in cold weather?
Sealants perform best in moderate temperatures, though cold weather repairs are possible with specialized sealant products.
How often should flashing be inspected?
An annual inspection, ideally in the spring or after a major storm, helps catch small issues before they turn into leaks.
These questions only scratch the surface of what homeowners in Yukon and surrounding areas ask. A quick inspection is usually the fastest way to get a straight answer for a specific roof.
Protect Your Home with Professional Flashing Repair
Flashing may be a small component of the roof, but the damage it causes when neglected is anything but minor. A timely repair protects the structure, the interior of the home, and the long term value of the property, especially for homeowners throughout Yukon and surrounding areas who deal with unpredictable seasonal weather. Palladium Roofing can inspect every type of flashing, flag which repairs are DIY-safe, and complete the professional-only work correctly the first time.
Whether the issue is a single rusted section around a chimney or flashing damage spread across the whole roofline, getting ahead of the problem now saves time, money, and stress later. Reach out to the team and contact us today to schedule an inspection and get a clear plan for repairing your roof flashing the right way.
Related Articles